
A pool bucket test compares the drop in pool water with the drop in a separate bucket exposed to similar conditions. Measure each drop from its own starting mark. If the pool repeatedly loses more, investigate water loss beyond evaporation.
The test screens for unexplained loss; it does not locate a leak. Start only when the pool can safely remain under the planned operating conditions. Rapid loss, unsafe water levels, or visible damage needs professional attention without waiting for the test.
Prepare an undisturbed comparison
Use a clean, watertight bucket, a ruler, and removable marking tape or another suitable marking method. Check that the bucket itself does not leak. Choose a stable submerged step or shelf where it won’t tip and the rim remains above the pool water.
Fill it with pool water so it stays stable in that position. The surrounding water helps keep the sample under more comparable temperature conditions. Do not let water flow or splash across the rim.
Keep people and pets out during the test, and maintain the pool barrier. The bucket is also a water hazard for small children. Empty it and put it away when finished.
Control additions and losses
Set the pool at its normal safe operating level before starting. Turn off an automatic filler using its intended control, and make sure no hose will add water. Do not backwash, vacuum to waste, or intentionally drain during the comparison.
Record the pump program and keep a defined operating arrangement. Anderson’s information gathering guidance starts by reproducing the conditions under which loss was noticed. A separate pump state comparison can follow if appropriate.
For the basic evaporation comparison, avoid unnecessary splashing features and record heater and cover use. Don’t compare a covered pool with an exposed bucket as though both evaporate alike. If a feature is the suspected source, discuss a controlled test of that route with a professional.
Mark and measure both water levels
- Let disturbed water settle enough to read the levels.
- Mark the bucket’s inside waterline.
- Mark the pool waterline on the outside of the stationary bucket or another fixed reference.
- Record the start time, operating state, and weather.
- After approximately 24 hours, measure each level’s change from its own mark.
The two starting water levels do not need to be identical. What matters is the change in each. Read from the same reference and avoid moving the bucket between readings.
Use the same unit for both measurements. Record actual measurements before rounding or interpreting. Thick tape lines and waves can make a tiny difference uncertain.
Subtract the drops, not the final water levels
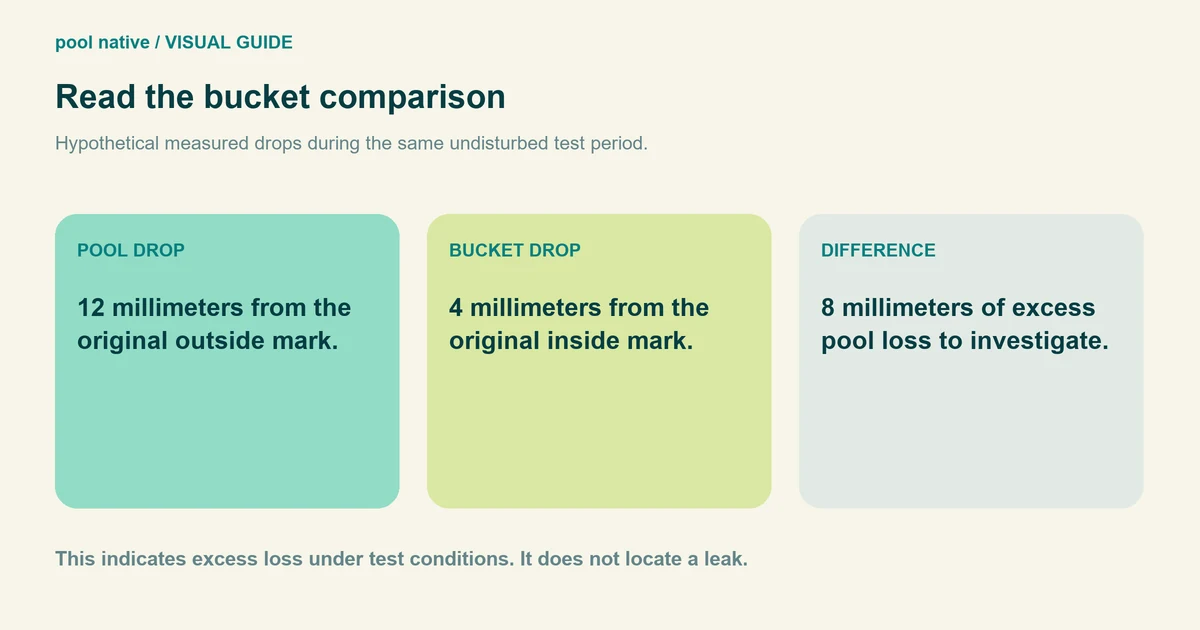
Calculated example: the pool drops 12 millimeters and the bucket drops 4 millimeters. The excess pool drop is 8 millimeters over that observation period. Under controlled conditions, that supports further investigation.
If both drop 4 millimeters, the test has not detected an excess drop. That does not guarantee no small or intermittent leak exists. Continue monitoring or repeat if the original concern remains.
| Result | Interpretation |
|---|---|
| Pool drop clearly exceeds bucket drop | Check for unrecorded losses, then investigate a possible leak |
| Drops are similar | No excess loss detected during this period |
| Bucket drops more | Check bucket integrity, exposure, and unrecorded filling |
| Difference is close to reading uncertainty | Repeat under calmer, better controlled conditions |
Know when to repeat the test
Repeat if the bucket moved, swimmers entered, the filler ran, or either vessel overflowed. Rain can also introduce runoff or unequal shelter. A dry test period is easier to interpret than trying to correct uncertain inputs afterward.
Wind and temperature differences can change evaporation between periods. Keep a short weather log rather than treating successive days as identical. Do not extend an unsuitable shutdown simply to collect a larger drop.
What pump on and pump off tests add
Separate controlled tests can help a professional prioritize possible leak routes. A change with pump operation does not conclusively name the leaking pipe. Attached spas, bypasses, and multiple leaks can produce misleading patterns.
Plan any extended shutdown around sanitation, weather, and equipment requirements. Do not disable necessary protection or let the level fall below safe operation. Stop and seek help if the loss becomes substantial.
Take the measurements and conditions to the next leak detection step. Do not remove submerged covers, inject air into pipes, or drain the pool to locate the leak yourself. The bucket has answered a narrower question: whether this controlled comparison showed excess water loss.


