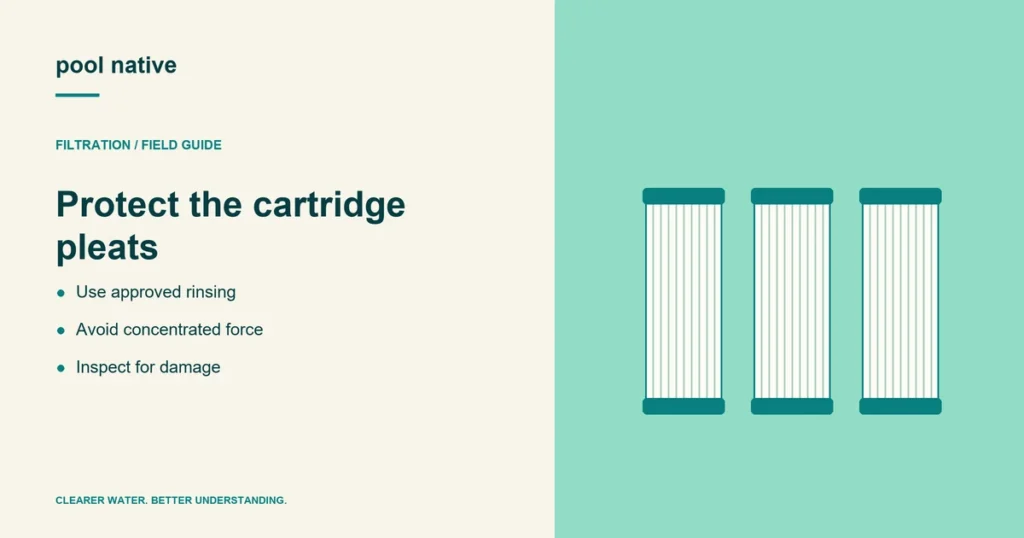
Do not pressure wash a pool filter cartridge unless its manufacturer explicitly permits that method. A powered pressure washer can damage the pleated material and its supports. An ordinary garden hose and the prescribed nozzle technique are the usual starting point.
A cartridge can look cleaner while filtering worse. A tear creates a route around the media. Removing its brown color is not worth opening that route.
Why pressure washing a pool filter cartridge is risky
A concentrated jet applies force to a small area. The pleats, end caps, and supporting bands must survive that force as well as normal service. Moving the nozzle closer can make an aggressive method even more damaging.
A pressure washer’s adjustable setting does not establish cartridge compatibility. Nor does holding it farther away create a verified safe distance. Use the cleaning method the cartridge and filter documentation actually specifies.
The word pressure can cause confusion here. A garden hose nozzle is not the same tool as a powered pressure washer. Instructions for a strong hose stream should not be expanded to cover both.
Use the right technique before adding more force
After the filter has been safely isolated and depressurized, remove its elements according to the manual. Support each cartridge on a suitable cleaning surface. Keep dirty runoff from washing back into the clean pleats.
For the Clean & Clear Plus, Pentair specifies a garden hose with a straight flow nozzle. Its illustrated method directs the stream at an angle and works from top to bottom. Follow your model’s method rather than copying that angle onto every cartridge design.
Open the view into the pleat valleys as you work around the element. Rushing over the outside can leave debris between folds. Give water time to carry that debris away.
For complete filter handling and reassembly, follow the normal cartridge cleaning procedure. This page addresses the choice of cleaning tool, not the tank closure instructions.
What if rinsing does not restore the cartridge?
More force is not the only next step. Oils and mineral deposits may resist ordinary rinsing. A compatible cartridge cleaner can address the correct deposit without relying on a harsher jet.
Identify the residue and follow the product’s label. Degreasing and descaling are different tasks. Do not mix cleaners or assume a household product is suitable for the filter material.
Some stains remain after useful cleaning. Judge the result using intact media and restored operation at comparable pump settings. A perfectly white cartridge is not the performance standard.
Is a cartridge cleaning attachment the same as a pressure washer?
A garden hose attachment can spread water across several pleats or make rinsing easier to control. That does not establish compatibility with every cartridge. Check the attachment instructions and keep its teeth or edges from scraping the media.
The important distinction is the approved water delivery method, not the word “cleaner” on the package. An accessory connected to a powered pressure washer still uses that machine’s output. It should not be treated as a garden hose tool because it has a wide spray head.
With an ordinary hose, work around the entire circumference and inspect the areas hidden by the first pass. Rotate the cartridge rather than dragging the nozzle against it. If a band blocks the view, do not cut it off to reach the dirt.
Judge the rinse by what remains between the pleats
Leaf fragments and loose sediment should wash out of the valleys. A greasy coating that remains after thorough rinsing calls for a cleaning product decision. A structural split calls for replacement, even if the rest of the cartridge looks serviceable.
Cloudy runoff can continue while useful dirt is being removed. Clear runoff alone does not establish that oils or mineral deposits are gone. Inspect the element and compare its later operation with a reliable clean baseline.
If pressure remains high after an intact cartridge has been properly cleaned, investigate other restrictions before increasing cleaning force. Confirm the pump speed, valve arrangement, and gauge condition. The water jet should not become the default answer to an unexplained pressure reading.
If you already used a pressure washer
Inspect for split pleats, separated end caps, loose bands, and damage to the core. Look around the full circumference rather than checking only the side facing you. Replace an element with structural damage.
Absence of an obvious hole cannot prove that an aggressive cleaning left no damage. If dirt bypass or unusual flow follows the cleaning, record that sequence for your technician. Use the cartridge failure guide to separate damaged media from a fit problem.
Do not use glue, tape, or added fabric to cover a tear. Fit the correct replacement and investigate the cleaning method before treating the next element the same way.