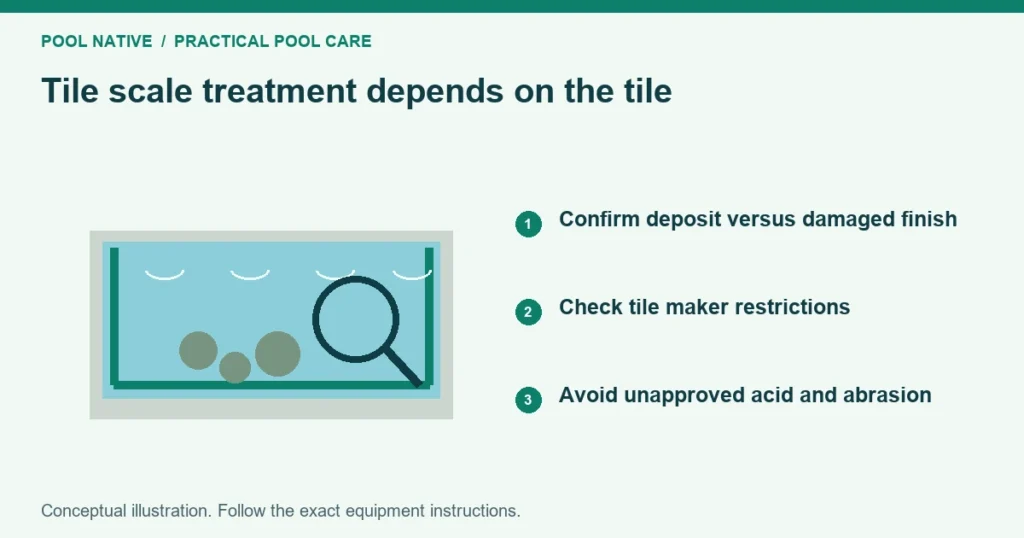
Remove pool tile scale with a method approved for the specific tile and grout. Begin with gentle cleaning and a small test area. Heavy deposits may need a tile cleaning specialist, especially on glass, decorative finishes or damaged joints.
Do not assume a pumice stone, acid or blasting medium is safe because someone used it on another pool. The underlying surface matters as much as the white deposit. A cleaner can remove scale while permanently dulling the tile.
Confirm the material before choosing a cleaner
Find the tile invoice, spare tile or manufacturer’s name. Record whether it is porcelain, ceramic, glass, natural stone or another material. Identify decorative coatings and iridescent surfaces that may have additional restrictions.
Include the grout, coping and adjacent pool finish in the compatibility check. A product safe for one tile face can damage nearby stone or cement joints. Do not choose a cleaner from the pool shell material alone.
NPT’s dedicated tile care instructions warn against pumice and abrasive brushes. They also warn that certain acids damage glaze and iridescent glass. Use the exact tile maker’s instructions when broader pool cleaning advice conflicts.
Check whether the deposit is really scale
A hard raised band at the waterline suggests mineral accumulation. A greasy film may be waterline scum, which needs a different cleaner. White streaks centered on joints or a raised spa wall can involve moisture moving through the installation.
Gently remove loose dirt and oily residue from a small area first. Photograph what remains. Do not chip the deposit with a screwdriver or scrape through grout to identify it.
Texture and appearance do not reliably identify the exact mineral. A lack of reaction to a household acid test is not a full chemical analysis. Avoid testing strong acid directly on installed tile.
If a stain follows one cracked joint or repeatedly appears below it, have the installation assessed. Cleaning the visible deposit may leave a moisture route unchanged. The stain identification guide provides a broader diagnostic starting point.
Use a controlled cleaning ladder
Start with water and a soft nylon brush approved for the tile. Work a small area from safe deck access. Stop if the surface scratches, loses gloss or sheds material.
Next, consider a pool tile cleaner explicitly approved for that tile, grout and surrounding materials. Read the dilution, contact time, rinsing and protective equipment instructions. A bathroom cleaner or household descaler is not automatically suitable for pool use.
Apply only as the label permits. Prevent concentrated runoff from reaching incompatible coping, plants or pool equipment. Do not combine cleaning products, even if the first one seemed ineffective.
Compare the test patch once rinsed under similar lighting. Inspect tile faces, edges and joints. A patch that feels smoother but looks hazy or has eroded grout has failed the compatibility check.
A useful sample area acceptance test
Agree on a small representative area before treating the whole perimeter. Include a grout joint and any decorative finish. Photograph the area before work and after the required rinse and drying conditions.
| Check | Acceptable outcome | Reason to pause |
|---|---|---|
| Deposit | Reduced without gouging | Deep scratching or stubborn patches requiring force |
| Tile finish | Original appearance retained | Haze, changed sheen or missing decorative coating |
| Grout | Joint remains intact | Recession, crumbling or exposed edges |
| Adjacent material | No new stain or etching | Runoff marks on coping or finish |
This check cannot guarantee the condition of every tile. It gives a clear standard for the chosen method. Different tile types around a spa or water feature may need separate samples.
When professional removal makes sense
Seek specialist help for thick deposits, fragile surfaces, difficult access or uncertain material. Ask which medium or chemical will be used and why it suits the installation. Equipment pressure, technique and containment matter alongside the product name.
NPT describes media blasting as an option for heavy scale and calls for an inconspicuous test. It is not a blanket approval of every abrasive on every tile. Ask how the contractor will protect grout and collect residue.
A useful quote identifies the area, method, test patch, debris handling and any required water level change. It should also state what happens if damaged or loose tile is discovered. Tile replacement and leak repair are separate from cleaning.
Do not drain the pool just to expose the entire band without a pool specific plan. Lowering water changes the support conditions of some structures and liners. A qualified contractor should determine safe access and water management.
Prevent recurrence by checking the whole water balance
Test pH, alkalinity and calcium hardness along with water temperature and the other inputs required by the chosen saturation calculation. Calcium carbonate scaling tendency depends on their interaction. One calcium number does not describe every pool’s risk.
Use the operating limits for the finish and equipment. Do not deliberately make the water aggressive to dissolve tile scale. That can harm cement based materials even while the deposit becomes smaller.
Review fill water too. Evaporation removes water while dissolved minerals remain, and repeated topping up can add more. A plan to reduce mineral concentration needs measured source water and safe water replacement or treatment options.
Check splash and evaporation patterns at spillways and fountains. A waterline band may return fastest where water repeatedly wets and dries. Regular gentle cleaning helps reveal a developing deposit before it becomes a thick crust.
If the same streak returns quickly
Mark its location and compare it with joints, cracks and overflow paths. Record water balance and cleaning dates. A deposit that returns in one narrow path deserves a different investigation from a uniform ring around the pool.
Avoid repeating increasingly harsh treatments on that spot. Ask whether water is passing through a joint or whether material behind the tile is contributing. Correcting that condition may be necessary before cleaning lasts.


