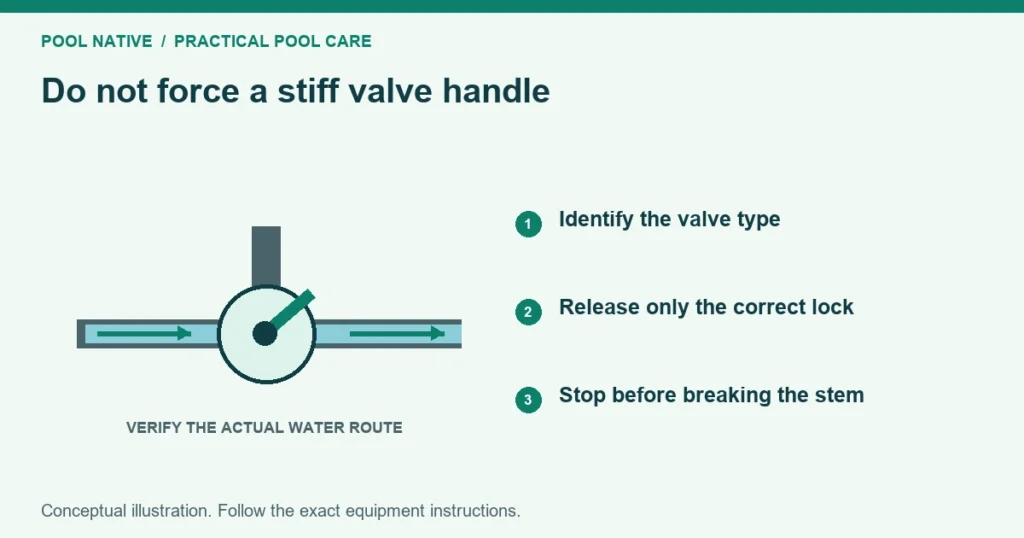
A stiff pool valve is a reason to stop and identify the resistance. A longer wrench or a pair of pliers can turn a serviceable valve into a broken handle or shaft. First determine what type of valve you have and whether a lock or actuator is holding it.
For a manual diverter valve, check the model’s instructions before moving it. For an automated valve, the actuator may control the position. Do not try to overpower the motor or use the handle as a lever against it.
Start with the valve type
Pool equipment pads can contain diverter valves, ball valves, filter multiport valves and motorized assemblies. Their operating methods differ. A procedure for one type can damage another.
This guide primarily covers manual pool diverter valves. If the handle belongs to a filter selector marked Filter, Backwash and Rinse, follow that filter’s multiport instructions. Do not treat it as an ordinary plumbing diverter.
If a powered actuator sits on top, start with the pool valve actuator troubleshooting guide. Its controls, mounting and manual release procedure need their own check. A motor that does not turn is not proof that the valve beneath it is seized.
Check the lock before blaming the internal seal
Some diverter valves have a locking knob above the handle. Jandy’s Never Lube instructions direct the user to loosen that knob before moving the handle. The knob is then secured finger tight after positioning.
That instruction applies to the identified design. Do not start loosening random fasteners on an unfamiliar valve. Cover screws retain the pressure boundary and are not handle adjustment screws.
Look for physical interference around the handle. A nearby pipe, equipment cover or misplaced label can obstruct its travel. Also check whether you have reached an intended stop rather than an unexplained stiff point.
Know the intended route before moving anything
Photograph the current position and trace the visible branches. Identify the common port and the ports the diverter can close. On the Jandy design covered by its instructions, the OFF marking identifies the blocked area.
Do not infer flow from the direction a long handle happens to point. Handle styles and internal arrangements differ. If the valve is unlabeled, use the pool valve labeling guide to build a reliable route record.
A wrong position can block needed flow to the pump, heater or another component. Do not move several unknown valves together. Preserve a clear way to restore the established operating arrangement.
Compare resistance with the equipment safely stopped
Follow the heater and circulation equipment shutdown instructions before changing a valve whose operating requirements are unclear. Prevent an automatic restart while assessing it. A stopped pump does not mean an elevated body of water has stopped exerting pressure.
Use the normal handle with ordinary hand pressure only. If it will not move as the manual allows, stop. Do not repeatedly work it back and forth until something gives.
| What you find | Useful next check | What to avoid |
|---|---|---|
| Locking knob was tight | Follow the model’s unlocking procedure | Loosening cover screws |
| Handle hits a firm endpoint | Confirm the allowed travel and stop position | Forcing it past the stop |
| Resistance changes after shutdown | Have pressure and routing conditions assessed | Treating easier movement as proof of a healthy valve |
| Handle is loose but flow position does not change | Inspect handle and shaft engagement during safe service | Tightening until plastic strips |
| Valve became stiff immediately after a rebuild | Check part fit, seal placement and assembly | Adding leverage to seat the parts |
| Actuator is fitted | Use its approved manual operation procedure | Turning against an engaged drive |
If the valve moves after a simple approved adjustment, restore the correct route before restarting. Confirm the connected equipment operates normally. An easy moving handle is useful only if the internal diverter is in the intended position.
Why internal resistance develops
Debris can interfere with the moving assembly. A seal can deteriorate, move out of position or be replaced with the wrong part. Damage or distortion can also prevent smooth travel.
The timing helps narrow the investigation. Sudden stiffness after service raises different questions from gradual resistance over several seasons. A problem that began after plumbing work also warrants checking alignment and installation details.
Do not diagnose mineral buildup solely because the pool water is hard. Internal inspection may reveal another cause. Pouring acid or a household descaler into an assembled valve is not an appropriate substitute for identifying the fault.
Lubrication is a model specific decision
The label Never Lube does not mean every visible problem can be solved with a lubricant. Nor does it mean the valve cannot suffer worn seals or mechanical damage. Follow the exact product instructions and parts diagram.
Pentair’s FullFloXF service instructions call for silicone lubricant on specified seals during assembly. They also require the shaft and diverter to turn smoothly when assembled. Those directions do not justify applying an arbitrary oil through the handle opening.
Avoid petroleum products, penetrating sprays or other unapproved treatments. Their compatibility with the valve’s plastics and elastomers may be unknown. Correct lubrication, where specified, is part of a correctly fitted repair rather than a way to conceal excessive friction.
What a proper internal service includes
The equipment must be secured against restart, depressurized and appropriately isolated before opening the valve. Below water level, a separate water isolation plan is essential. Use qualified service if the route or procedure is uncertain.
Record the cover, handle and diverter orientation before disassembly. Inspect the seals, shaft, bore and body rather than replacing the handle alone. Check any new assembly against the manufacturer’s parts list.
Use the specified removal method without damaging sealing surfaces. Reassemble with the correct seal locations and cover indexing. Follow the model’s fastening requirements instead of borrowing a screw count or torque from another brand.
A new handle may be appropriate when its connection is damaged and the valve moves correctly underneath. It is not a cure for a seized internal assembly. Replacing only the broken lever can lead to the same break again.
Verify movement and water routing after repair
Before normal operation, confirm that the valve travels through its permitted range without binding. Set it to the documented operating position. Restore any isolation valves used during service.
Restart and vent the system according to its instructions. Check for external leaks and confirm that the intended branch receives flow. Repeat the relevant pool, spa or feature mode only after the route is known to be safe.
If stiffness persists, stop using the valve as though the repair succeeded. Record whether it binds throughout travel or only at one position. That distinction, the model number and the recent service history give the technician a useful starting point.
Keep the next adjustment straightforward
Add durable labels once the branches are verified. Keep a photo of normal positions with the equipment records. Inspect the handle and surrounding area during routine pad checks.
Follow any maintenance or exercise schedule in the valve’s own instructions. Do not invent a universal turning schedule for every assembly. The practical goal is a valve that moves normally, seals properly and sends water where the system requires it.