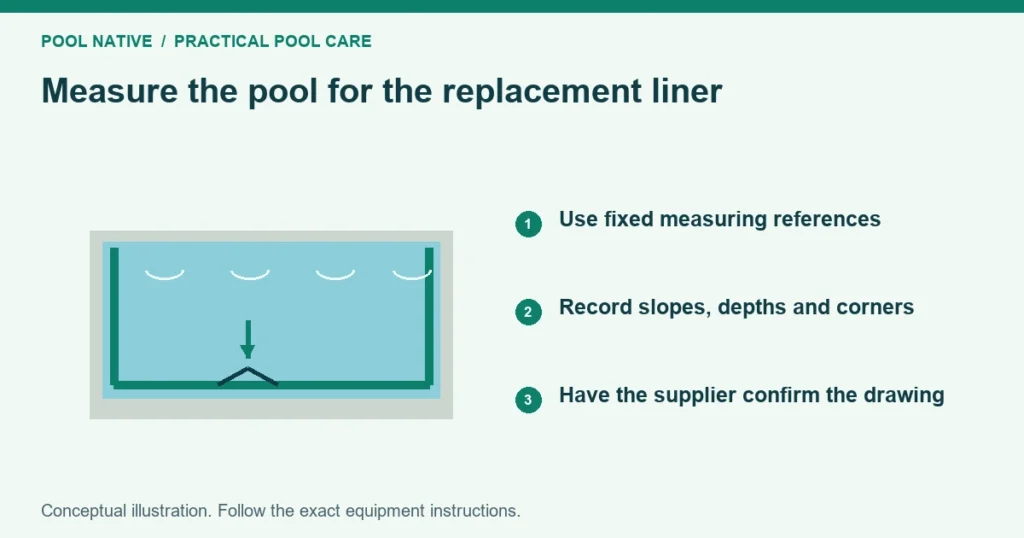
Measure the pool itself for a replacement liner, using the form supplied by the intended manufacturer. Do not measure the stretched old vinyl or subtract your own allowance for stretch. The fabricator needs the actual shape and the correct reference points.
A stock above ground liner and a custom inground liner require different information. Begin by identifying which you need. Most measurement planning can happen while the pool remains full.
Get the correct form before measuring
Ask the supplier for its current form for the pool shape and liner system. Confirm units, precision, rounding rules and the required depth reference. Do not combine letters or dimensions from different manufacturers’ diagrams.
GLI provides separate forms for different pool and hopper shapes, plus steps and benches. A general length and width sketch is not a substitute. Custom shapes may need a separate survey method.
Gather the pool model, old liner order and any construction plans. Use them as crosschecks rather than assuming they describe the finished pool perfectly. Construction changes and later repairs can alter dimensions.
Record attachment and construction details
Identify the current bead or other attachment profile. Photograph the receiver and accessible liner edge without dismantling a loaded structure. The attachment guide distinguishes beaded, overlap and Unibead arrangements.
Record whether steps are separate fiberglass units or covered by the liner. Include benches, sun ledges, safety ledges and unusual corners. These features affect the manufactured liner even when overall dimensions stay the same.
Ask the installer to assess track damage, floor changes or wall distortion before final measurement. A new liner should match a sound finished structure. Measuring a condition that will be repaired later can produce the wrong order.
Measuring a stock above ground pool
For a round pool, measure inside wall to inside wall through the center in more than one direction. For an oval, measure the main length and width between the inside walls. Keep the tape straight and use safe access with a helper.
Measure wall height from the actual wall base to the top of the wall, excluding the top rail. Swimline specifically distinguishes wall height from rail height. Water depth and the visible interior height above sand are not the same measurement.
Record all readings rather than immediately rounding to a familiar catalog size. If a supposedly round pool gives inconsistent diameters, ask the supplier or installer to assess the difference. Do not hide a significant shape problem by averaging it away.
Confirm whether the floor is flat or uses a design requiring a different liner. An expandable liner is not a universal remedy for uncertain measurements. It must be approved for the actual pool configuration.
Inground length and width use the pool wall
Measure between the pool walls at the reference shown on the form. Do not measure only between the overhanging coping edges. Coping can make the opening appear smaller than the liner’s required width.
For example, suppose coping projects two inches inward on each side. A measurement between those edges is four inches less than the wall to wall distance. The example illustrates the error; do not add four inches unless that projection was actually measured.
Record the corner shape and any differences around the pool. A rounded corner and a diagonal corner need different dimensions. A pool that looks rectangular from above may still require radius or diagonal details.
Measure depths from the specified datum
The datum is the reference level from which a dimension is measured. For a beaded inground liner, GLI’s consumer guide uses the bead receiver for depth. It does not use the top of the deck or the current waterline alone.
In a full pool, measure vertical water depth at the specified location, then add the vertical distance from the waterline to the receiver. Keep the measuring pole vertical without scraping the liner. Use a professional if the required location cannot be reached safely.
As an example, forty inches of water plus five inches to the receiver equals forty five inches of finished depth. Recording only forty inches omits part of the liner wall. Measuring to the coping top introduces a different error.
GLI also specifies where to take its deep end measurement, rather than automatically using the deepest point in the middle. Follow the chosen form’s location. A sloped or dished bottom can make nearby readings different.
Floor slopes need horizontal dimensions too
The floor profile includes shallow areas, slopes and the deep floor or hopper. A tape lying along a slope measures its sloping length. Many liner forms instead require the horizontal distance between the transitions as viewed from above.
Mark the transition locations on a deck sketch using the manufacturer’s method. Record the required horizontal spans and vertical depths separately. Do not exchange them because both seem to describe the same slope.
Crosscheck that the component spans add to the overall dimension. For a hypothetical forty foot pool, twelve, eight, fourteen and six foot spans total forty feet. If the recorded spans total forty two feet, recheck them before submitting the order.
That arithmetic check cannot prove every measurement is correct. Two errors can cancel. It is one useful check alongside repeated readings and the overall sketch.
Corners, steps and benches need their own detail
Use the supplier’s method to measure corner radii or diagonal cuts. Do not estimate a radius from a photograph. Mixed corner types should be clearly located on the drawing.
For liner covered steps, record tread depths, riser heights, widths, setbacks and required retaining features. GLI’s form asks about rod pockets, flaps or bead arrangements where applicable. Missing those details can make an otherwise correct liner unusable.
Show the location of separate steps and fittings as the form requires. Mark the viewing direction consistently, especially for an L shaped pool. Left and right can reverse when the observer moves to the opposite end.
Custom shapes may require an A to B survey
An A to B survey locates numbered pool points using distances from two fixed reference points. It can describe a freeform perimeter more precisely than a hand drawn outline. The manufacturer specifies the baseline setup, point spacing and checks.
Do not invent those survey requirements or reuse a safety cover form for a liner. A cover survey and a liner survey describe different surfaces and features. Custom steps and floor contours still need the required additional measurements.
Use an experienced measurer when the shape, access or method is beyond your confidence. A professional survey costs less effort than trying to stretch a wrongly manufactured liner into place. Confirm who is responsible for measurement accuracy before ordering.
Review the order independently
Have a second person compare the form with the photos and sketch. Check units, decimals, feet and inches, attachment, depth datum and every required field. Make uncertainty visible rather than filling a blank with a guess.
A notation such as 4.6 feet does not mean four feet six inches. Four feet six inches is 4.5 feet. Use the supplier’s required notation consistently.
Request supplier review before authorizing a custom order. Save the approved form and any clarifications. Do not remove the old liner or schedule draining until the replacement and installation plan are ready.
Measure safely with water in place
GLI’s measuring guide states that draining is unnecessary for its measurement process. Do not empty a vinyl pool simply for easier access. Water removal can shift the liner and alter structural loads.
If visibility or access prevents reliable measurements, arrange professional measurement rather than risky underwater work. Keep away from suction openings and electrical fixtures. Accurate measurements should not come at the cost of damaging the pool or putting someone at risk.


