A complete pool plumbing winterization job accounts for every branch that can retain water, including features used only occasionally. Before the contractor arrives, gather the equipment manuals and map the known lines. Ask for a record of how each one was protected.
This is an owner preparation and contractor checklist, not a compressed air procedure. Air purging can create dangerous pressure and requires appropriate training and equipment. A generic compressor setting cannot account for every installation.
Make a line inventory before closing day
Start with the builder’s plumbing drawing, then compare it with the actual pool and equipment. Label known routes without guessing at hidden connections. Mark any unexplained valve or abandoned line for the contractor to identify.
Walk around the pool as well as the equipment pad. Count individual returns and features, not just the pipes beside the pump. Several outlets may share a branch, while an inconspicuous fitting may have its own line.
| Area | Items to account for |
|---|---|
| Suction plumbing | Each skimmer, main drain arrangement, cleaner suction, and connected ports |
| Return plumbing | Wall returns, step or ledge returns, spa routes, and separate feature branches |
| Water features | Slides, fountains, deck jets, waterfalls, and their feed lines |
| Heating | Heater, heat pump, solar system, bypasses, and low points |
| Treatment | Salt cell, feeder, dosing tubing, sensors, sample cells, and other wetted devices |
| Separate services | Fill supply, autofill components, and anything excluded from the pool contractor’s scope |
Note components that were added after the original pool build. An old drawing may omit a new heater bypass or feature line. Include photographs so the contractor can prepare for access and parts.
Agree on the work and exclusions
Ask which equipment and branches the quoted closing includes. Confirm whether separate plumbing, solar heating, or unusual features require another service. Resolve those gaps before the weather deadline.
Discuss the approved water level with the pool and cover requirements in hand. Do not lower the pool simply because another installation uses that level. Water removal and plumbing protection must fit the same plan.
Identify known leaks, stuck valves, missing labels, and previous freeze repairs. These can affect isolation and access. A contractor needs that history before relying on an apparently normal valve position.
Ask how each branch will be verified
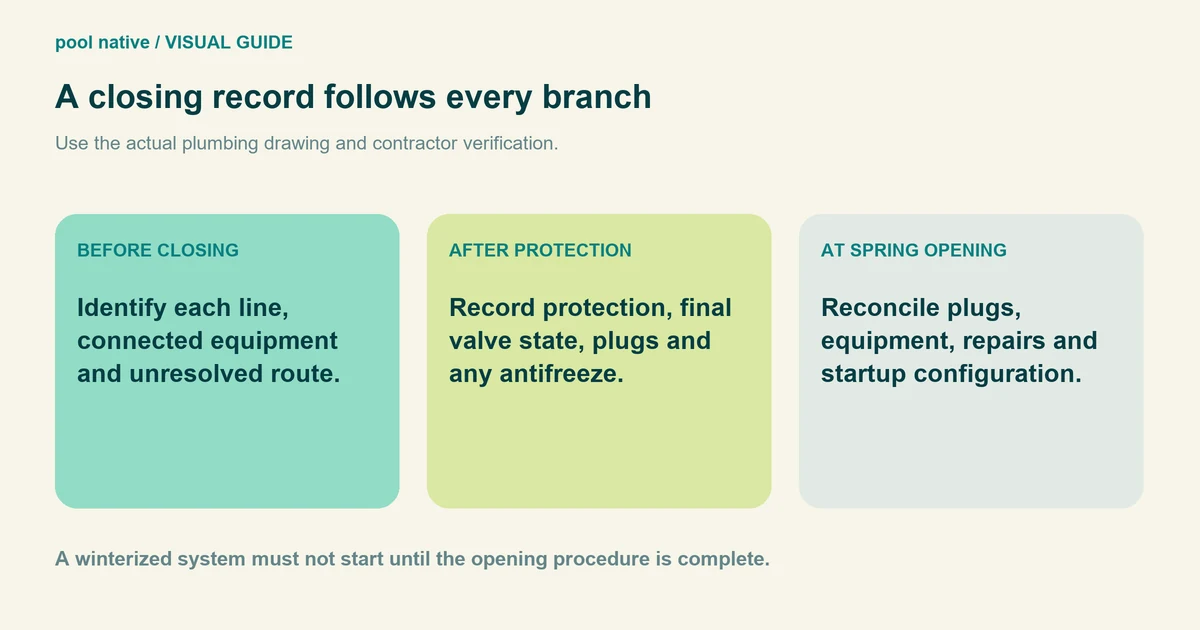
The completion record should identify each line, its protection method, and the final isolation point. Ask how the contractor confirms the branch has been addressed. Bubbles at one return do not by themselves document every connected outlet.
Main drain plumbing can require an airlock method suited to its configuration. Ask which valve or closure preserves that condition. Do not move it later to investigate the system.
For a branch using antifreeze, record the product, amount, and placement. Include the spring removal instructions. The antifreeze guide explains why dilution and retained location matter.
Leave unknown, inaccessible, or incomplete branches explicitly marked as unresolved. A clear exception is more useful than a blanket “pool closed” note. Arrange the missing work before freezing conditions reach those components.
Include the small equipment passages
Draining the filter does not establish that a heater, valve cavity, feeder, or sensor cell is empty. Each component needs its specified winterization method. Ask the contractor to check the manuals for the installed models.
Probes and electronic water monitors may need special storage or freeze protection. Do not assume they should dry out with ordinary plumbing parts. Keep their storage instructions with the equipment record.
Chemical feeders and dosing lines also need separate handling. Follow the manufacturer’s shutdown and chemical disposal directions. The owner should not open a feeder or mix remaining products to help the job along.
Document the final state before the cover goes on
Photograph accessible plugged fittings and final valve positions from safe locations. Label the photos with the branch names from the inventory. Record which drain plugs or equipment parts were removed and where they are stored.
Separate parts that belong back in equipment from plugs that must come out of pool fittings in spring. A bag marked only “pool parts” leaves that distinction unresolved. Use a location list or separate labeled containers.
Confirm how power and automatic operation are prevented for winterized equipment. Leave a clear notice that the system is winterized and must not be started. A future visitor should not mistake a stopped pump for a simple timer problem.
Know what to watch during winter
Get the approved water level range, inspection schedule, and service contact. Ask which changes require a call, such as a displaced plug or unexpected water loss. Keep access barriers secured during every check.
If a plug moves or a valve is disturbed, report it promptly. Do not assume pouring in more antifreeze restores the original protection. The affected branch may need to be assessed and winterized again.
Do not stand on a cover or pool ice to inspect a fitting. Have inaccessible areas checked professionally when conditions permit. An inspection should not introduce a fall or immersion hazard.
Carry the record into spring
Use the same inventory for opening. Reconcile removed winter plugs, installed drain plugs, restored equipment, and any antifreeze recovery before startup. Have unresolved damage or leaks assessed first.
Keep the closing record after opening succeeds. It helps the next contractor understand the installation and gives you a reliable starting point next autumn. Update it whenever plumbing or equipment changes.


