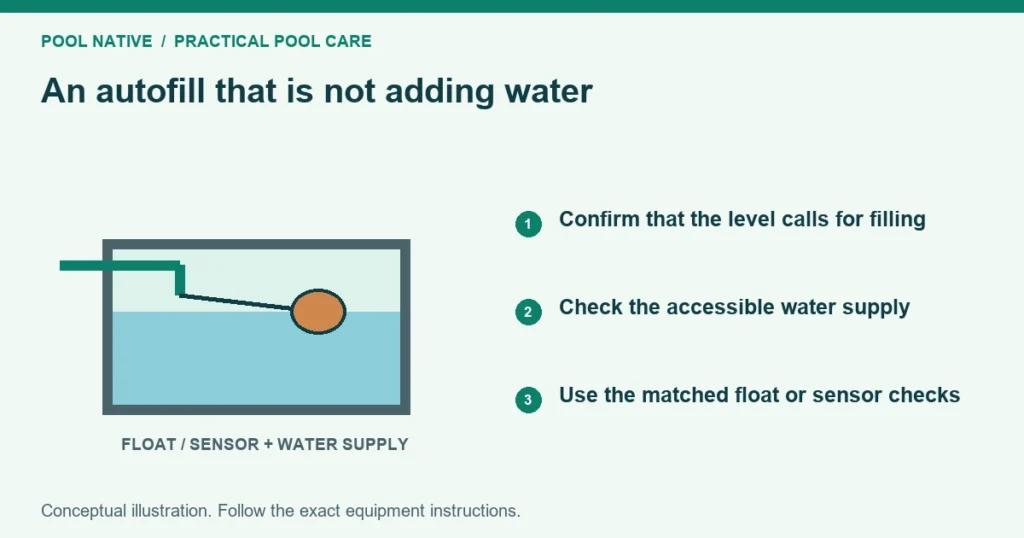
A pool autofill can fail at four different stages: water supply, level sensing, valve opening or delivery to the pool. Check those stages separately. Replacing the float first can miss a closed supply valve or a chamber that no longer tracks the pool.
Protect the equipment while you investigate. If the pool is approaching its minimum operating level, stop affected equipment and prevent scheduled starts. Any temporary manual filling needs supervision and the appropriate protected water connection.
Confirm the pool is below the intended fill level
Compare the actual water level with the established target. Check under the operating condition required for the system. Waves, a running feature or a specialized sensing arrangement can affect the observation.
An autofill does not necessarily activate at every tiny change in level. Electronic systems may have a sampling or fill cycle rather than an immediate response. Consult the model instructions before treating a normal delay as a failure.
If the pool is consistently maintained at an unsuitable but stable level, the issue may be adjustment. The autofill adjustment guide covers that separate task. A setting that is too low differs from a valve that cannot supply water at all.
Stage one: check the known water supply
Locate the dedicated supply shutoff and confirm its intended position. Ask whether recent plumbing work, winterization or irrigation service affected the route. Do not open an unidentified valve merely because it is near the pool equipment.
Inspect accessible supply piping for obvious damage or leakage. A wet area along the supply route is relevant even when the pool stays low. Water may be leaving before it reaches the filler.
Leave backflow prevention devices in their approved configuration. Do not bypass them or open test ports to obtain a quick pressure reading. Have a qualified person check supply pressure and the device if normal supply cannot be established.
Stage two: see what the float or sensor sees
For a mechanical chamber, compare its level with the pool under the proper operating condition. A float sitting high in a full chamber will not call for more water simply because the pool is low. The route between them may need attention.
Look for debris that prevents free float movement. Remove only accessible loose material using the manufacturer’s instructions. Do not force the mechanism or bend it until water appears.
For an electronic system, confirm that the sensor is still mounted in its intended position. A submerged or displaced sensor can report the wrong condition. Record the controller indicators before attempting a reset or recalibration.
| Evidence | Likely stage to investigate | What it does not establish |
|---|---|---|
| Low pool, high chamber | Level transfer or sensing route | A failed supply valve |
| Low pool, float stuck high | Mechanical sensing | A clogged buried supply pipe |
| Low pool, electronic sensor moved | Sensor placement or calibration | A defective controller |
| Correct demand signal, no water | Supply or valve response | Which component has failed |
| Water enters chamber but pool stays low | Transfer route or rate of loss | That the filler is supplying enough water |
Stage three: test only the approved valve response
Some mechanical systems permit a gentle float movement test. Follow the exact instructions and observe whether water starts and then stops. If the response requires force or repeated nudging, the mechanism still needs service.
A supply screen may be obstructed with sediment. Shut off the supply before opening the assembly and follow the model’s screen cleaning procedure. Pentair’s T40-F instructions identify a screen and distinguish it from the float adjustment.
Use the correct valve and sealing method if parts need replacement. Side mounted and bottom mounted assemblies are not automatically interchangeable. A familiar toilet part may differ from the approved pool filler assembly.
An electronic controller may have an owner test that briefly commands the valve. LevelSmart provides a specific test separate from its reset and calibration actions. Use only the matching manual, because holding a control longer can perform a different operation.
Observe actual water movement as well as the status light. A click does not establish adequate flow through the valve. Leave voltage checks, wiring changes and solenoid diagnosis to appropriate service.
Stage four: verify delivery to the pool
If water enters a chamber but the pool does not recover, compare the two levels over the specified operating cycle. A restricted or airlocked connection can interrupt the intended relationship. The design may also have conditions under which it senses or transfers water.
Pentair’s T40-F installation instructions specify a straight equalizer connection for that model. Other systems use different arrangements. Do not force a hose into an unknown line based on a generic clearing video.
Have the installer inspect the route if the chamber and pool do not track properly. Record whether the chamber overflows, fills slowly or remains at a different level. Those observations help identify where the process breaks down.
Slow filling is a different measurement problem
A valve can open while supplying less water than expected. A restricted screen, supply problem or model specific flow setting may be involved. Compare the actual rate with the system’s intended operation before deciding it is adequate.
If incoming water is less than the pool is losing, the level can continue falling despite an open valve. The continuous autofill guide helps distinguish that condition from overfilling. A functioning valve cannot compensate for every possible leak or discharge.
Avoid solving slow recovery by leaving a manual override open. That removes automatic shutoff from the process. Correct the cause and verify the normal control cycle instead.
Recheck after the first successful fill
Confirm that water enters at the appropriate demand and stops at the intended level. Watch for overflow or leakage around any serviced parts. A valve that now fills but never stops has a new unresolved fault.
Observe the next natural demand cycle when practical. A mechanism that works only after being touched is not operating reliably. Record the status, level and response if the problem returns.
Keep the model numbers, supply shutoff location and service details with the pool records. That information lets the next inspection begin at the correct stage. It also prevents repeated adjustments from hiding the original fault.