Water moving backward after the pump stops can point to a check valve that is not sealing. It does not prove that every check valve on the pad needs replacement. First identify which pipe is draining and whether that valve controls the reverse route.
A leaking cover and a leaking internal seal are different faults. The cover can stay dry while the flapper lets water pass backward. Conversely, a dripping lid may need a cover seal repair even if the internal closure works.
Identify the valve and the flow it should block
A check valve permits flow in its designed direction and restricts reverse flow. Many pool models have an internal flapper visible through a clear cover. Other designs use different closing mechanisms, so identify the manufacturer and model before ordering parts.
Find the flow arrow or other direction marking. Trace the visible pipe on both sides without assuming the nearest piece of equipment defines its purpose. A valve may serve a spa, solar loop, water feature or chemical feeder arrangement.
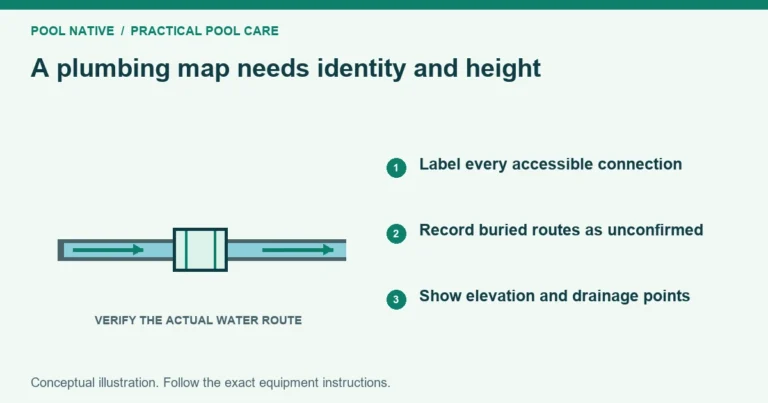
Make a quick route sketch. Mark the normal flow direction, the height of the water being held and any parallel branch. A second route around a good check valve can produce the same symptom as a failed seal.
If the specific complaint is a raised spa draining into the pool, use the spa drain back troubleshooting guide to assess the whole arrangement. This guide focuses on deciding whether the check valve itself is leaking backward.
Observe one normal shutdown
Keep people out of the pool while inspecting equipment. Follow the heater’s shutdown and cooldown instructions, then stop circulation normally. Prevent an automatic restart before opening or servicing anything.
Observe through the cover without loosening it. Record whether the flapper moves toward its seat, remains visibly open or appears obstructed. A cloudy cover may prevent a useful visual judgment.
Also record the timing of the symptom. A brief settling movement can differ from sustained reverse flow that drains a feature. Water level change alone does not identify the exact route.
| Observation | What it suggests | What it does not prove |
|---|---|---|
| Debris is visible between the flapper and seat | The closure may be held open | That the sealing surfaces are undamaged |
| Flapper appears closed but water continues draining | Seal leakage or another open route | That the valve body must be cut out |
| Lid or screw area becomes wet | External cover or body leak | Internal reverse leakage |
| Symptom began after valve service | Orientation or assembly deserves checking | That a new part is defective |
| Pump loses prime but no reverse route is established | Air entry or drainage needs broader diagnosis | That installing another check valve is the cure |
Do not close unfamiliar valves as a guessing exercise. The next scheduled start could run against a blocked path. Where isolation is needed, have the route identified and leave a clear record of every changed position.
What commonly prevents a seal
Debris at the seating surface
A small piece of material can prevent full contact between the closure and its seat. Removing it may restore sealing if the surfaces remain sound. Repeated debris intrusion needs an upstream explanation rather than repeated blind cleaning.
Damaged or distorted sealing parts
A cut, hardened or deformed sealing surface may leak even when the flapper looks closed. Inspect the mating surface as well as the movable part. A new flapper cannot reliably compensate for a damaged body seat.
Hinge or movement problems
The moving assembly must travel as the particular design requires. Wear, damage or incorrect assembly can leave it hanging open. Do not assume every valve uses a replaceable spring or that bending a component is an approved repair.
Wrong orientation or application
The flow direction and permitted mounting orientation must match the manual. Internal parts can also be installed incorrectly during service. A check valve selected for the wrong chemical exposure or hydraulic duty may need a different approved assembly.
Before removing a cover
Switch off and secure all equipment that could start automatically. Relieve pressure according to the equipment instructions and verify the system is safe to open. A stopped pump does not remove pressure caused by elevated water.
If the valve sits below pool or spa water level, opening it may release water continuously. Appropriate isolation or drainage is required before disassembly. Have a pool professional handle the work if that isolation is unclear.
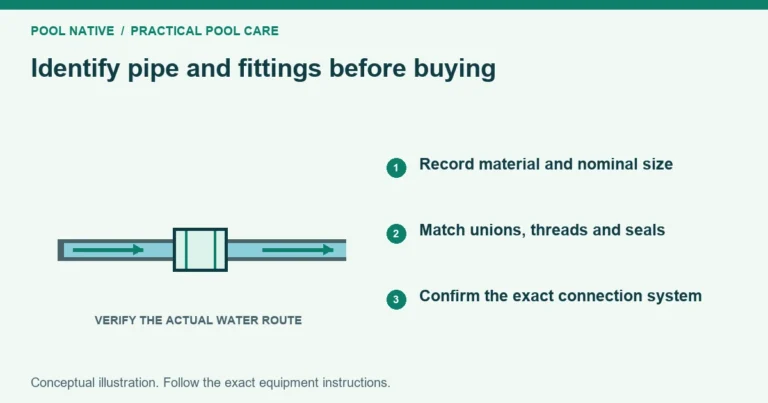
Photograph the valve, markings, cover and internal orientation before removing parts. Record the model, connection size and any part number. Similar looking flappers and cover seals are not automatically interchangeable.
Repair the identified fault, not just the visible part
Use the manufacturer’s service procedure and matching parts. A serviceable valve may allow internal repair without cutting out the body. A cracked housing, damaged seat or unsuitable installation can require replacement of the complete valve.
Pentair’s FullFloXF instructions illustrate why model details matter. They require recording the flapper direction before removal and reinstalling it in that direction. They also specify a cover alignment feature, seal treatment and screw tightening requirements.
Those details are not a universal procedure for another brand. A valve with a different cover, screw count or seal material needs its own instructions. Avoid applying a remembered torque or lubricant to an unidentified part.
Do not pry on sealing surfaces to free a cover. Scratches can create a new external leak. Keep debris away from the open body and inspect the cover seal separately from the internal closure.
For chemical feeder protection, follow the heater and feeder diagrams together. The required check valve belongs in the specified relationship to those components. A generic rule such as putting it somewhere before the heater can place it on the wrong side of the chemical source.
Verify forward flow and reverse closure
Restore all required flow paths before restarting. Prime and vent the system according to its instructions, then inspect the closed assembly for external leaks. Observe from a safe position rather than leaning over a pressurized cover.
Confirm that ordinary circulation still works at the programs that use this branch. A valve that seals backward but does not open properly can create a restriction. Check the relevant feature or equipment operation as well as the pump.
Repeat the same normal shutdown observation used before repair. Compare the same water level, mode and elapsed time. This makes the result more useful than a quick glance immediately after installation.
If water still drains, revisit the route sketch before buying another flapper. Look for a parallel branch, diverter leakage or a different source of level loss. Record what changed and what remained unchanged for the next diagnosis.
What to give the service technician
Provide the valve model, clear photos of the pipe route and the observed flow direction. Include the operating mode and the time required for the symptom to appear. Mention recent plumbing work or changes to automation settings.
Ask for confirmation of both the fault and the completed test. A useful repair record states what failed, which parts were replaced and whether forward flow and shutdown holding were verified. That record is more valuable than a general note that the valve was serviced.