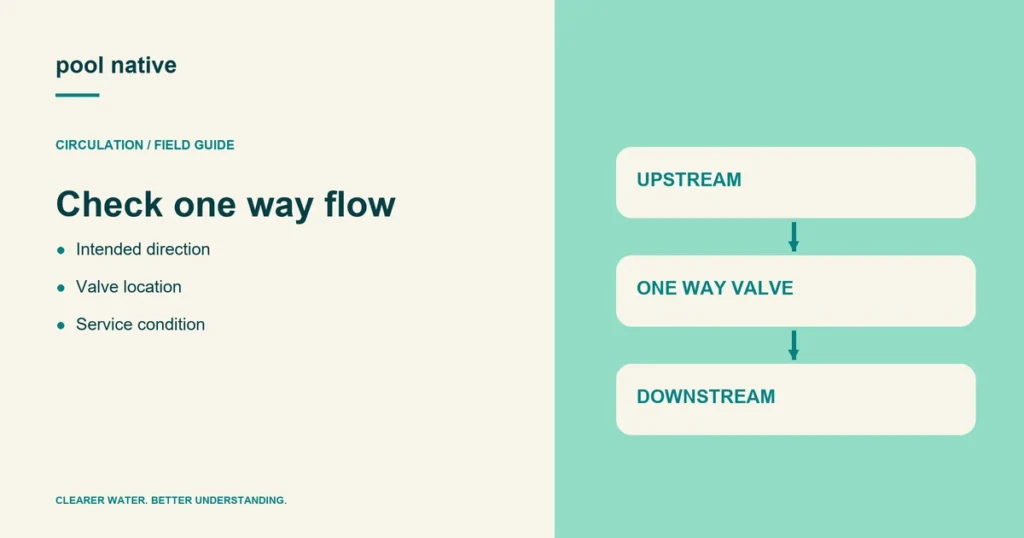
A pool check valve permits water to move in its intended direction and resists reverse flow. It normally works automatically through an internal closing mechanism. It is different from a diverter that you turn to select a pool, spa, or feature.
Its usefulness depends on where it sits, what it protects, and whether it seals under the installed conditions. Adding one anywhere near the pump is not a universal fix for water draining back.
Match the valve to the reason for controlling reverse flow
A raised spa may need an appropriate valve arrangement to prevent water returning toward a lower pool after shutdown. Equipment instructions may also require a check valve at a specified point. The complete plumbing layout establishes the purpose.
A check valve cannot correct every unintended route. Water may travel through a bypass or a leaking diverter that avoids the check valve entirely. Trace the possible paths before deciding which component is responsible.
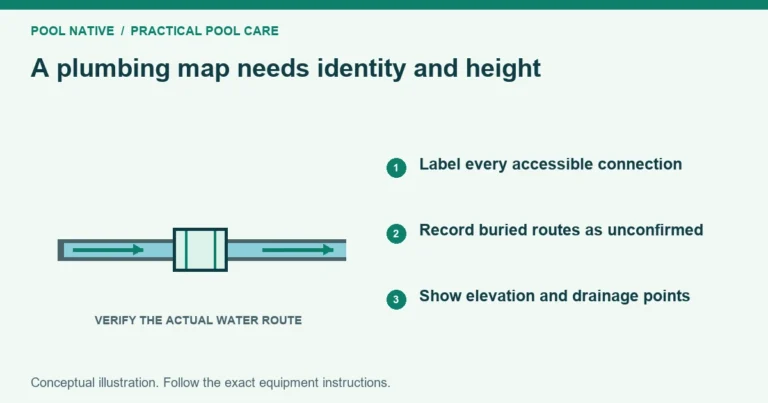
The plumbing overview helps separate supply lines, return branches, and bypasses. Keep the installed function in the record: “prevents reverse flow from this branch” is more useful than “clear valve.”
Read the arrow and the mounting instructions
The flow arrow identifies the permitted direction. Check it against the verified direction of normal circulation. Do not infer direction solely from which end is nearer the pool.
Orientation requirements also matter. Jandy’s documented spring check valve allows horizontal installation or vertical installation with upward flow. That does not authorize a downward vertical arrangement for that model.
The cited Jandy Spring Check Valve instructions, H0292100 Revision C, recommend at least 16 inches of water column for sealing. They place the valve as low as practical so the water column helps close it. That height is a location requirement, not the length of the valve body.
Other Jandy documents can specify different details, so match the manual to the installed valve. Do not combine a dimension from one revision with a mounting sketch from another. Have the qualified installer confirm the applicable instruction if identification is unclear.
Size is more than the pipe connection
| Selection detail | Question to resolve |
|---|---|
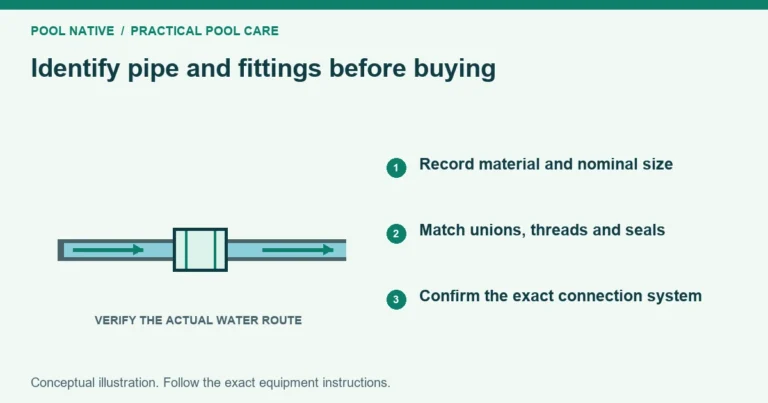
| Pipe connection | Which specified socket or fitting matches the installed pipe? |
| Flow performance | What resistance does the valve add at the required operating flow? |
| Material and application | Is it approved for the water, temperature, and equipment involved? |
| Orientation and sealing | Will it operate properly in this location? |
| Service access | Can permitted inspection and maintenance be done safely? |
Do not substitute a general plumbing valve merely because its threads fit. Jandy specifically excludes air blower use for the spring check valve in its cited instructions. Water plumbing and air plumbing have different requirements.
Observe without opening a pressurized body
Some models have a clear cover that permits external inspection. You may be able to observe whether the internal flap changes position during normal operation. That view is useful evidence, but not a guarantee of a watertight seal.
A small piece of debris or damaged sealing surface may permit leakage when the flap appears closed. Conversely, visible motion does not prove it delivers the necessary flow. Record what happens during operation and after shutdown.
Do not loosen the cover while the system runs or remains pressurized. Internal inspection needs the equipment’s shutdown, isolation, and pressure relief procedure. Use a qualified pool professional where the manufacturer requires professional service.
For example, a raised spa can still lose water if a parallel return path bypasses the check valve. A new sealing flap in the original valve would leave that path open. Ask for the complete shutdown flow route to be traced before paying for another replacement.
Avoid replacing a symptom with a guess
If water drains from a spa, record when it starts and which operating mode preceded it. If prime is lost, note the equipment elevation and any air symptoms. Those details help establish whether reverse flow, an air leak, or another path is involved.
A new valve will not fix incorrect diverter positions or unidentified bypass plumbing. Have the intended route confirmed first. Replace or service the confirmed faulty component using its correct parts and installation requirements.