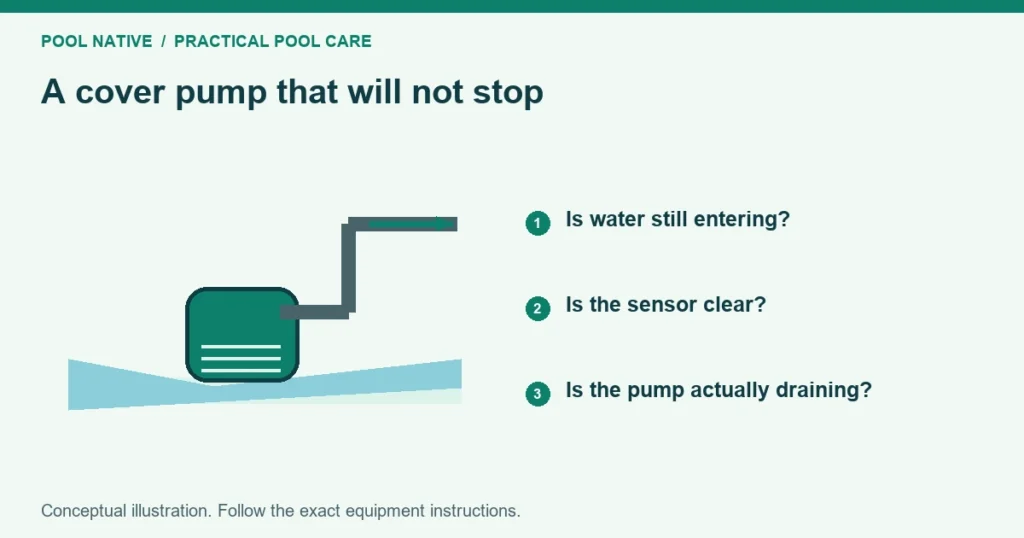
If your pool cover pump will not shut off, look at the hose outlet and the water around the pump. Continuous running can mean water is still arriving. It can also mean the pump cannot discharge, or its control has failed to stop a dry motor.
Shut it off safely if it runs without useful flow, sounds abnormal or has no water left to pump. Do not wait for overheating to stop it. Keep people away from the cover and any wet electrical connection.
Three different reasons for continuous running
| Water near pump | Hose flow | What to investigate |
|---|---|---|
| Remains high | Strong flow | Inflow may match or exceed actual pumping capacity |
| Remains high | Weak or absent flow | Blockage, excessive lift, airlock or pump fault |
| Falls below normal stop level | Little water remains | Switch obstruction, control fault or incorrect placement |
Check whether the unit is automatic at all. A manual removal pump depends on the operator to stop it. Confirm the model and control arrangement rather than relying on the word cover in its product name.
For rapid starts and stops, see cover pump cycling. A motor that never stops needs a different observation.
If water keeps arriving
Rain and melting snow can sustain a long pumping run. Check whether the top water level is falling, steady or rising. A steady level with strong discharge means inflow is roughly matching the installed system’s output at that moment.
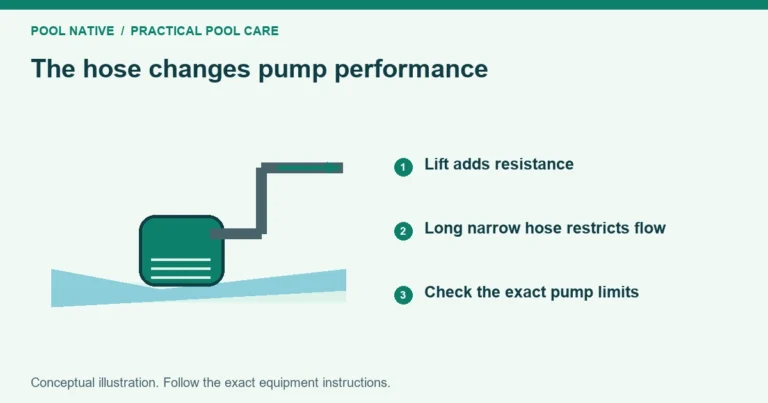
Compare the conditions with the pump’s performance at its actual hose route. The advertised maximum flow does not include every installation loss. A long narrow hose or high outlet can leave much less useful capacity.
Also inspect where the discharge goes. Water sent onto ground draining back toward the pool can create a loop. Move the destination only within local drainage requirements and the pump’s permitted arrangement.
Check the pool level underneath. Water passing through a damaged or heavily loaded cover can keep supplying the pump. If the pool level drops, stop treating the problem as ordinary rain removal and get the cover assessed.
Do not leave a cover without its required drainage while waiting for service. Arrange a suitable temporary maintenance plan with the installer. Preserve access barriers around any ponded water.
If the motor runs but little water leaves
Disconnect power before touching the pump or hose. Inspect the full hose for kinks, crushed sections, a closed nozzle or an obstructed outlet. In freezing weather, a hose can be blocked by ice even when the water around the pump is liquid.
Check vertical rise against the exact operating limit. Do not use shutoff head as a recommended working height. The cover pump hose guide explains the difference between lift, friction and published flow.
Retrieve the pump as directed and clean the accessible strainer. Follow the model’s procedure for an obstructed air vent or airlock. Do not drill a new vent or enlarge an existing hole.
Air trapped inside can prevent water movement even while the motor turns. Use the manufacturer’s recovery sequence with the required water depth. Do not copy a procedure that calls for handling a running pump in water.
If the blockage checks reveal nothing, the pump may need service. Record the flow symptom and any sound change. Repeated power cycling is not a repair for an unresolved motor or control fault.
If the water is gone but the motor stays on
Turn the pump off and compare the remaining depth with its documented stop level. Automatic pumps do not all remove water down to the cover surface. A small residual puddle may be normal after a correct stop.
Inspect placement and the permitted switch access area with power disconnected. Leaves or sludge may prevent a float from dropping freely. An electronic sensor has a different cleaning routine, so identify the mechanism first.
Do not force a float through resistance or adjust an internal switch without instructions. Clean only owner accessible parts and reassemble them correctly. Sealed electrical components belong with authorized service.
A damaged cord or cracked housing is a reason to stop using the pump. Do not splice a cord beside the pool. Little Giant’s APCP1700 support guidance identifies its cord as a nonreplacement component.
Test after approved maintenance
Place the pump as instructed with sufficient water for a valid operating check. Observe from a dry, safe location. Confirm both discharge and automatic stopping before leaving it in normal service.
Do not run a dry test on the deck to see whether it eventually stops. Do not bypass the water detector. The test should reproduce the intended water removal conditions without exposing anyone to energized water.
If it again fails to stop, disconnect it and arrange repair or replacement. Provide the model, stop level observation and hose layout. A technician needs to know whether water remained, not just that the motor ran for a long time.
Review the cover after the pump fault
Check for accumulated top water, unusual sagging and changes in the pool level. A repaired pump cannot reverse damage from a prolonged load. Follow winter cover inspection before considering the system back to normal.
Clear debris before the next storm and inspect the outlet route after freezes. Arrange periodic checks during extended absences. Automatic control reduces hands on pumping, but it cannot identify every cover or drainage problem.