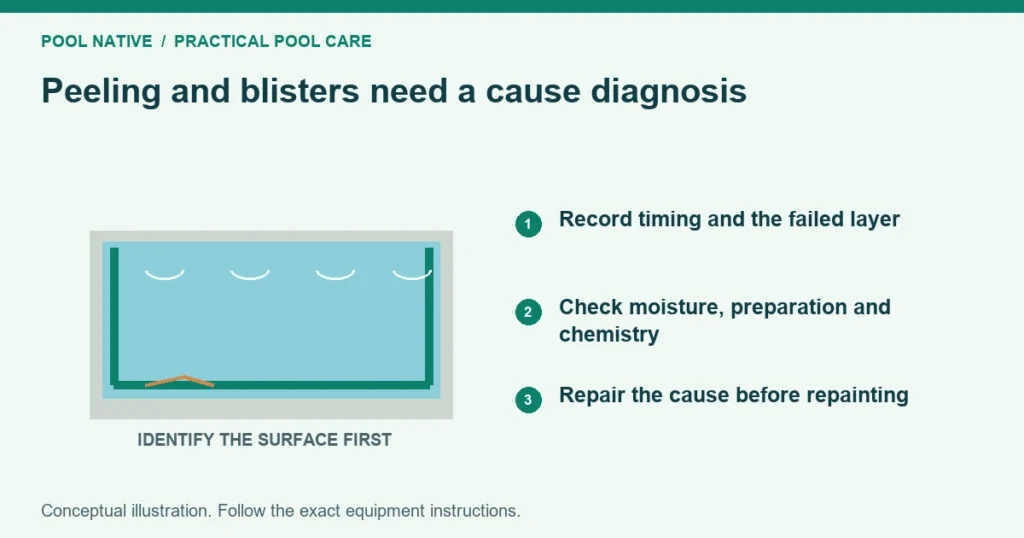
Peeling pool paint means a bond has failed somewhere in the coating system. Blisters are raised pockets that may involve moisture, trapped material or poor adhesion. Neither symptom identifies one cause from a photograph.
Before buying more paint, establish what separated from what. A clean paint flake, a flake carrying old coatings and a flake carrying crumbly plaster point toward different repair scopes.
Preserve evidence before cleaning it away
Photograph the affected area and its location in the pool. Record when the problem appeared, whether the pool had just been filled and any recent chemical additions. Save loose pieces separately if they can be collected safely without disturbing intact material.
Do not pop every blister, scrape the pool aggressively or begin acid washing. Those actions can remove useful evidence and enlarge the damaged area. Ask the coating manufacturer what samples it needs before stripping begins.
Keep swimmers out if loose or sharp surfaces could cause injury. Prevent large paint pieces from obstructing skimmer baskets or other circulation equipment. A severely deteriorated finish needs an assessment before normal use resumes.
Identify the failure plane
The failure plane is the boundary where the layers separated. Examine an already loose piece and the corresponding exposed area. Do not cut into an intact finish simply to see what lies beneath it.
| Observation | Question to investigate | What it does not prove |
|---|---|---|
| New color lifts and an older color remains | Did preparation or coating compatibility fail between coats? | That the old layer is sound everywhere |
| Several paint colors lift together | Has an older layer lost adhesion? | That the newest paint formulation is defective |
| Gritty plaster remains attached to the flake | Is the underlying pool finish breaking down? | That another coat can repair the substrate |
| Small raised pockets occur in fresh paint | Were moisture, thickness or application conditions unsuitable? | Which cause applies without job history |
| Film remains bonded but sheds fine pigment | Is this chalking or surface wear? | That the entire coating must be removed |
A contractor may need to test adhesion beyond the visible failure. The repair boundary is not always the edge of the obvious peeling. Painting only the bare patch can leave adjacent weak layers in place.
Use timing to narrow the investigation
Failure during application can involve contamination, incompatibility or a surface that was not ready for coating. Failure soon after filling raises questions about final cure and early water exposure. Failure after years of service brings aging, wear and underlying surface condition into the assessment.
Timing is a clue rather than a verdict. Early failure can still involve an old buried layer. Later failure can expose a preparation defect that remained hidden for some time.
Write down the last coat date, refill date and the first date the defect was noticed. Include touchups because those areas have a later cure start. Compare the record with the exact product instructions, not a general pool paint calendar.
Check the location pattern
Steps and the waterline collect body oils and other contamination. Heavy paint can also accumulate in corners or around repairs. A defect concentrated in those locations deserves a different investigation from a whole wall separating in sheets.
A blistered sunny wall raises application temperature questions. A persistently damp floor or water emerging through an empty shell raises moisture questions. Neither condition should be covered with another coat while its cause remains unresolved.
Record whether problems occur only over patches or only in one paint color. Those boundaries can reveal different repair materials or application sessions. Include apparently sound comparison areas in the photo record.
Review preparation and compatibility
Confirm the original surface and every coating left in place. Identifying old pool paint may require records or manufacturer sample analysis. An assumption that all blue paint is the same can lead to an incompatible recoat.
Check how chalk, oils, loose paint and sanding dust were removed. New paint cannot compensate for contamination beneath it. A surface that looks clean from above may still retain material that interferes with adhesion.
Do not assume acid washing is the correction. The current INSL-X waterborne data sheet specifically excludes acid etching previously painted surfaces. Preparation must suit both the coating and the substrate.
If old plaster is soft, loose or spalling, obtain a pool finish assessment. Paint is a finish layer, not a structural repair. A cosmetic coating over unsound material can detach with that material.
Review mixing, thickness and cure
For epoxy, record resin and hardener quantities, mixing steps and the time each batch remained in use. Include any added thinner. The manufacturer can compare that history with the approved process.
For every paint type, compare material used with the area and specified coats. Heavy application can affect drying and create defects. A thick patch over a thin surrounding film may behave differently even with the same product.
Record rain, dew, temperatures and ventilation during the whole cure period. The refill timing guide distinguishes preparation drying, recoating and immersion readiness. A dry surface appearance does not replace the last requirement.
Treat chemical history as evidence
Gather actual water test results and the timing and location of chemical additions. A concentrated product resting on a painted surface can cause localized damage. The appearance alone cannot establish which chemical caused it.
Follow each chemical label and the equipment instructions when adding products. Do not pour shock into a skimmer as a general workaround. Incompatible residues in feeders or plumbing create separate hazards.
A normal test today does not describe the water during the failure. Conversely, one unusual reading does not establish the sole cause of a coating defect. Preserve the sequence rather than selecting one convenient explanation.
Decide between a local repair and broader removal
A local repair may be reasonable when the defect is isolated and surrounding layers pass the manufacturer’s assessment. The repair still needs compatible materials, sound edges and the complete preparation and cure process. A small area does not earn a shorter immersion wait.
Widespread weak layers, repeated failures or unstable plaster usually require a broader scope. Ask the contractor to state which material will be removed and how soundness will be established. Agree on a stopping point based on the surface condition, not merely a set number of hours scraping.
Do not drain the pool for this work without a construction and groundwater assessment. An empty shell can face forces that were balanced while full. The repair plan must include safe water removal, the required empty period and a controlled refill.
What to send for a useful diagnosis
Send the manufacturer the product and batch details, pool construction, layer photos and the timeline. Add preparation methods, weather, mixing records and available chemistry results. Describe the actual observation rather than stating that the paint was defective.
Ask for the likely failure mechanism, any additional inspection needed and the approved repair system in writing. Keep the response with the job record. If the material is powdery rather than lifting, use the chalking assessment before committing to coating removal.


