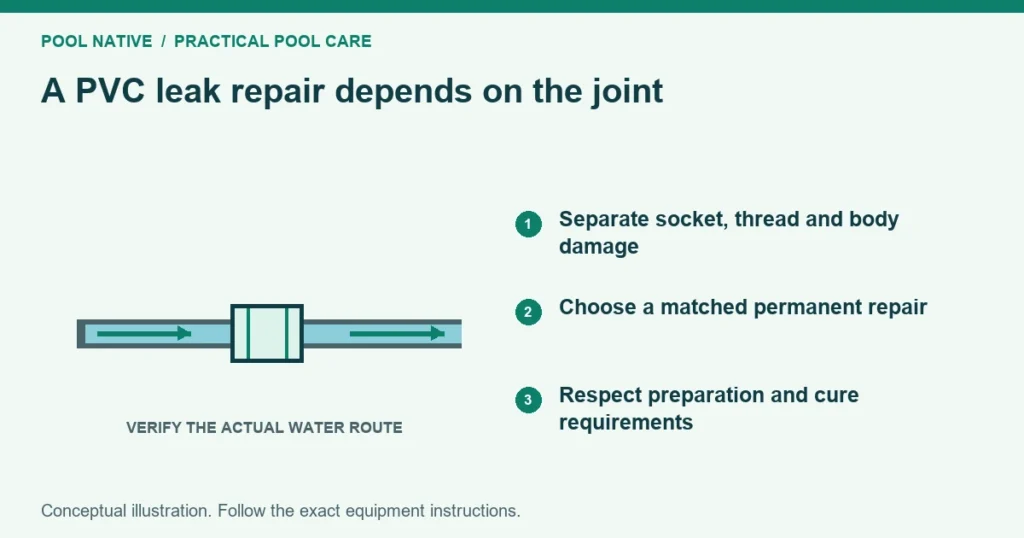
The right repair for a pool PVC leak depends on where the joint failed. A leaking union seal, tapered thread and solvent socket are different problems. Smearing the same sealant around all three can hide the source without restoring a sound connection.
Locate the first wet point on the assembled plumbing. Then plan how to isolate the water and complete the repair before cutting. The final joint needs full engagement, proper support and time to cure where solvent cement is used.
Identify the failed interface
| Leak location | Typical repair direction | What does not resolve the cause |
|---|---|---|
| Union sealing faces | Inspect the matching seal, faces and alignment | Tape around the large nut |
| Tapered threaded adapter | Inspect parts and remake the approved threaded connection | Forcing a cracked female port tighter |
| Solvent socket seam | Replace the defective joint or use an approved repair system | Brushing ordinary cement over the outside as a guaranteed fix |
| Crack in straight pipe | Replace the damaged section or use a specifically rated repair | Ignoring the cause of the crack |
| Equipment housing beside the pipe | Equipment specific service | Rebuilding sound pipe while leaving the housing fault |
Water can track along the underside of a pipe before dripping. Dry the accessible exterior and observe from a safe position. Do not loosen fittings to locate a leak while the system is pressurized.
For a union problem, start with the pool union leak guide. It may be repairable without cutting pipe. For unclear water loss with no visible pad leak, use the pool leak detection guide before excavation.
Make the system safe and control the water
Follow the equipment shutdown sequence, including heater cooldown where required. Prevent automatic starts and relieve pressure through the approved procedure. Identify every water source that could feed the open section.
Equipment below pool level may require isolation even after the pump stops. A water feature or raised spa can also supply static pressure. If the route is unknown, have a qualified person establish it before disassembly.
Keep water away from electrical equipment. If leaking water has reached a motor, controller or wiring enclosure, arrange appropriate electrical assessment. Repairing the pipe does not establish that wetted electrical equipment is safe to restart.
Plan the assembly before the first cut
Identify the pipe material, size and rating. Check the equipment’s connection requirements at both ends of the repair. The PVC pipe measurement guide helps avoid measuring a fitting instead of the straight pipe.
Measure the available sound pipe and the socket engagement required by the replacement fittings. Include space for any union or repair coupling. A piece cut only to the visible gap can leave the joints partly inserted.
Work out how the last connection will be assembled between fixed ends. Do not assume the pipe will flex enough to accept another ordinary coupling. Select an approved arrangement that can be installed without forcing the route out of alignment.
Preserve access for future service and support the pipe as required. A new fitting should not become the point carrying equipment weight or a persistent bending load. Correcting those conditions can prevent another failure nearby.
Remaking a solvent joint
A solvent welded connection depends on compatible materials, proper fit and the specified preparation. It is not a bead of adhesive around the visible seam. Once a conventional joint has failed, an exterior application of ordinary cement does not recreate the original mating surfaces.
The normal repair is to remove the defective section and join sound components. A specialized repair fitting may be suitable where space is limited. Its pressure, temperature, material and installation restrictions must match the application.
Follow the cement and fitting instructions for square cuts, deburring, cleaning, priming and assembly. Keep the surfaces in the required condition. Do not treat a product’s wet condition claim as permission to ignore its complete procedure.
Solvent products can be flammable and harmful to breathe. Follow their label precautions, ventilation requirements and ignition controls. Keep primer and cement away from internal valve components unless the equipment instructions specifically permit contact.
Remaking a threaded connection
First establish whether the threads are tapered pipe threads or part of an equipment specific seal arrangement. Inspect for cracks and damaged threads after safe disassembly. A split port requires the appropriate component repair or replacement.
Use the sealing method approved for both connected materials. Do not stack old and new tape or combine products without approval. Follow the exact tightening guidance rather than adding turns until resistance becomes extreme.
Plan the adapter’s final orientation with the rest of the plumbing. Twisting an already joined pipe section to align a threaded adapter can introduce stress elsewhere. The repair sequence should allow proper engagement without loading neighboring joints.
Temporary repairs need explicit limits
A pressure rated repair clamp or specialty fitting can be appropriate for a specified situation. Check the exact pipe diameter, material, pressure, temperature and permitted defect type. A generic hose clamp is not a repair clamp for a cracked rigid pipe.
Do not assume a putty or wrap restores the structural strength of a failed fitting. If a temporary measure is used, document its limits and the permanent repair plan. Stop operation when the connection cannot safely contain the system pressure.
Do not pull household sealant into a suction leak while the pump runs. That can move material into the system without establishing a sound joint. Identify and repair the opening through the appropriate service procedure.
Set time is not full cure time
Initial set may allow a joint to be handled carefully. Full cure for testing or operation is a separate requirement. Spears notes that required cure depends on factors including pipe diameter, temperature and pressure application.
Record the cement product, assembly time and conditions used to select the cure interval. Consult its current instructions for humidity, repair conditions or other applicable adjustments. There is no universal restart time for every pool PVC repair.
Do not use touch, color or the disappearance of surface tack as the sole test. If conditions fall outside the published guidance, ask the manufacturer or installer. Restarting early can undermine an otherwise well assembled joint.
Verify with water and normal operating modes
After the required cure, use the approved water testing and startup procedure within the system’s limits. Charlotte Pipe warns against testing PVC with compressed air or gas. Do not invent a high pressure test to prove the repair is strong.
Vent and prime the equipment as instructed. Check the repaired joint, neighboring connections and restored flow route. Observe any operating mode that changes pressure or uses the repaired branch.
Recheck after a normal shutdown if that condition produced the original leak. Record the final parts, cure conditions and test result. Update the pool plumbing diagram so the repaired route and service connections remain clear.