Pool spider gasket replacement starts with the valve model, not the filter tank’s brand. The correct repair may be a separate gasket or a matched key assembly. Check the parts diagram before scraping out a seal that was not intended to be replaced separately.
The spider gasket separates internal water routes. It is different from the cover seal and handle stem seals. A leak outside the valve may need a different repair entirely.
Confirm that pool spider gasket replacement fits the symptom
Water escaping through the waste line during filtration can indicate internal bypass. Contamination, damaged sealing surfaces, or an incorrectly seated assembly can also matter. The symptom does not identify the gasket by itself.
Start with the leak to waste diagnosis. If the outside of the handle is wet, use the handle leak guide. If actual filter media reaches the pool, inspect the media and internal collection system too.
Choose the repair assembly before taking it apart
Record the valve’s full model number and suffix. Photograph the cover label, ports, and any markings on the body. A family name such as Vari Flo is not a complete parts identifier.
| What the parts documentation shows | What to plan |
|---|---|
| A separately serviceable seat gasket | The exact gasket and specified installation method |
| A gasket supplied with the key or diverter | The matched assembly rather than an assumed loose seal repair |
| A complete cover and key assembly | Check included stem seals, spring, and cover seal |
| Damaged body or unavailable matching parts | Compare a complete compatible valve replacement |
Ask the manufacturer or parts supplier to resolve an unclear diagram. A loose gasket marketed as compatible does not establish that the installed valve supports that repair. Confirm the actual revision.
Do not use a universal glue or grease recipe
Some repair instructions specify an adhesive; others rely on a supplied assembly. Follow the documentation for the exact part. General plumbing adhesive or an unrelated marine sealant is not a safe substitute.
Keep the distinction between the seat gasket and cover seal. An instruction to lubricate a particular seal does not mean coating every sealing surface. Product compatibility and cure requirements also matter where adhesive is specified.
If you cannot obtain clear installation instructions, choose qualified service. Avoid experimenting on the only valve keeping the filter’s water routes separated.
Preserve alignment during service
Before opening the valve, stop the pump, isolate power, prevent restart, and fully relieve pressure. Account for equipment below the pool’s water level. Use the valve manual’s access sequence.
Record the cover orientation before removal. Hayward’s SP0714T instructions identify a cover notch and body tab for reassembly. That illustrates why bolt holes alone are not the whole alignment check.
Inspect mating surfaces and remove debris by the approved method. Do not gouge plastic or use screws to force an incorrectly seated assembly down. Restore the intended operating position before startup.
Understand what has to seal inside the valve
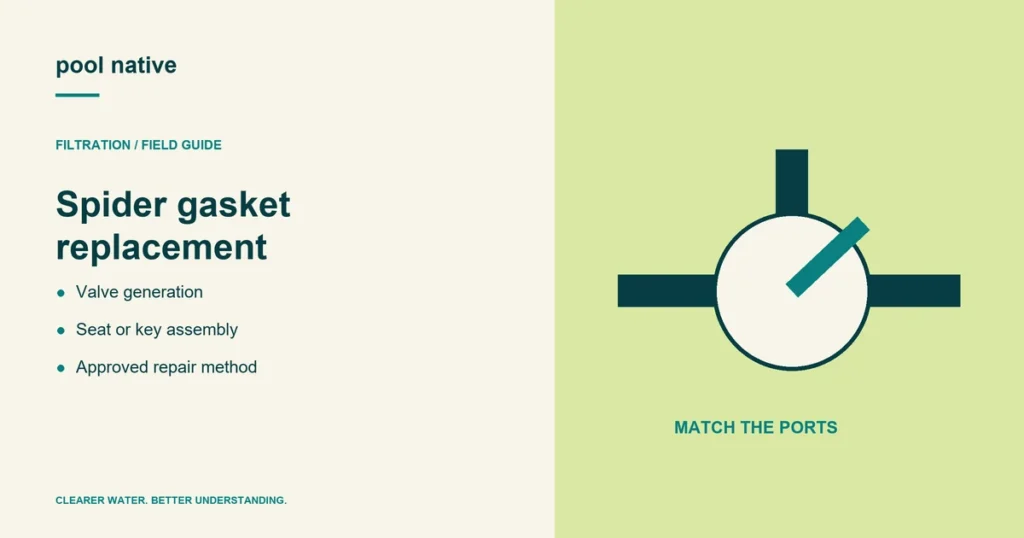
The sealing pattern separates several ports, so damage at one section can send water down a route that should be closed. The exterior of the valve may remain dry. That explains why an internal leak to waste can occur without a puddle around the equipment.
The rotating key and the surface it meets must also be sound. A new gasket cannot flatten a damaged mating surface or correct the wrong key assembly. Have both sides of the sealing interface inspected before treating the gasket as the whole repair.
Debris at the sealing surface can produce a similar symptom to a damaged seal. If the trouble began after a sand change or valve service, include that timing in the inspection. It may help explain how contamination entered the mechanism.
Compare a loose gasket with a complete assembly
A loose gasket can be economical when the valve supports separate replacement and the remaining parts are sound. Include the approved preparation, attachment, and any cure requirements in that decision. The smallest part is not always the simplest supported repair.
A matched key assembly may include the sealing component already fitted. A complete cover assembly may include additional stem and spring parts. Read the contents carefully so the quote compares equivalent repairs.
If the instructions require curing before water exposure, that waiting period belongs in the service plan. Do not shorten it to restore circulation sooner. Use the documented product and valve instructions rather than a generic adhesive drying time.
Test the route that originally leaked
After safe reassembly and the prescribed startup, check the waste discharge while the valve is in normal filtration. Also observe normal returns and external joints. Fixing the internal seal should not leave a new cover leak unnoticed.
Stop the pump before checking another position. Confirm only the modes supported by your installation and their proper discharge arrangements. A selector that turns freely is not proof that every internal route now seals.
If the same unwanted flow remains, keep the symptom and parts record for service. Repeatedly removing and gluing a gasket can damage the seating surface without addressing an incompatible or worn assembly.
Verify the original symptom is gone
Follow the complete startup procedure, then check the waste route, external seals, and normal return flow. Stop the pump before every selector change. If bypass persists, reassess the body and assembly rather than repeatedly adding adhesive.
If the valve itself needs replacement, use the whole valve compatibility checklist. A new gasket cannot repair a cracked or mismatched valve body.