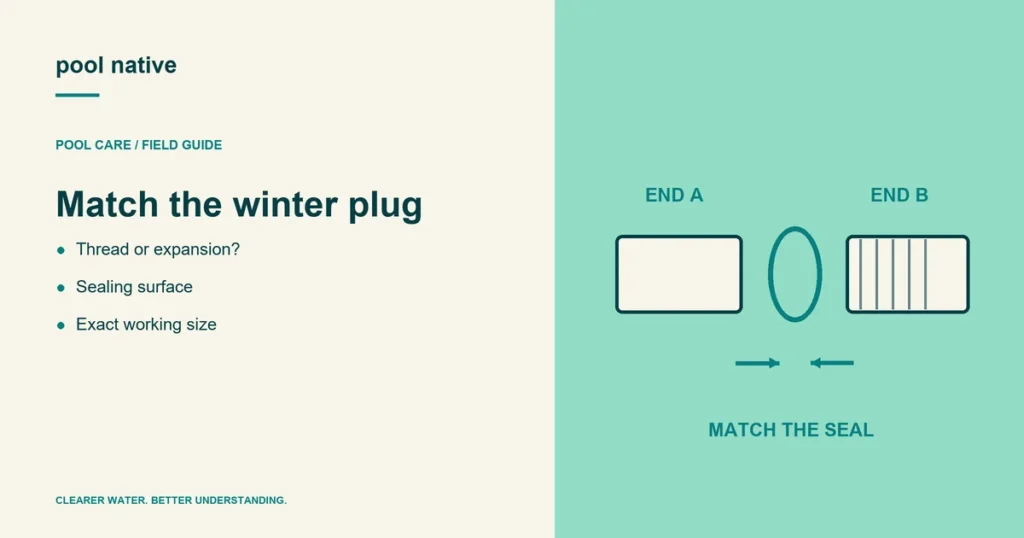
Choose a pool winter plug by the fitting it must seal, not just the pipe size written on nearby plumbing. A threaded opening needs the correct thread and seal arrangement. A rubber expansion plug needs the correct working size and seating depth for its intended use.
The useful shopping record is a fitting model, location, photograph, and manufacturer approved plug. A universal numbered plug chart can be misleading when brands describe size differently. Identify the opening before buying a multipack.
Identify the actual sealing surface
Look up the return or skimmer body in its parts diagram. A removable eyeball, retaining ring, and body can have different dimensions. Measuring the visible ring does not necessarily identify the thread that receives the winter plug.
Check whether the specified plug seals with an O ring, flat gasket, or another arrangement. CMP lists both O ring and gasket plugs at the same nominal 1.5 inch size. It also lists extended thread versions, showing why size alone is incomplete.
For a skimmer with multiple ports, identify each port’s function. A winterizing tube made for one configuration should not be assumed suitable for another. The connected plumbing matters as well as physical fit.
Compare threaded and expansion plugs
| Plug type | What to match | Common mistake |
|---|---|---|
| Threaded plug | Nominal thread, thread form, engagement depth, and seal location | Choosing from outside diameter alone |
| Rubber expansion plug | Specified opening range, seating depth, and approved application | Overtightening an undersized or poorly seated plug |
| Winterizing tube | Skimmer model, port connection, and chamber clearance | Assuming every tube seals every skimmer |
| Specialty blow through plug | Exact fitting and complete winterization procedure | Treating it as an ordinary solid closure |
A rubber plug expands as its mechanism is tightened. That ability does not make it a repair for cracked plumbing or damaged sealing surfaces. Have the fitting assessed if a correct plug cannot seal normally.
A threaded plug should engage correctly without cross threading or excessive force. Use tape, lubricant, or sealant only where the component instructions call for it. An O ring design may not use the same sealing method as a tapered pipe thread.
Do not confuse nominal size with a ruler measurement
Nominal pipe size is a designation, not a promise that every measured surface has that exact diameter. The opening may be pipe, a fitting socket, or a threaded body. Identify which one the plug manufacturer means.
Some catalogs list the unexpanded rubber diameter; others list a compatible pipe or fitting size. Anderson’s plug guidance explicitly distinguishes the actual rubber measurement from the recommended application. Read the description behind the number.
For numbered expansion plugs, use the current chart for that exact product line. Do not assume a number from another brand will seat the same way. Bring the old correctly fitted part as a reference, but also inspect it for distortion or wear.
Record each location before purchasing
Make a list of the fittings included in the closing job. Include step returns, ledge returns, cleaner connections, and skimmer ports where applicable. Ask the closing contractor to confirm specialty parts.
For each location, record the fitting model, plug part number, seal type, and quantity. Add a photograph showing the location and another showing the accessible fitting. A supplier can resolve uncertainty more easily with that information.
Do not remove suction drain covers to measure for a winter plug. Those assemblies have separate safety requirements. Have the contractor identify the correct plumbing protection method instead.
Inspect reusable plugs before closing
Check rubber for cracking, permanent distortion, or loss of flexibility. Inspect threaded parts and replace damaged seals with the specified part. Look for corrosion or a mechanism that no longer tightens properly.
Clean the seating area by the fitting’s approved method. Do not grind away plastic or pack a gap with improvised material to make a plug fit. If the specified plug still sits crooked or loose, stop and resolve the cause.
Keep a suitable spare for a known location if your closing service recommends it. A random spare that almost fits is not a useful fallback. Verify replacements before the pool is covered and access becomes harder.
The same nominal size can use different seals
| CMP catalog example | Size and sealing design | Detail to confirm |
|---|---|---|
| 25543-000-000 | 1.5 inch plug with O ring | Matching seat and ring |
| 25542-000-000 | 1.5 inch MIP flat plug with gasket | Flat sealing face |
| 25542-500-000 | 1.5 inch MIP gasket plug, extended thread | Required reach and available depth |
| 25525-000-000 | 2 inch MIP plug with O ring | Correct thread and sealing seat |
These are identification examples from CMP’s catalog, not interchangeable recommendations. The two 1.5 inch gasket plugs differ in thread reach. A plug that bottoms before its gasket meets the seat may screw in yet fail to seal.
Confirm the catalog match with the fitting manufacturer or closing service. Keep the exact part number beside the location photo. A package marked only “1.5 inch” leaves several of these questions unanswered.
Fit is only one part of winterization
A well fitted plug does not prove that the line behind it was properly protected. Drainage or air purging must be completed by the appropriate procedure. Pressurized air work requires trained handling, not a generic home compressor recipe.
Likewise, a skimmer tube does not automatically establish the right winter water level. The pool, cover, and skimmer plan must agree. Follow that complete plan instead of using the plug as permission to ignore it.
Label the spring removal list
Record every installed winter plug and keep the list with the opening instructions. Separately label the equipment drain plugs removed for storage. One group comes out in spring while the other may need to go back in.
If a winter plug falls out or shifts, contact the closing service rather than simply pushing it back. Water may have entered the protected branch. That change needs assessment before the line can be considered protected again.


