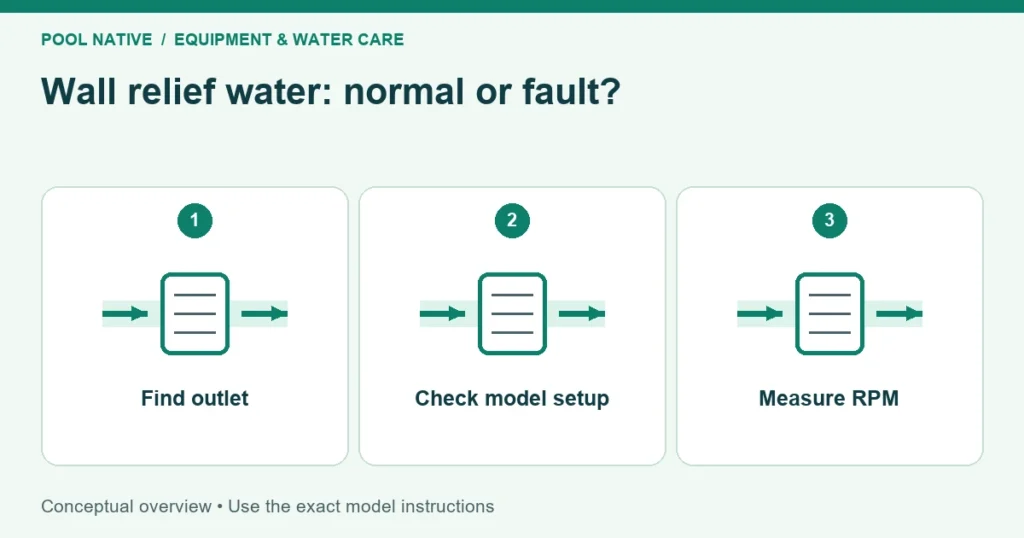
Water leaving a pressure cleaner wall fitting can be normal relief flow or an actual leak. Identify the exact opening before tightening anything. Then compare the discharge with the cleaner’s measured wheel speed and the condition of its hose.
Do not plug the pressure relief outlet to force more water toward the cleaner. Stop the pumps and release pressure as instructed before removing a fitting or seal. A cracked connection needs repair, not extra tightening under pressure.
Locate the water path
The wall assembly can include a fixed wall fitting, removable quick disconnect, seal, filter screen, and pressure relief valve. Water from the relief opening has a different meaning from water escaping around a cracked housing. Inspect from a safe position without putting fingers into an operating fitting.
| Discharge location | What to check |
|---|---|
| Designed relief outlet | Cleaner RPM and the model’s flow adjustment instructions |
| Joint between removable connector and wall fitting | Correct engagement, seal condition, and compatible parts |
| Split in the plastic housing | Replace the damaged part after safe shutdown |
| Hose or swivel beside the fitting | Hose seating, damage, and the correct connection |
| Around the fixed wall penetration | Pool fitting or plumbing assessment rather than cleaner tuning |
Take a photograph with the pumps off to identify components. If possible, record where the discharge begins during normal operation. Avoid using the size of the surface disturbance as a substitute for identifying the outlet.
Measure wheel speed before judging relief flow
For the Polaris 280 covered by the cited manual, the target is 28 to 32 wheel revolutions per minute. Use the exact specification for another model. A cleaner that moves slowly while water escapes at the wall needs more investigation than simply closing the relief valve.
The wheel RPM procedure gives a repeatable check. Record the result with the normal filter pump and booster schedule active. Count outside the backup phase so the result represents normal forward operation.
| Wheel result and fitting observation | What it suggests checking next |
|---|---|
| RPM in range, discharge only from relief outlet | Verify the approved adjustment and inspect for other symptoms |
| RPM high, relief outlet flowing | Follow the model’s excessive flow correction sequence |
| RPM low, relief outlet flowing | Check restrictions, unintended leaks, and relief component condition |
| RPM low, water escapes from a cracked joint | Correct the physical leak, then measure again |
Low wheel speed and visible relief flow can coexist. Water may be lost or restricted before it reaches the cleaner effectively. The wall discharge alone does not prove that the cleaner receives ample usable flow.
Restore the clean water path
With the system stopped, clean the accessible screen in the location shown by your manual. Screen placement can differ between cleaner assemblies. Refit it correctly rather than running permanently without it.
Check the pump and skimmer baskets, and service the main filter when indicated. Inspect feed hose sections and swivels for unintended leaks. A restriction or leak elsewhere can make a sound wall fitting appear responsible for poor performance.
After filter cleaning or backwashing, follow the prescribed flushing procedure before reconnecting the cleaner. The cited Polaris instructions require at least five minutes of circulation to flush the return lines. Keep the cleaner disconnected during that process.
Do not connect an unrestricted hose to a booster line as an improvised pressure test. Use a manufacturer approved test method or have a technician measure the system. A hand placed over an opening is not a substitute for the correct gauge or procedure.
Inspect the removable connection and seal
Turn off the equipment and confirm pressure is relieved before disconnecting. Check that the quick disconnect locks into the correct wall fitting without damaged tabs or distorted plastic. Do not force a mismatched connector until it appears to hold.
Inspect the seal for cuts, flattening, debris, or incorrect seating. Compare the part with the exact assembly diagram. Use only the lubricant and installation method approved for that seal, if lubrication is specified.
A new seal may not fix a cracked or distorted housing. Examine the mating surfaces and connection tabs before purchasing only the smallest part. Over tightening can worsen damage, particularly where a plastic fitting threads into another component.
The cited 280 diagram lists the quick disconnect, wall fitting seal, and relief valve separately. That helps describe the repair accurately to a parts supplier. It does not mean every version uses the same seal or complete connector.
Adjust relief only as the model permits
The cited Polaris 280 instructions use blue and red restrictor disks to manage excessive wheel speed. They state that the pressure relief valve should be adjusted only with a restrictor installed. Follow the sequence for the identified model and revision.
The Polaris 360 uses a different supply arrangement and its own adjustment instructions. Do not transfer a booster driven cleaner’s complete restrictor procedure to it. Similar wall hardware does not make the operating systems identical.
Make one approved adjustment, remeasure RPM, and record the result. Do not aim for zero visible water at all costs. The purpose is correct cleaner operation with intact components and a functioning relief path.
If the relief component appears damaged or cannot hold its specified setting, have it checked or replace the correct assembly. Blocking, taping, or capping its outlet is not an acceptable repair. Unclear plumbing or inaccessible leakage needs professional assessment.
An example of a misleading symptom
Suppose a 280 turns at 24 RPM while a large stream leaves the wall relief outlet. It is tempting to close the outlet completely. First checking the screen, hose, swivels, and valve condition can reveal why flow is not reaching the cleaner as intended.
After correcting a split hose, the count may change, so the original adjustment no longer applies. Measure again before deciding whether the relief setting needs attention. This separates repairing lost flow from tuning the final operating speed.
Verify the complete assembly
Observe the wall joint, hose, and cleaner through forward travel and a backup cycle. Confirm there are no unintended leaks and wheel speed stays within the model’s range. Recheck the connection after the first complete cleaning session.
If the fitting repeatedly loosens or water appears around the pool wall itself, stop treating it as routine cleaner adjustment. A professional should assess the fixed fitting and plumbing. For a broader loss of performance, follow the pressure cleaner setup and service guide.