What to put under an above ground pool depends on what the material must do. The foundation supports the installation. A liner pad protects the liner, while specified leg pads spread support loads.
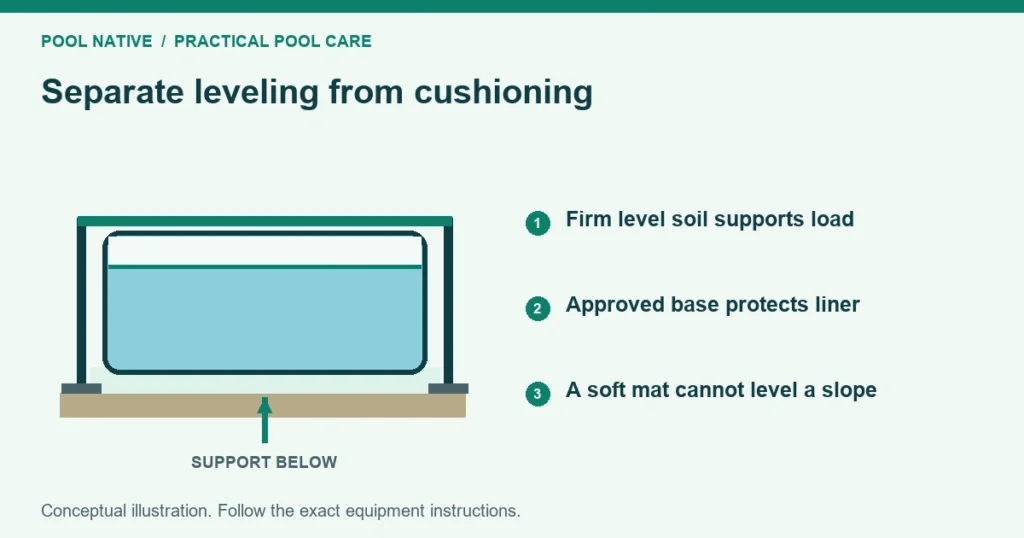
Those jobs are not interchangeable. A soft mat cannot level the ground or prevent unstable soil from settling. Start with your exact pool’s base requirements, then choose its permitted protection layers.
Match the layer to its job
| Part of the installation | Main job | Important limitation |
|---|---|---|
| Prepared foundation | Support the pool at the required elevation | Loose fill can settle unevenly |
| Ground cloth or liner pad | Separate the liner from the prepared surface | Does not correct slope or sharp foundation defects |
| Specified leg support | Spread a frame support’s load | Must match the model’s height and placement requirements |
| Cove in a rigid wall pool | Support the liner transition at the wall base | Not a generic addition for every portable pool |
Begin with ground preparation and leveling. Covering an unfinished base makes its defects harder to see. The correct sequence is to establish support first, then protect the liner.
Portable frame pools: keep the support geometry intact
A portable pool’s liner and frame work as an assembly. Raising its legs above the intended relationship to the floor changes that assembly. Adding a thick layer under only the liner can also change the relationship.
Use the ground cloth specified or supplied for the model. Lay it on a cleared, smooth, suitable foundation. Do not assume that a cloth can safely bridge stones, roots or voids.
Where the manual requires support pads, place them beneath the complete intended contact area. Follow the specified material and dimensions. A narrow brick chosen by eye is not equivalent to a specified support.
Intex’s frame setup guidance calls for the support pad tops to align with the pool bottom. It warns that elevated supports can affect stability. Apply the exact installation drawing for your model rather than copying a pad size from another pool.
Inspect the liner’s clearance from pad edges before and during the prescribed initial fill. Avoid sharp corners that can contact the liner. If a support has already settled, use the sinking leg procedure before changing anything beneath it.
Steel wall pools: the floor and cove have different roles
A permanent steel wall pool may specify a prepared sand floor, a liner pad and a cove. These sit within a particular wall and track design. Do not copy that layer arrangement into an inflatable ring pool.
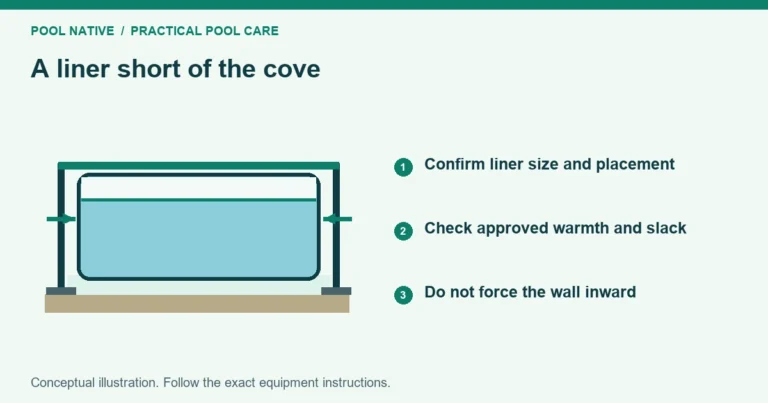
The cove supports the transition between the floor and wall. It also helps prevent the liner from being forced beneath the wall. Use the required shape and material for the pool and liner system.
A thin floor pad does not replace the cove. A thicker floor does not automatically correct a missing or undersized cove. Check liner fit at the cove if the liner appears stretched across that transition.
Layer order can depend on the products. Confirm the instructions for the floor pad, cove and pool together. Avoid combining an installation diagram from one manufacturer with unrelated thickness advice from another.
Is sand a good choice?
Sand can be an approved liner floor material in some rigid wall installations. That is different from using loose sand to raise the low side of a yard. The latter creates a foundation question, not simply a liner protection choice.
Some portable frame manuals specifically reject sand as the base. Follow that restriction even if a retailer’s general guide shows sand under a different pool. Sand beneath a foot can shift or wash out.
If your installation permits sand inside the wall, use the specified type, preparation and thickness. More is not automatically better. Extra thickness can alter liner fit and hide hollows rather than solve them.
Do not leave support posts bearing on loose mounds. The legs and pool floor need the support arrangement the manufacturer designed. A smooth surface on top does not establish that the material beneath is sound.
Can you use foam mats, carpet or a tarp?
Check compatibility before using an improvised material. Thickness, compressibility, surface texture and behavior when wet all matter. A comfortable surface underfoot is not proof of suitability beneath a loaded pool.
Interlocking foam tiles can introduce seams and changes in thickness. An old carpet can hide debris and has an uncertain backing. Neither should replace a specified pad without approval for that installation.
A tarp may provide a separation layer where permitted, but it does not make rocks harmless. Remove damaging objects first. Keep folds and loose edges from interfering with support placement and the access route.
Avoid an elaborate stack selected from unrelated online suggestions. If one layer solves abrasion but another creates unstable support, the whole assembly still fails. Ask the manufacturer to confirm the complete proposed base, including thicknesses.
What about concrete?
Concrete can provide a firm surface, but a slab may slope for drainage. It can also have rough joints or damaged areas. Measure and inspect it rather than treating “concrete” as automatic approval.
Confirm that the slab and location are suitable for the actual installation. Do not place a pool on a deck, balcony or raised platform based on its surface appearance. A structural assessment and model approval are separate requirements.
Use the liner protection required for an approved concrete installation. Keep sharp joints and edges from contacting the liner. Check the manual’s support arrangement for that surface rather than assuming buried yard pads are still needed.
A practical buying check
Before ordering a pad or base accessory, record the pool model and installed shape. Identify whether the purchase protects the liner, supports a leg or forms a cove. Then check that the product is approved for that job.
- Match the actual floor dimensions and shape.
- Confirm the required layer order and finished thickness.
- Check whether supports sit beside, on or through the layer as designed.
- Confirm how edges and seams are handled.
- Keep the product instructions with the pool manual.
Do the final inspection while the installation is still empty. Look for exposed hard edges, uneven seams and unsupported areas. Then use the setup fill checkpoints to verify that the assembled pool behaves as intended.
There is no single best material for every above ground pool. The useful choice is the approved material doing its intended job on a properly prepared foundation.