Above ground pool setup starts before you unfold the liner. Confirm that the site can support the pool, the equipment fits, and you can secure access. Then assemble and fill in the checkpoints specified for your model.
A box marked “ready for water” does not account for ground preparation, electrical work or water treatment. Those jobs can determine when the pool is actually ready to use. Plan them before arranging a water delivery or promising a swimming date.
Choose your above ground pool setup route
Identify the construction first. A portable frame pool, an inflatable ring pool and a permanent steel wall pool carry water differently. Their supports, liners and assembly sequences are not interchangeable.
| Pool type | What the setup plan must establish |
|---|---|
| Portable frame pool | Full frame footprint, support positions, ground requirements and correct hose connections |
| Inflatable ring pool | Approved surface, sound air ring and correct inflation and fill limits |
| Steel or resin wall pool | Track and wall assembly, foundation, cove, liner type and manufacturer installation sequence |
| Small kiddie pool | A suitable supervised location and a practical route to empty, clean and dry it |
Small kiddie pools follow a different care routine from larger pools. A larger inflatable pool may still need filtration and disinfection. Use the distinction in portable and inflatable pool care before buying equipment or chemicals.
For an existing pool returning after winter, use the pool opening checklist. This guide concerns the first setup of the chosen pool, including a portable pool assembled at a new site.
Gather the manuals as one installation set
Save the pool model, size and manual revision. Add the pump, filter, ladder and any treatment equipment manuals. A pool package can contain several products with separate instructions.
Match the actual parts to the diagrams before assembly. Identify missing pins, seals, caps and fittings while the pool is empty. A similar looking replacement is not necessarily the correct part.
Check the manufacturer’s current recall information for the model, including secondhand pools. Certain portable pools have recalled exterior compression straps that children can use as footholds. Follow the official remedy; do not remove a structural strap on your own.
Write down these requirements on one sheet:
- The complete footprint, including projecting supports and required access space.
- The permitted base and support materials for this model.
- The assembly sequence and the points where another person is needed.
- The initial fill inspection depth and final water level.
- The pump location, electrical supply and connection requirements.
- The barrier, ladder and access arrangements needed before water is present.
If the manuals appear to conflict, resolve the conflict with the manufacturer. For example, generic advice about sand beneath a liner may concern a steel wall pool. It does not authorize sand as the foundation for a portable frame pool.
Confirm the site before building the pool
The visible pool dimensions may exclude braces that project into the yard. Mark the entire installed footprint from the manual. Include space to service the filter and to use the ladder as intended.
The site needs three separate qualities: correct elevation, a smooth surface and reliable support. A flat surface can still slope. A level surface can still contain soft patches that settle under water weight.
Use ground leveling checks for the preparation process. Choose the material beneath the pool only after establishing the foundation. A ground cloth protects the liner; it cannot make weak soil carry the pool safely.
Think through rain and overflow as well as the first dry day. Water collecting beside a support can soften the soil after installation. A hose connection leak can create the same problem in a small area.
Check local placement, barrier and electrical requirements before proceeding. Arrange utility location before excavation where required. Setbacks and electrical clearances depend on the location and installation; a generic online distance is not a permit.
Keep the home pool safety plan alongside the installation plan. Water introduces a drowning hazard before the pool is ready for swimming. A supplied debris cover is not automatically a safety cover.
Assemble around the equipment route
Orient the pool so its inlet, outlet and drain can serve their intended locations. Avoid a layout that requires hoses across the ladder approach. Do not rotate or drag a partly filled pool to correct the arrangement later.
Follow the frame or wall assembly diagrams in order. Check each support, connector and restraint specified for the model. Do not omit a brace because the empty frame seems stable.
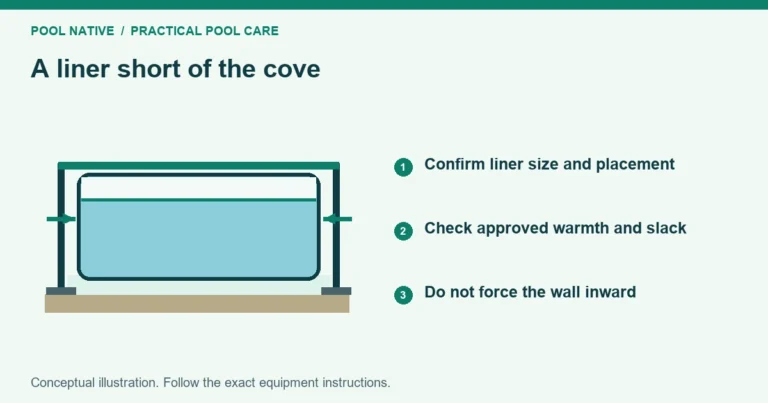
A steel wall installation also needs the correct liner attachment and cove arrangement. If the liner cannot reach its intended position, stop for liner fit checks. Water weight is not a substitute for correcting the assembly.
Prepare the pump and filter on their required support. Connect the pool outlet to the intended suction connection and the return to the pool inlet. Confirm seals, adapters and any valves against the equipment diagram.
Our guide to pool filter hose sizes and fittings explains the connection checks. Do not force a threaded fitting or assume a hose clamp seals every connector. Some connections seal at a gasket, others at a designated fitting surface.
Arrange a suitable electrical supply before startup. Follow the equipment’s protection and outlet requirements. An extension cord is not a solution to an unsuitable equipment location.
Use the first water as an inspection stage
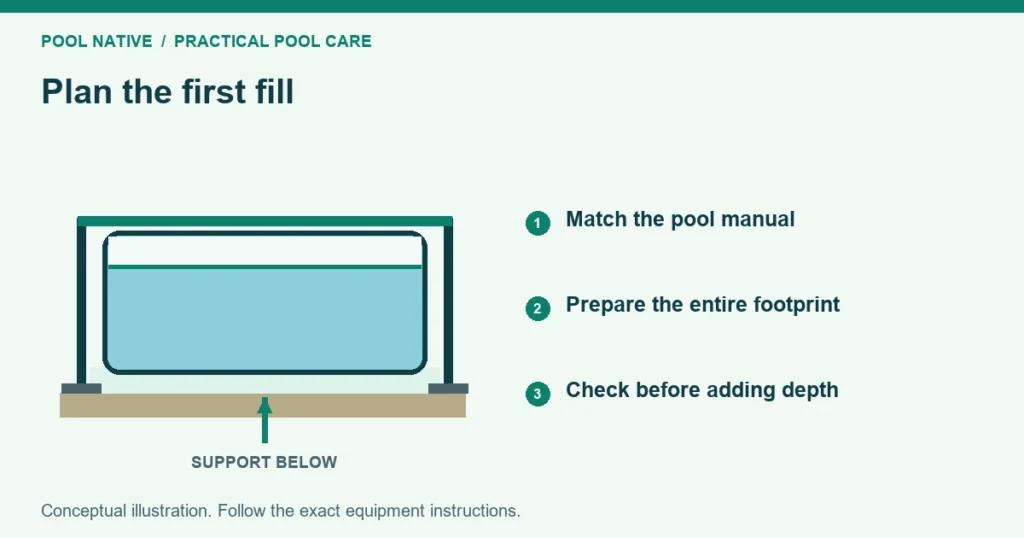
Close the drain and fit the required caps or plugs before filling. Keep the pump off until its required water supply and startup conditions are established. Check the manual’s shallow fill stage before adding more water.
At that checkpoint, look for water collecting on one side while other areas remain uncovered. Recheck the foundation if the shallow fill shows unevenness. Correcting the site now is easier than dismantling a full pool.
Inspect the liner floor and supports from safe positions. Follow the manual’s method for removing early wrinkles and positioning legs. Do not try to shift loaded supports after they have settled.
Watch the structure through the remaining fill. A sinking support, moving pad, loose joint or changing wall shape needs attention. Stop filling if the structure departs from its instructions.
Some rectangular frame models have an expected inward lean. That does not make all deformation normal. Use the wall bowing checks to separate model behavior from a structural problem.
Stop at the specified water level. Do not overfill to straighten a frame or to make one side look less low. For an already filled uneven pool, follow the unlevel pool assessment.
Establish circulation before adding treatments
Once the pool and connections are sound, complete the pump’s startup procedure. Check for water movement, air problems and leaks. Record the normal clean filter reading where a pressure gauge is fitted.
Use the pump startup checks if you need help organizing that first start. Never run the pump dry to see whether it eventually pulls water. Stop and correct the water supply or priming problem.
Measure the actual fill volume as accurately as practical. Pool wall height is not water depth. The amount of water matters when interpreting treatment instructions.
Test the fill water before choosing additions. Then follow the fresh fill chemical startup sequence and the exact product labels. Salt, stabilizer and other adjustments depend on the pool’s treatment system and existing readings.
Do not use a fixed “starter dose” copied from a differently sized pool. Never mix chemical products together. Keep each treatment separate and observe its required circulation, testing and swimming instructions.
Make a first swim handoff
Complete the structural and water checks separately. Clear water does not prove the supports are sound. A sound frame does not establish suitable swimming water.
Before use, confirm that the ladder is secure, covers are completely removed and required barriers are functioning. Check water clarity and the applicable test readings. Follow any waiting or retesting instructions on products just added.
Give everyone responsible for the pool the same operating information:
- The pump schedule and how to recognize a loss of flow.
- The testing method, initial results and where supplies are stored.
- The normal water level and the first filter reading.
- Who supervises swimmers and how access is secured afterward.
- Which changes mean swimming stops and the equipment needs checking.
Save photographs of the empty foundation, completed supports and first full waterline. They provide a comparison if the ground later settles. Add the model details and starting readings to your pool maintenance log.
Check the pool again after its first use and after significant rain. Look for new damp areas near connections and movement around supports. The first fill is a checkpoint, not the end of observing the installation.
Sources
- Intex: Rectangular Ultra Frame manual 119IO, July 16, 2014 historical edition.
- Bestway: Oval frame pool installation manual
- CDC: Care and safety for kiddie pools
- CPSC: Certain Bestway, Intex and Polygroup pool recalls