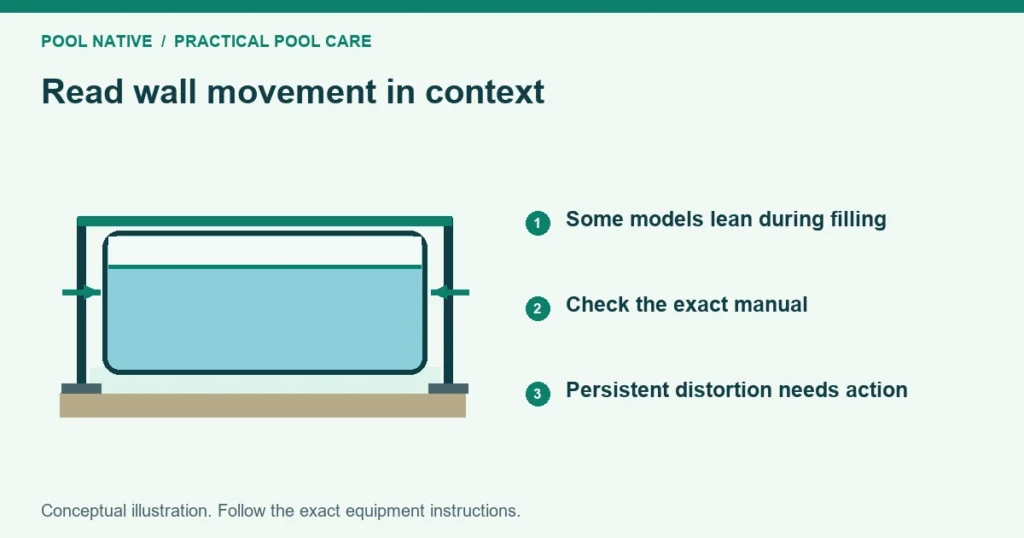
Above ground pool walls bowing inward while filling can mean different things. Some rectangular frame pools have expected inward lean. A buckling steel wall or a frame changing shape over a sinking support needs a different response.
Identify the pool and compare the shape with its manual before continuing. Stop filling if there is visible damage, uneven settlement or unexplained deformation. Do not add water simply to test whether a concerning wall will straighten.
Identify the construction before judging the bow
A portable frame pool has a flexible liner supported by its frame. A permanent steel wall pool has a separate rigid wall and liner system. Photographs of one type cannot establish what is acceptable for the other.
| Observation | What to investigate |
|---|---|
| Smooth inward lean on matching rectangular sides | Whether this model’s manual describes that shape |
| One support sinking or sliding | Foundation and support failure |
| One beam kinked or a joint separating | Damaged or incorrectly assembled frame |
| Steel wall creased, buckling or leaving its track | Wall, liner tension and structural assembly |
| Water markedly closer to the rim on one side | Whole pool level and local settlement |
The table directs the check; it does not certify a pool as safe. A smooth looking bow still needs the right model context. A small photograph can hide the condition of the supports beneath it.
Above ground pool walls bowing inward: what Intex says
Intex’s current general frame setup guidance describes horizontal beams moving into their intended position near full fill. It also requires correct support and restraint placement. That advice assumes the rest of the setup is correct.
An older Rectangular Ultra Frame manual gives a useful example of why the revision matters. Manual 119IO, dated July 16, 2014, explicitly allows inward lean at the recommended water level. It describes this as part of accommodating water movement and pressure.
Neither statement means every Intex frame must become perfectly vertical. Nor does it permit a damaged or uneven frame to keep filling. Look up the manual for your actual size, frame series and revision.
Check what the diagram calls the final water level. Do not use the very top of the liner as an assumed fill line. Overfilling is not an adjustment for frame geometry.
Check the foundation and supports from outside
Stop the water while you investigate an unexplained shape. Look along both sides from safe positions. Compare the legs, pads and restraint arrangement with the manual.
Are corresponding supports placed similarly? Has a pad tipped or disappeared into the ground? Is one side wet from a leak or overflow?
Raised pads can also change the relationship between the frame and pool floor. Intex’s setup guidance warns about support pads sitting above the intended elevation. The answer may be a foundation correction, not more water.
Use the sinking support checks if anything is settling. For incorrect pad height or layers beneath the liner, review the base arrangement. Do not excavate, jack or shim a loaded support to change the bow.
Some frame joints are designed to move. Do not add screws or force them rigid because movement seems wrong. Conversely, do not assume a visibly separating connection is normal movement without checking its assembly diagram.
A steel wall needs a separate assessment
Do not apply flexible frame reassurance to a creased steel wall. The installer needs to check wall seating, connections, supports and liner fit. A liner pulling unevenly can be part of the problem, but a photograph cannot establish the cause.
Pause the fill and contact the installer or manufacturer. Do not push a loaded wall outward or strike a crease. Ask for a correction plan that addresses the structure and the liner together.
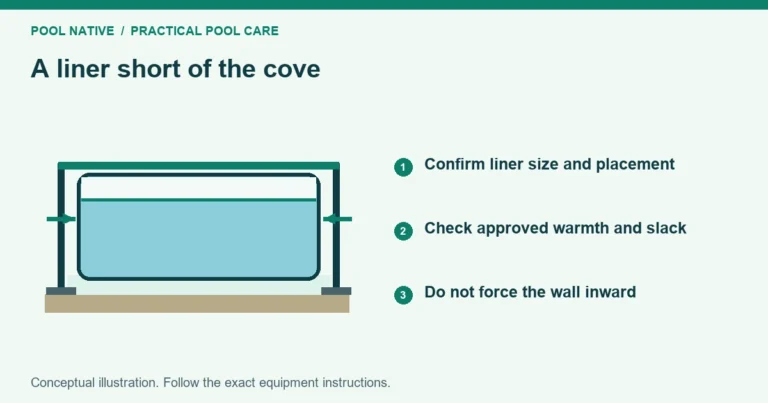
If the problem began as the liner tightened at the floor edge, document that sequence. Use liner fit at the cove to organize the relevant checks. Do not apply heat or add water to force an unverified fit.
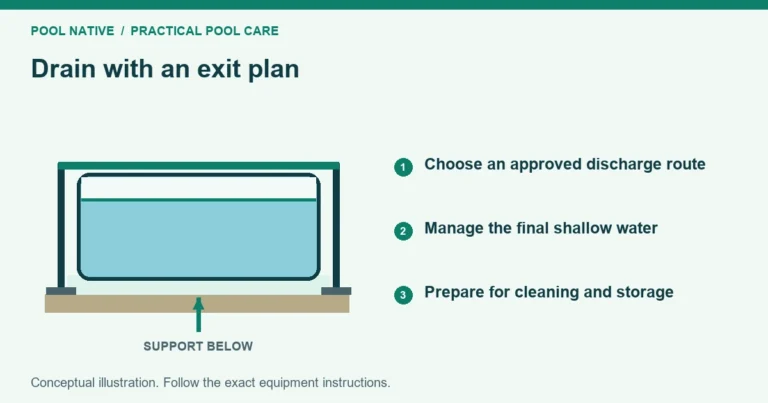
The appropriate repair may require reducing water and resetting part of the installation. How far to drain depends on the construction and repair. There is no universal safe water depth for pushing a wall back into position.
Give the manufacturer enough information
Send the model, size, manual revision and current fill level. Include a wide view of the whole pool and views of both corresponding sides. Photograph each affected support without standing in a potential collapse path.
Explain whether the bow existed immediately after assembly or appeared as water rose. Report any settling, leaks, unusual sounds or damaged connections. Include photographs from before filling if available.
Ask a specific question: does this shape match the intended geometry for this model at this fill level? Also ask whether the support arrangement shown is correct. Those questions are more useful than asking whether all bowing is normal.
When filling can resume
Resume only after the unexplained issue is resolved and the setup meets its instructions. Recheck support positions and the waterline during filling. Stop again if the condition changes.
If the main problem is waterline height varying around the pool, use the unlevel pool guide. If the structure checks out, continue the remaining setup and first use checks. Expected frame shape is only one part of a sound installation.
Sources
- Intex: Frame setup and movement during filling
- Intex: Rectangular Ultra Frame manual 119IO, July 16, 2014 historical edition.