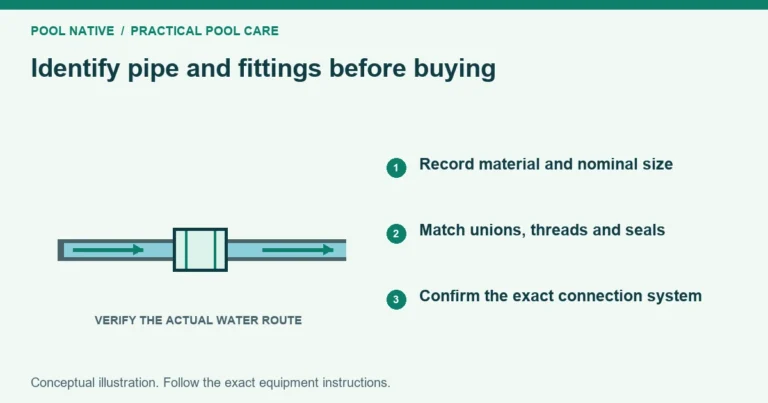
The size printed on a pool return fitting may describe its pipe connection, not the hole water exits through. A fitting listed as 1½ inches can have a much smaller opening in the eyeball. Identify both dimensions before ordering a replacement.
You also need the correct ball and retaining arrangement. Two parts can share an opening size and still fail to fit together. Start with the existing model or a parts diagram rather than a single measurement across the front.
The three sizes that matter
| Dimension | What it describes | How it helps |
|---|---|---|
| Connection size and type | The fitting’s attachment to the wall body or pipe | Determines whether the assembly connects correctly |
| Eyeball and retaining dimensions | The movable insert and the parts holding it | Determines whether the ball seats and stays secured |
| Opening or orifice size | The passage through which water exits | Affects the outlet’s resistance and stream shape |
The outside diameter of a threaded part is not necessarily its nominal connection size. The same caution applies to ordinary plumbing measurements. The pool PVC pipe size guide explains that distinction for pipe.
Pentair’s catalog provides a clear example. Its 542087 assembly has a 1½ inch threaded connection and selectable ½, ¾ and 1 inch disks. Those numbers describe different features of one assembly.
That example is a way to read a specification, not a recommendation for every pool. Other return designs use different bodies, inserts and retaining rings. Match the installed family before selecting an opening.
Build a replacement record
Photograph the complete fitting, the front opening and any visible markings. Note whether the pool is concrete, fiberglass or vinyl liner construction. The wall assembly may include sealing parts that should remain undisturbed.
With the equipment stopped and secured, remove only the parts the manufacturer identifies as serviceable. Record the part numbers and measure the removable components if needed. Keep a photo with a ruler for a supplier to compare.
- Brand or molded identification.
- Complete assembly or individual replacement part needed.
- Nominal connection size and thread or slip type.
- Eyeball dimensions and retaining ring design.
- Existing opening diameter or adjustable insert setting.
- Pool construction and any unusual wall fitting features.
If the ball or ring is missing, do not infer its dimensions from the wall opening alone. Use the body identification or have a supplier match the assembly. A complete approved replacement may be simpler than combining unidentified parts.
Why a smaller hole feels stronger
For a given volume of water passing through an opening each second, a smaller opening produces higher average exit velocity. That is a relationship between flow and area. It does not mean the pump will continue moving the same volume after the restriction changes.
For a circular opening, area is proportional to diameter squared. A ½ inch opening has about 44% of the area of a ¾ inch opening. At an unchanged flow, its average exit velocity would be about 2.25 times as high.
That is a hypothetical comparison, not a prediction for your pool. Changing the opening also changes resistance and can change total flow or how flow divides among branches. A stronger stream against your hand does not establish an increase in circulation volume.
Use the pool flow measurement guide when actual gallons per minute matter. Pump speed and filter pressure are useful operating information, but neither is a direct reading of outlet flow.
Choose for the circulation job
For a straightforward repair, start by matching the established approved opening. That gives you a known baseline. Changing size at the same time as replacing a damaged fitting makes the result harder to interpret.
If you are trying to improve circulation, identify the specific problem first. It might be a dead area, poor surface movement or an imbalance among branches. Each calls for observation of the whole pool, not simply the strongest possible jet.
Aim the existing compatible fittings within their intended range before changing their size. Check whether the stream interferes with a cleaner or leaves an obvious area poorly served. Return direction can matter as much as the opening.
Do not choose an orifice solely from pump horsepower. The pipe route, operating speed, number of outlets and equipment requirements all influence the result. There is no universal best opening for every pool with a particular motor rating.
Can different returns use different openings?
They can when the system is designed or adjusted for that arrangement. Increasing resistance at one branch can redistribute some flow. The resulting balance still needs verification.
Do not assume the most forceful stream carries the greatest volume. First compare fitting sizes and directions under the same operating mode. The single weak return guide helps distinguish a local fault from an ordinary difference in the outlets.
For a planned adjustment, change one approved component at a time. Keep the original parts and note the new opening at each location. Recheck total system operation rather than evaluating only the outlet you changed.
Installation mistakes to avoid
Do not force a retaining ring onto mismatched threads. A ring that starts crooked or binds is a reason to stop. Excess force can damage the fitting and complicate removal.
Keep the wall body, liner faceplate and sealing hardware intact unless the repair specifically requires their service. A nozzle replacement should not become an accidental wall seal repair. Arrange professional help for a seized or plastered over assembly.
Use only the sealants and tightening method specified for the connection. Not every thread is a sealing pipe thread. Adding tape to a retaining ring does not correct a wrong part.
Check the result in normal operating modes
After correct reassembly, restore circulation and compare with the baseline. Check the intended stream direction, nearby surface movement and other outlets. Confirm there are no loose parts or leaks around disturbed connections.
Also verify any heater, cleaner or feature mode affected by the return route. A change that feels better during one program can be unsuitable during another. If actual flow is required for equipment operation, verify it by an appropriate method.
Save the final opening sizes and part numbers in the pool records. The next replacement can then match a documented arrangement. That avoids repeating the common mistake of ordering by the largest number on the product listing.