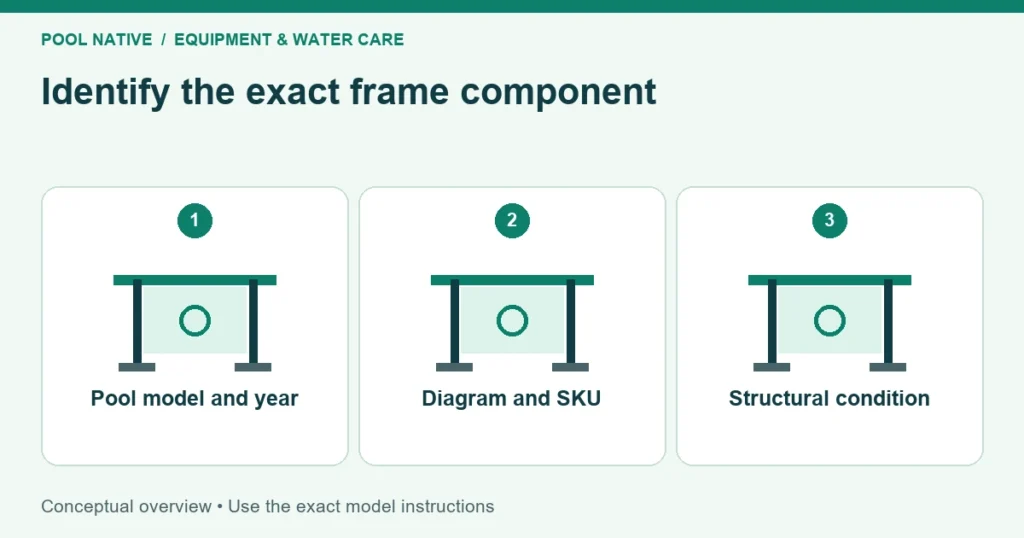
To find replacement above ground pool frame parts, start with the pool’s exact model and manufacturing information. Diameter and wall height alone are not enough. Similar looking rails, legs, and connectors can have different lengths, hole positions, or load bearing roles.
Build a small identification record before shopping. Photograph the pool label, the complete frame, and the damaged part in place. That evidence makes manufacturer support and parts listings much easier to use.
Identify the pool before identifying the part
Look for the model information on the liner or manufacturer’s label, and check the original receipt or manual if available. Record the brand, series, shape, dimensions, model number, and year. The pump label identifies the pump, not necessarily the pool frame.
For an Intex pool, the official parts catalog sorts by pool family, size, season, and SKU. Use those filters together. A part listed for an older season may differ from the current version of a pool with the same advertised dimensions.
For a steel wall pool, identify the actual manufacturer and model rather than relying only on the retailer’s package name. Ask the dealer for the original parts diagram if the branding is unclear. Don’t assume another brand’s rail will fit because both pools are round.
Name the component by its job
| Component | What to document |
|---|---|
| Horizontal beam or top rail | Position, length, cross section, and connection style |
| Vertical leg or upright | Height, end shape, holes, and attached foot |
| Corner or junction | Angles, sockets, locks, and orientation |
| Foot or base plate | Leg interface and support surface |
| Pin or spring button | Exact locking arrangement and required quantity |
| Strap or support member | Routing, attachment, and model instructions |
| Decorative cap | Whether cosmetic only or part of the documented assembly |
Use the diagram’s name when contacting support. “The gray bar” can refer to several different components. Note the diagram position as well as the name.
Don’t assume a cap is purely decorative or a strap is optional without checking the design. Some pieces retain, align, or support other components. Removing them can change how the frame carries the water load.
Diagram numbers and order numbers are different
An exploded drawing may label a part with a small item number or letter. The ordering SKU is often a separate longer number. Record both so you don’t buy item “3” from the wrong drawing.
For example, Intex’s parts page for a 2026 18 by 9 foot rectangular model lists several different horizontal beams. They have separate letters and part numbers within the same pool. One beam size cannot be assumed to replace every horizontal section.
Some documented parts are shared between specific models. That doesn’t make them universal. Use the manufacturer’s explicit compatibility list rather than extending a match to another pool by appearance.
Check whether the listing includes one piece, a pair, or a hardware kit. A required quantity in a diagram is not always the quantity shipped. Count damaged parts and their associated pins, inserts, and feet before ordering.
Use measurements to confirm, not override, the match
Measure only when it can be done safely without disturbing a loaded structure. Record overall length, profile dimensions, hole spacing, and connector details. Include a ruler in close photographs where practical.
Measurements can expose an incorrect listing, but matching measurements alone don’t prove equivalent strength or material. A household pipe or fabricated connector may fit physically while lacking the original design’s properties. Don’t substitute it for a structural member without manufacturer approval.
Likewise, avoid drilling new holes to make an almost correct part fit. That changes the component and can weaken it. If the specified replacement doesn’t align, stop and recheck the model, orientation, and assembly.
Inspect the surrounding structure before buying one part
A bent beam can be the result of an underlying support problem. A corroded connector may be one of several affected pieces. Inspect the surrounding joints, legs, support surface, and liner through a safe assessment.
Do not remove or replace a load bearing frame member while the pool is filled unless the manufacturer explicitly provides such a procedure. A frame holding water is under substantial load. Stop pool use if structural damage or instability is suspected and arrange the appropriate assessment.
Don’t treat a new leg as a cure for sinking ground or an uneven base. Correct the underlying condition through the pool’s approved setup process. Otherwise the replacement can experience the same stress as the failed part.
For permanent steel wall pools, wall corrosion or damaged rail channels may require more than a hardware order. Have the structure assessed rather than covering weakness with a new cap or an improvised plate. Parts availability doesn’t establish repairability.
Check current model notices and support options
Use the manufacturer’s current support and recall information while identifying an older frame. Intex provides a model verification process for affected pool designs. Follow any applicable notice rather than assuming an ordinary replacement part completes the required remedy.
That check is especially useful when buying a used pool or replacing straps and frame components. Keep the model number and photographs ready. Don’t remove a support element based on a general description of another model’s remedy.
If the label is unreadable, send support the dimensions, frame photographs, connector details, and any remaining markings. A dealer may also recognize the system from its original diagram. Be explicit about what is known and what is estimated.
Evaluate used and aftermarket parts carefully
Used structural parts can hide corrosion, deformation, or enlarged locking holes. A photograph of the outside may not show the condition inside a tube. Ask for the exact origin and condition, and compare it with manufacturer guidance.
Aftermarket listings should name the supported model and part number. Avoid claims such as “fits most pools” for a load bearing component without supporting documentation. Color and approximate dimensions are weak evidence.
Compare the complete repair cost, including associated hardware, shipping, and any required dismantling or liner work. Several unavailable or damaged structural parts can make repair impractical. Don’t let the price of one small component obscure the condition of the full pool.
Keep a complete order record
- Pool manufacturer, model, dimensions, and manufacturing year.
- Diagram name, item position, and exact replacement SKU.
- Photographs of the installed location and damaged component.
- Required quantities and included hardware.
- Written compatibility confirmation where the catalog is unclear.
- Approved repair or reassembly procedure and any model notice.
After replacement, verify the complete assembly using the manufacturer’s instructions before returning the pool to service. Keep the receipt and parts diagram for future use. For pumps, filters, and hoses, use the separate equipment upgrade and connection identification guides rather than mixing those parts searches with the frame.