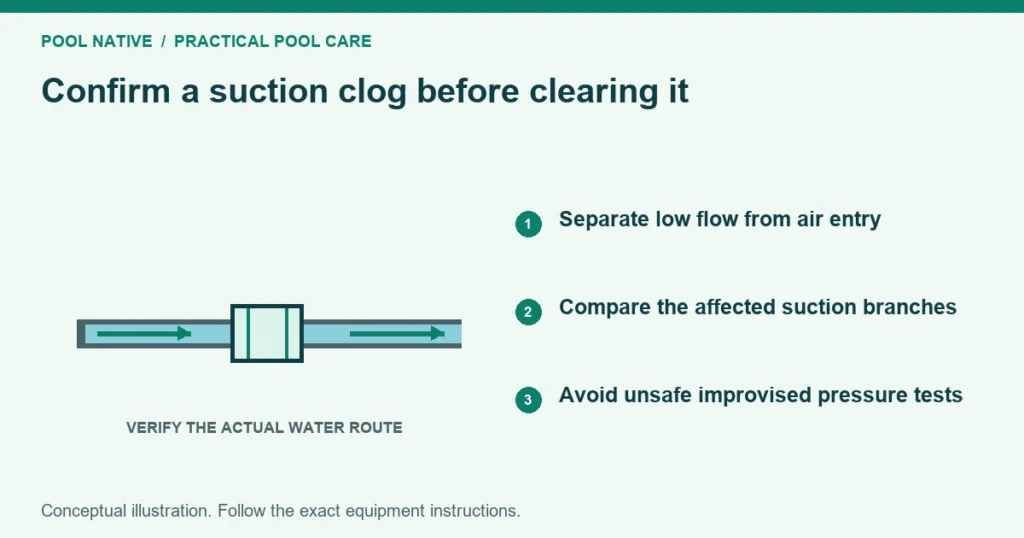
Weak skimmer suction does not automatically mean the buried pipe is clogged. Low water, an obstructed basket, a leaking cleaner hose or a valve problem can produce similar symptoms. Establish what changed before trying to push anything through the line.
The safest useful starting point is a record of which suction route works and which does not. Keep people out of the pool during troubleshooting. Never test suction by covering an opening with your hand or body.
Stop if the pump is losing its water supply
A pump that cannot maintain prime should not be left running while you experiment. Follow its shutdown instructions and prevent automatic restarts during inspection. Repeated dry running can damage the pump.
Do not remove a drain cover or reach into an active suction opening. Keep the pool closed if a suction cover is missing, loose or damaged. That condition requires correction before normal use resumes.
Opening a pump lid also requires the specified shutdown and pressure relief procedure. Turning off the motor is only part of making the equipment safe. Follow the pump and filter instructions together.
Eliminate accessible restrictions first
Check the pool water level against the skimmer’s operating requirement. Confirm the weir can move normally and water can enter the skimmer. A stuck weir can interrupt supply even when the pool level looks adequate.
Clean the skimmer and pump baskets using their approved service procedures. Confirm each basket is intact and correctly seated. A broken or missing basket makes debris entering the plumbing more plausible.
Remove a skimmer sock if it may be loaded with fine debris. Reassess with the normal clean basket in place. The skimmer sock guide explains why a liner can restrict flow before the basket appears full.
Check the established valve positions without changing unfamiliar routes. A handle position may not accurately describe the internal position if the handle or shaft is damaged. Note any recent valve work.
If the problem began while vacuuming
Separate the cleaner setup from the pool plumbing. Stop the equipment as required before removing or changing hoses and adapters. Restore the normal basket and circulation arrangement, then assess ordinary operation.
If ordinary skimming returns, inspect the cleaner hose, vacuum plate and cleaner according to their instructions. A blocked cleaner or air entering a hose can imitate a pipe problem. Do not begin buried line clearing solely because the vacuum lost suction.
If the problem remains after removing the cleaner setup, record what debris was being collected. Large leaves entering without a suitable basket or approved debris trap are relevant evidence. They still do not establish where the material stopped.
Distinguish a likely branch problem from a shared fault
| Evidence | What it helps narrow | What still needs checking |
|---|---|---|
| One known skimmer route performs poorly while another approved route works | A branch or its valve | Air leak, obstruction or structural damage |
| All suction routes perform poorly | Shared supply, pump or common plumbing | Baskets, lid seal, impeller and operating settings |
| Flow returns when a cleaner hose is removed | Cleaner assembly or hose | Blockage, fit and air entry |
| Air appears after the pump initially primes | Continuing air entry or intermittent water supply | Water level, hose and suction connections |
| Problem started after construction | Affected plumbing and recent changes | Debris, valve positions or damaged pipe |
Use only a known operating configuration for any branch comparison. Do not close all but an unidentified drain or run with every suction path blocked. If branch selection is not already understood, a technician should make that comparison.
Keep pump speed and other settings unchanged when comparing results. Otherwise, the changed program can disguise the restriction. Record the mode and observation together.
Air leakage can look like a clog
On the suction side, an opening may pull air inward without dripping water during operation. Pentair’s SuperFlo troubleshooting guide includes suction plumbing, lid sealing and water availability among priming checks. That is why a dry equipment pad does not rule out an air leak.
Inspect accessible components from the outside for damage or loose connections. Service the pump lid seal only according to its instructions. Do not tighten every plastic fitting aggressively in the hope of finding the fault.
A valve that leaks around its shaft after shutdown deserves attention. The pool valve handle leak guide explains how operating and stopped conditions can differ. Repairing an air entry point may restore suction without clearing any buried pipe.
Why improvised pressure clearing is risky
Online methods often seal a garden hose into the line with a rag or inflate a drain bladder. Those methods do not establish a safe pressure for your particular plumbing. A blocked route, unknown tee or damaged fitting can change where the pressure acts.
Do not use compressed air to blast out a suspected clog. Do not pour household drain cleaner into pool plumbing. Avoid pushing a rigid tool blindly through bends or toward a suction fitting.
Professional clearing can be appropriate once the route, pipe condition and access points are understood. The method needs controlled pressure, a known discharge path and protection for connected equipment. The goal is to remove the obstruction without turning it into a pipe repair.
What to ask the technician to establish
Provide the affected branch, recent work, debris history and the conditions under which flow fails. Include photos of labels and the normal valve arrangement. Mention whether the system can prime through another known route.
Ask how the suspected obstruction will be distinguished from air entry or damaged pipe. A collapsed or broken section will not be repaired by repeatedly flushing it. If a clearing attempt does not change the evidence, the diagnosis should be reconsidered.
Useful service documentation includes:
- The branch and access points used.
- The evidence supporting the original diagnosis.
- The clearing or inspection method and any material recovered.
- Whether damage, a leak or an unusual connection was found.
- The operating conditions used to confirm restored flow.
Do not approve excavation based only on a weak skimmer. Request the location evidence and the reason a structural repair is needed. The pool leak detection guide covers the separate investigation when leakage is suspected.
Verify more than a momentary return of suction
After service, restore the approved basket, hose and valve arrangement. Prime and vent the equipment as instructed. Confirm stable operation under the same program that previously showed the problem.
Check the affected skimmer or cleaner route without putting hands near a suction opening. Observe the pump and returns for persistent air or intermittent loss of supply. If a suitable flow meter is installed, record the relevant reading and its location.
Repeat a normal stop and restart if the original problem involved loss of prime. A brief surge after clearing does not establish lasting recovery. Keep the elapsed observation time with the result.
Prevent the same debris path
Replace damaged baskets and use the cleaner’s approved debris collection arrangement. Empty baskets before they overflow or deform. Remove large debris from the pool before sending it through a suction cleaner.
If the same line repeatedly restricts, investigate why. An unresolved structural problem or incorrect assembly may remain. Repeated clearing is a symptom record, not proof that another routine flush is the right maintenance plan.