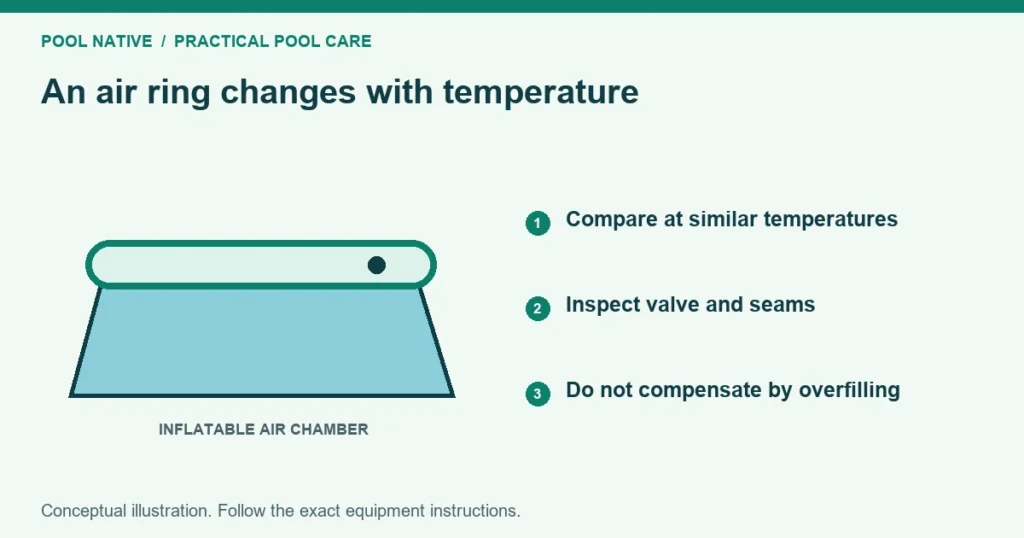
An Intex Easy Set ring losing air may have a puncture or valve leak, but a softer ring after a cool night is not proof. Air contracts as it cools. Compare the behavior under similar conditions before repeatedly adding air.
If the ring cannot support its intended shape, stop pool use. Keep children away and follow the pool’s instructions for safely reducing water or dismantling. Do not leave a failing ring holding a full pool while you search for a patch.
First separate temperature from persistent loss
Note when the ring was inflated and when it felt softer. A ring inflated in warm sunshine can feel different at dawn. Intex specifically warns against reflexively reinflating for that temperature change.
Check that the air valve is fully closed and seated. Compare firmness later under similar temperatures, without leaving an unsafe pool in service. Temperature related change and a puncture can also occur together.
| Observation | Next check |
|---|---|
| Softer only when the air is cooler | Compare at a similar temperature and verify valve closure |
| Continues losing shape in steady conditions | Search for an air leak |
| Audible air at the valve | Inspect closure and follow valve damage guidance |
| Repeated bubbles at one material spot | Mark the puncture and assess repairability |
| Water level falls but ring firmness stays stable | Investigate water leakage separately |
Do not inflate the ring until it is hard simply to avoid checking it again. Follow the model’s inflation instructions. Excess pressure is not a repair.
Search the ring in manageable sections
Use the manufacturer’s approved leak detection method. Intex describes applying soapy water to find escaping air. Repeated bubble growth at one point can reveal a leak.
Inspect the valve first, then work around the ring in a consistent direction. Check seams and accessible contact surfaces as well as the obvious top surface. A slow puncture can be missed if you spray and immediately move on.
Distinguish bubbles created while applying soap from bubbles that keep forming at a fixed point. Mark the location using a liner compatible method. Photograph it and continue checking for another leak.
Do not climb onto the ring, force it underwater or press a loaded wall down to inspect the underside. If safe access requires draining, follow the controlled draining route. Keep electrical equipment and water handling separate as instructed.
Rinse away the leak detection solution as the product guidance requires. Do not leave soap on a surface that needs an adhesive bond. The repair area must be prepared separately.
Decide whether this is a patchable problem
The location matters as much as the apparent hole size. Intex’s Easy Set guidance distinguishes small tears in the material from seam tears and valve leaks. It does not treat all three as equivalent patch repairs.
For the Easy Set material repair category, that guidance specifies tears smaller than 1 cm. That is about 0.4 inch. Confirm that the condition of your liner and the chosen repair method meet the applicable instructions.
Intex says damaged seams and leaking inflatable valves require liner replacement rather than the ordinary patch method. Contact the seller for an applicable warranty claim. Do not cut out a valve or apply spa valve instructions to the pool ring.
For an eligible material puncture, use the inflatable air chamber patch process. A patch intended for an underwater liner is not automatically the correct air chamber repair.
If you cannot find the leak
Repeat the search under similar temperature conditions and in smaller sections. Check the fully closed valve and each seam again. A leak may be small enough that quick inspection misses it.
Record how long the ring takes to lose shape. Note whether the loss follows sunlight changes or continues steadily. Give those observations, the model and photographs to Intex support.
Multiple pinholes, separating seams or deteriorated material may make replacement the practical route. Repeatedly patching without checking the surrounding condition can leave the ring unreliable. Do not return the pool to use merely because the latest patch holds briefly.
After a confirmed repair, check air retention before refilling as directed. Observe the ring during the initial fill and after temperature changes. Return to the portable pool care routine only once the pool is structurally sound.