Finding a pool filter cartridge replacement starts with the filter housing model and the correct element part number. Then verify dimensions, end caps, and the number of elements required. A similar looking cartridge or matching square footage is not enough.
Keep the old element until the replacement has been identified and checked. It provides useful measurements, but it isn’t unquestionable evidence. A previous owner or service visit may have installed the wrong part.
Pool filter cartridge replacement: identify two different things
The label on the tank identifies the filter assembly. A code molded or printed on the cartridge identifies the element. Record both, including suffixes and any revision information.
Start with the tank’s manual and parts diagram. Find the specified element or complete set. Then check the replacement manufacturer’s current cross reference for that exact part.
Don’t search only by the pump brand. A pool may use equipment from several manufacturers. The pump model doesn’t identify the cartridge inside a separate filter tank.
Check whether the listing is one element or a set
Some filter ratings describe the combined area of several cartridges. A listing for one element can look attractive until you discover the tank needs four. Compare the complete required quantity.
Jandy’s CL specification provides a useful verified example:
| Housing | Elements required | Area per element | Total filter area |
|---|---|---|---|
| CL340 | 4 | 85 square feet | 340 square feet |
| CL460 | 4 | 115 square feet | 460 square feet |
| CL580 | 4 | 145 square feet | 580 square feet |
This table explains set size, not universal compatibility. It doesn’t mean any cartridge with the listed area fits. The correct part, dimensions, and end connections must still match.
Measure the cartridge consistently
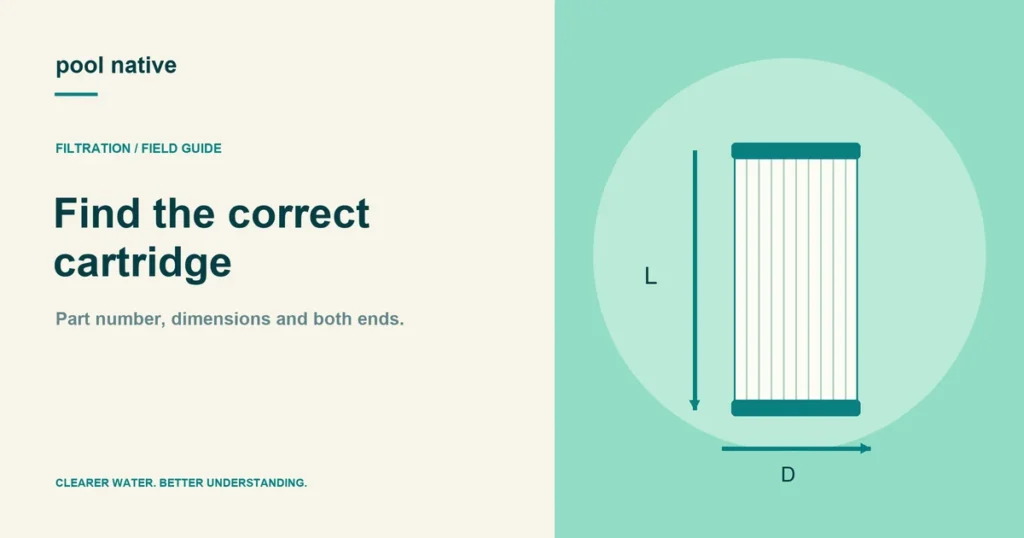
Follow the replacement maker’s measuring convention. Record outside diameter, body length, and both end openings. Handles, threaded extensions, and other protrusions may be treated separately from body length.
Measure straight and repeat the reading. Use the same units throughout. Photograph the ruler position so a supplier can see what your measurement includes.
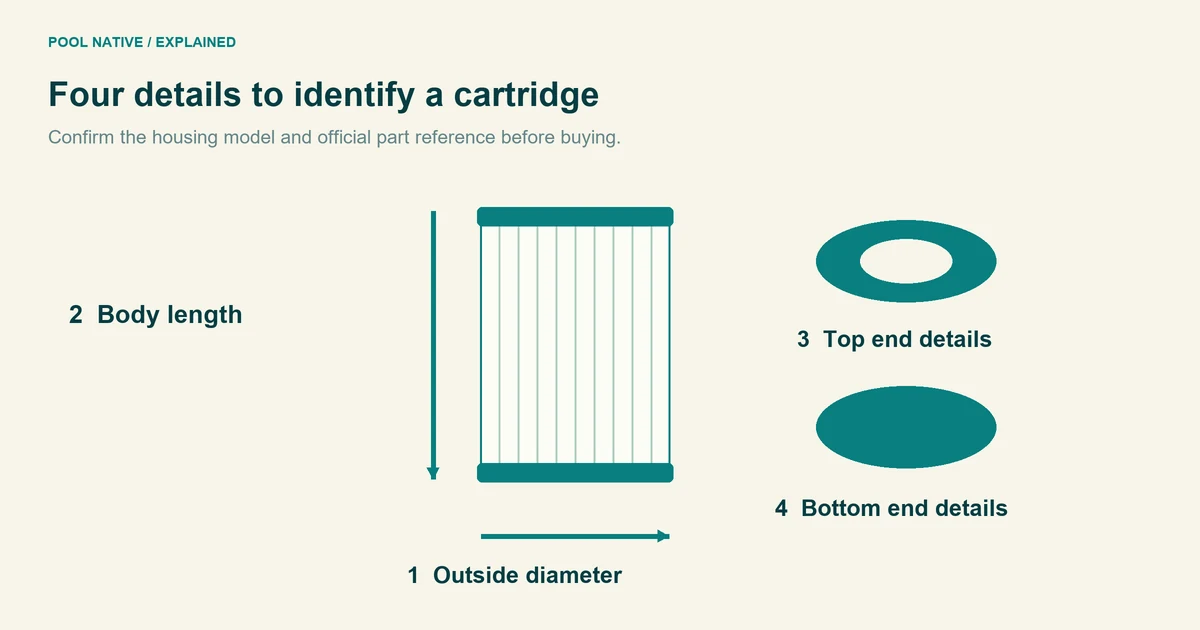
The illustration shows the fields to record, not a replacement specification. Send the measurements with the tank model. Don’t choose by length alone.
Inspect both end caps and their connections
Look at the top and bottom separately. An open end, a closed end, a handle, and a threaded connection are different features. Similar diameter doesn’t make them interchangeable.
Record the opening dimensions and thread details where relevant. Note recesses, raised sealing surfaces, and any orientation requirement. Compare clear photos from the official replacement reference.
Check how the cartridge meets the manifold or support inside the tank. The seal at that connection is part of filtration. A gap can let dirty water avoid the intended media path.
Verify the cross reference instead of trusting a search title
Use the filter manufacturer’s part number as the starting point. If considering another manufacturer’s element, confirm its current documented equivalent. Check any notes about model revisions or changed designs.
Retail listings can combine multiple compatible models or variants. Ensure the selected option matches the part you verified. The title, photos, quantity, and specification should agree.
Don’t treat “fits most pools” as evidence. Don’t assume a greater advertised media area is an approved upgrade. A change in fabric or construction can affect performance and needs documented suitability.
Check the delivered part before installation
- Match the received part code to the order and verified reference.
- Check quantity, dimensions, and both end caps.
- Inspect for shipping damage, cracks, detached fabric, or deformed supports.
- Compare the sealing features with the parts diagram.
- Retain packaging until compatibility and normal operation are confirmed.
Don’t install a questionable part just because the tank can be clamped shut. The closure should not force a cartridge into place. A lid that won’t seat normally is a reason to stop.
Use the exact filter service procedure for replacement. The cartridge removal and reassembly guide explains the stages that still apply when installing new elements.
Decide whether replacement is actually needed
Torn media, damaged end caps, or failed supports require a different response from ordinary dirt. Discoloration alone doesn’t prove failure. A performance problem also needs a valid comparison after correct cleaning.
Use the cartridge condition assessment before buying. If pressure remains high with sound, correctly fitted elements, consider a restriction elsewhere. New cartridges aren’t a cure for every hydraulic issue.
Keep the next replacement simple
Save the verified part number, supplier reference, quantity, and installation date in your equipment record. Add photos of both end caps. Record the initial clean pressure with its pump setting.
If you change the whole filter later, retire the old cartridge reference. The filter selection guide covers that larger decision. A saved part number is useful only while it still belongs to the installed equipment.