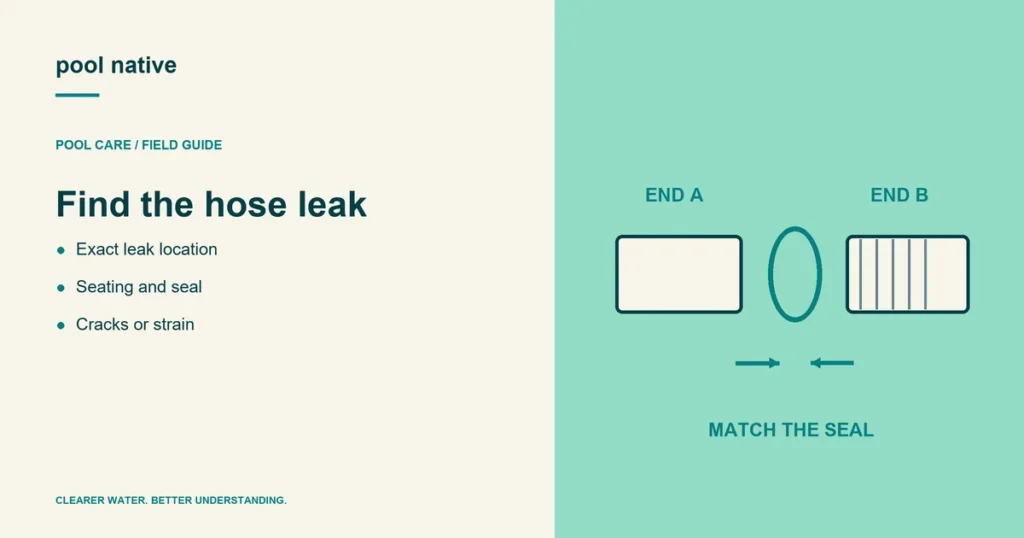
A pool filter hose leaking at one end may have a damaged seal, a loose clamp, or a mismatched fitting. Water along the hose can also come from a different joint above it. Find the first wet point before buying a replacement or tightening anything.
Shut down the pump and follow the equipment’s isolation instructions before opening a connection. Use the approved pool valves or plugs to control water loss. Never work on a pressurized joint or handle electrical connections from a wet position.
Locate the actual starting point
From a safe position, observe whether water begins at the hose wall, cuff, collar, or pool wall fitting. Water can travel along corrugations before dripping. The lowest drip is not always the failed part.
Note whether leakage occurs with circulation stopped, during operation, or both. That is useful evidence, not a definitive diagnosis. Do not deliberately run a system with major leakage or loss of prime just to compare symptoms.
| First wet area | What to inspect after safe isolation |
|---|---|
| Middle of the hose | Split, pinhole, abrasion, or damaged corrugation. |
| Hose over a spigot | Correct hose size, seating, clamp position, and damaged mating surface. |
| Threaded collar joint | Correct collar, seated gasket, clean sealing face, and cross threading. |
| Pool wall around the connector | The wall fitting and its seal; replacing the hose may not address it. |
If water comes from the filter tank or valve rather than the hose, use the filter leak diagnosis. A pump housing leak belongs in the pump leak guide. Those require different parts and precautions.
Check the joint’s intended seal
Bestway identifies hose clamps and the position or absence of the black seal gasket among its connection leak checks. Inspect those parts after following the model’s water isolation procedure. A missing seal cannot be replaced by tightening the collar further.
Look for dirt, folds, cuts, or a gasket trapped outside its groove. Use the correct replacement when the original is damaged. Do not stack extra seals unless the parts diagram specifically requires them.
For a clamped hose, check that the cuff fits the intended spigot and seats correctly. Use the specified clamp and tightening method. Excess force can damage a plastic connection or distort the hose.
If the leak began after a change
Compare the new parts with the old part numbers and connection style. A similar diameter can conceal a different collar or sealing face. A connection that only partly threads on is a warning to stop, not an invitation to use a larger wrench.
Record both hose endpoints before ordering another adapter. For a mixed brand installation, revisit the compatibility checks. A leak may expose a pairing that was never properly matched.
Replace damaged hose with the correct specification
Choose a hose intended for the filtration system and its operating conditions. Match bore, length, cuffs, and retention method. A hose selected only by its outside appearance can create another leak.
Route the replacement without a tight bend or constant pull on the wall fitting. Keep it clear of abrasion and the access needed for valves. Do not hang equipment from the hose.
Tape over a split is not a dependable permanent repair. Replace damaged hose or fittings using the manufacturer’s method. If the pool wall fitting or liner is involved, get the correct repair advice before dismantling it.
Restart and look for both water and air problems
Restore the intended water path and remove air using the startup procedure. Check joints while the system fills and during normal circulation. Stop if leakage returns or the pump cannot establish normal flow.
A suction side connection can admit air during operation even when little water drips out. Watch for new air accumulation or unstable flow after the repair. Keep the final part numbers so the next replacement is easier to identify.