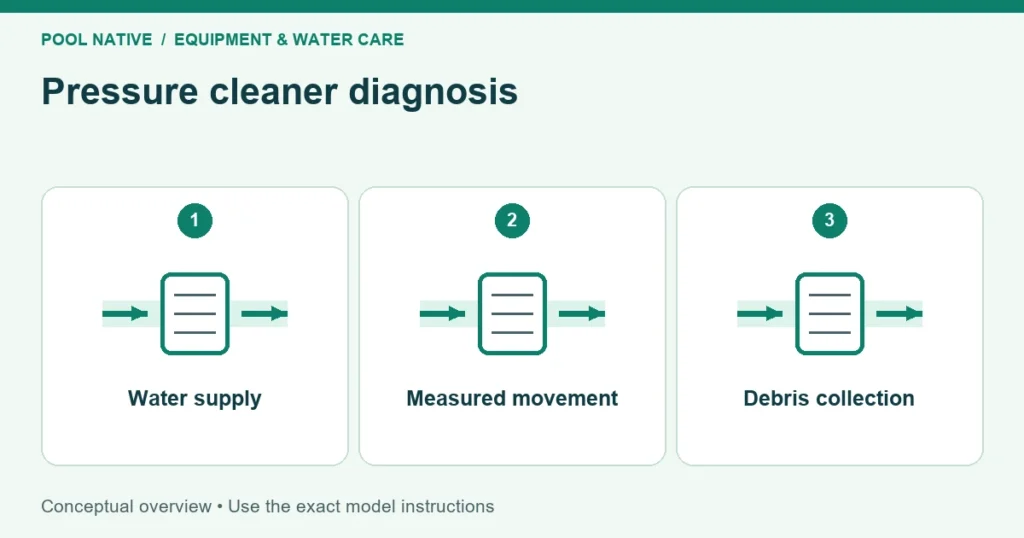
Pressure side pool cleaners use water pushed through a feed hose to power movement and collect debris. Some require a separate booster pump; others use the pool’s return water arrangement. Correct setup starts by identifying which system you have.
The hose, floats, bag, wall fitting, and operating flow work together. Replacing the cleaner head without checking those components can leave the same coverage problem. Establish a measured baseline before tuning its route or buying accessories.
Identify the power source and debris route
A pressure cleaner directs incoming water through its internal jets. That action lifts debris into the cleaner’s bag rather than sending the collected leaves through a suction hose to the pump. The pool filtration system still has its own circulation and water treatment duties.
The Polaris 280 is a booster driven example. The Polaris 360 is an example powered by the filtration return arrangement without a booster. Use the exact model manual; a pressure cleaner is not automatically a booster cleaner.
| Component | Purpose | Setup mistake to avoid |
|---|---|---|
| Supply line and any booster | Deliver the model’s required water | Assuming every pressure cleaner needs the same pump |
| Wall fitting and screen | Connect and protect the water path | Missing screen or incompatible connector |
| Feed and leader hose | Carry water and allow travel | Cutting the wrong section or leaving excessive length |
| Hose and head floats | Support the specified balance | Copying another model’s float positions |
| Backup valve | Periodically help the cleaner escape | Removing it because reversing looks unproductive |
| Bag and sweep hose | Collect debris and sweep surfaces | Overfilled bag or missing tail scrubber |
Prepare the pool before connecting
Clean accessible baskets and confirm the main filter is in normal service condition. Remove large construction debris or objects the cleaner is not designed to collect. A pressure cleaner should not be used as a substitute for the required startup cleaning of a new pool.
Flush the supply line as the installation manual directs before fitting the cleaner. Stop the appropriate pumps before attaching or removing components. Do not open pressurized joints or use a hand to test an operating outlet.
Match the wall fitting, quick disconnect, and screen to the cleaner system. Have an unclear or unsuitable return arrangement assessed by a pool professional. An adapter that physically fits does not by itself establish adequate or correctly controlled flow.
Keep swimmers out while the cleaner operates. Follow the manual’s chemical treatment and removal instructions. Also check surface compatibility and existing liner condition before commissioning any automatic cleaner.
Fit the hose using the correct diagram
Hose sizing instructions are not interchangeable between pressure cleaner models. Identify the feed sections, leader, swivels, backup valve, and floats before making a cut. Cutting is irreversible, so verify the measurement and section twice.
For the cited 280, the leader length is based on the pool’s greatest depth. Overall reach should end within six inches, longer or shorter, of the farthest point. Excess feed hose is removed equally from the two specified feed sections at the center swivel.
The cited 360 instead describes checking hose reach under pressure and removing excess from the first hose section near the quick disconnect. Stop the system before cutting or disconnecting. Follow that model’s full diagram rather than borrowing the 280 cutting method.
Restore float spacing after sizing, and check that the hose supports the cleaner as intended. A sagging hose, unnecessary loop, or misplaced float can alter travel. Do not add weights or change the leader merely to force the cleaner toward a missed corner.
Assemble the bag, float, and tail
Fit the correct debris bag and secure its collar or clip as directed. Check closures and seams before the first run. A bag can appear attached while allowing collected material to escape through a damaged seam or poor fit.
Set the head float to the position specified for the model. The cited 280 and 360 instructions do not use the same starting position. Match the illustration and part rather than setting every float tight against the body.
Inspect the tail scrubber and leave its outlet unobstructed. The tail should move gently, not thrash or remain disabled. Use the tail overspray guide if it repeatedly sprays outside the pool.
Coordinate the pump schedule
A booster requires water from the filtration system whenever it operates. Start the supply pump and establish the required circulation before the booster starts. Do not assume that a quiet or low speed filtration mode provides adequate supply for every installation.
The cited PB4SQ manual requires its schedule to begin 30 minutes after filtration starts and end 30 minutes before filtration stops. It also prohibits operation without water or without the cleaner connected. Follow the specific pump and control instructions for your system.
Have the required controls and electrical interlocks installed by a qualified professional. Use normal owner controls for permitted schedule changes. The booster troubleshooting guide covers a pump that does not start or fails to supply the cleaner properly.
Measure wheel speed before tuning coverage
Use the model’s wheel RPM test with the cleaner submerged. The cited 280 and 360 range is 28 to 32 revolutions per minute. Count for a full minute during normal forward operation, restarting if backup interrupts the measurement.
The RPM guide explains the counting method and interpretation. Low speed calls for checking screens, baskets, filter condition, and unintended leaks before approved adjustment. High speed calls for the model’s specific restrictor or flow control sequence.
Do not aim for the fastest movement possible. The specified range is the commissioning target. A cleaner that races may clean poorly or lose appropriate contact even though it looks powerful.
For the cited 280, pressure relief adjustment is made only with a restrictor installed. The 360 has its own instructions. Use the wall fitting guide to distinguish intentional relief discharge from a damaged connection.
Observe coverage through complete cycles
Watch forward travel, wall approaches, and backup operation. The cited 280 backs up approximately every three minutes; the timing is model specific. It should return to useful forward cleaning rather than remain in an apparent reverse state.
Record repeated traps and missed areas on a simple sketch. One pass does not establish coverage, and a random route will not visit every location in order. Look for the same unresolved area across complete runs.
If it repeatedly reverses without cleaning, follow the backup cycle diagnosis. If it circles on its side, inspect bag loading and float condition before adjusting the thrust jet. Preserve the manual’s starting settings so unsuccessful changes can be reversed.
Maintain the setup you established
Empty the bag before it becomes heavily loaded. The cited 280 guidance recommends doing so when half full, especially with sand. Rinse and inspect it using the approved method, then refit the closure and support correctly.
Inspect wear items such as tires, scrubbers, hose sections, and swivels at the intervals the manual specifies. Replace worn compatible parts rather than compensating indefinitely with more flow. Keep a record of the correct RPM and hose arrangement.
Disconnect before cleaning or backwashing the pool filter. The cited Polaris instructions call for at least five minutes of return line flushing before reconnection. Follow the model’s storage and winterizing guidance when the cleaner or pool is out of service.
Seek service for persistent poor operation after these checks, damaged fixed plumbing, or internal pump and electrical faults. Provide the model, RPM, hose layout, and a video of the first abnormal behavior. Those details support a targeted repair instead of another round of guesswork.