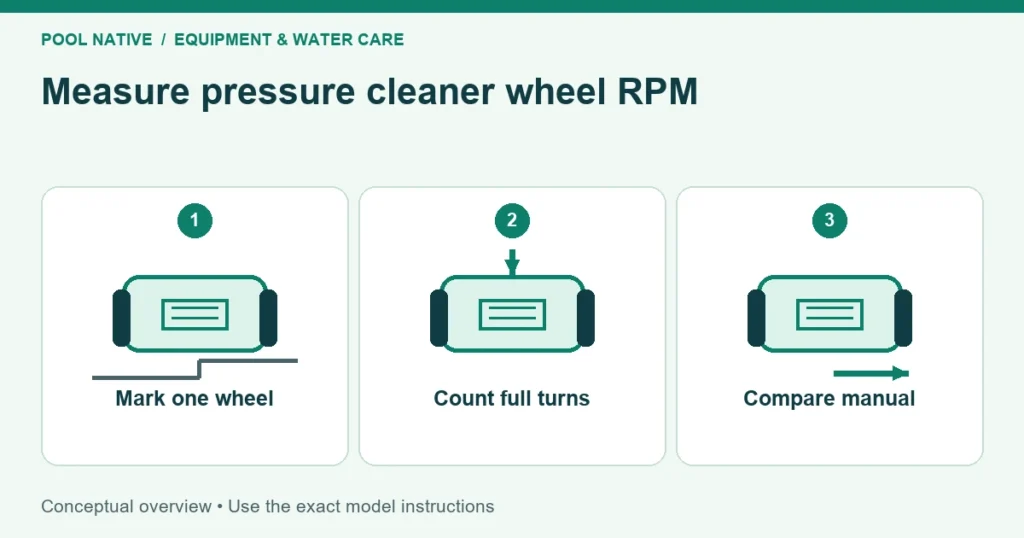
To measure pressure cleaner wheel RPM, mark the specified wheel and count its complete turns for one minute while the cleaner stays submerged. Use the normal pump setup and follow the model’s handling instructions. Restart if a backup cycle interrupts the measurement.
RPM means revolutions per minute. It is a useful operating check, but the correct range belongs to the cleaner model. It does not directly measure gallons per minute, pipe pressure, or the electrical condition of a booster pump.
Find the model’s target first
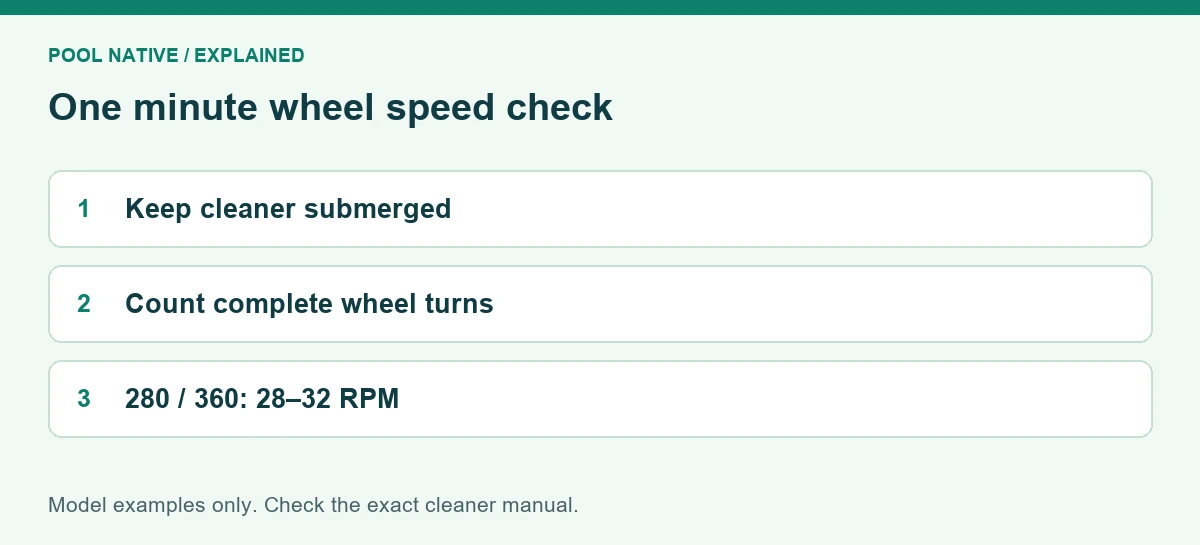
The cited Polaris 280 and 360 manuals specify 28 to 32 wheel RPM. That shared number does not establish a universal range for every pressure cleaner. Other models can use different targets and measurement procedures.
Check the complete model name on the cleaner or purchase record, then locate the operating speed section. Note which wheel to mark and whether the manual gives a specific handling position. Do not use motor RPM from a pump label as the cleaner’s target.
Also distinguish a wheel count from a timed revolution test used on some suction cleaners. Ten revolutions in a stated number of seconds is a different instruction. Read both the unit and the duration before comparing a result.
Prepare a repeatable test
Empty the cleaner’s bag and ensure accessible screens and baskets are in normal service condition. Confirm the hose is connected correctly and not kinked. Keep the regular operating valve positions so the result represents the setup you actually use.
For a booster driven cleaner, start the filtration pump and let it establish the required water supply before the booster starts. Follow the installed timing and interlock requirements. Never run the booster independently to obtain a wheel count.
Keep swimmers out and stand securely on the deck. Perform only the handling exception described in the cleaner manual for checking RPM. If you cannot safely hold and observe the cleaner, have a pool professional do the measurement.
Gather a timer and the temporary marker permitted by the manufacturer. Mark the single wheel side tire on the cited Polaris models. Place the marker so you can identify one full revolution without adding a loose object that could enter the drive.
Count a full minute underwater
Hold the cleaner below the water level in the position its manual describes. Keep the wheels free to rotate and fingers away from moving parts. Keep the sweep hose directed safely as instructed so it does not spray the observer.
Choose a fixed reference point and start counting each time the marker passes it. Run the timer for 60 seconds. Count complete rotations consistently rather than counting each visible tread or spoke.
If backup engages, stop and wait for normal forward operation before starting a fresh count. Do not combine half of one operating phase with half of another. The result should describe steady forward cleaning conditions.
Repeat the test if you lose count or the marker becomes difficult to see. Record both valid counts rather than quietly selecting the one closest to the target. Noticeable variation is useful information about the test or system.
Why a short count can mislead you
A ten second count multiplied by six magnifies a small counting error. One missed revolution changes the calculated result by 6 RPM. That is larger than the entire 28 to 32 range used by the cited Polaris models.
For example, five turns in ten seconds become an estimated 30 RPM. Four turns become 24 RPM, and six become 36 RPM. Those estimates suggest very different adjustments even though only one count separates them.
A full minute reduces that problem and makes the reading easier to compare with the manual. It also gives more opportunity to notice a speed change. If the cleaner will not stay in a stable forward state, diagnose that behavior before forcing a numerical conclusion.
Interpret the result without overreaching
| Result | Useful next step |
|---|---|
| Within the model’s range | Investigate the specific coverage, bag, tail, or balance symptom |
| Below range | Check accessible restrictions and unintended leaks before approved flow adjustment |
| Above range | Follow the exact restrictor, relief, or valve procedure for that model |
| Changes substantially between valid counts | Check operating phase, pump schedule, and intermittent restriction |
| Wheels fail to turn despite apparent water flow | Stop and inspect only owner accessible areas before service |
A correct count does not prove that every cleaning jet, bag, or drive component is healthy. It establishes one operating condition. A cleaner can have suitable wheel speed and still carry a damaged bag or become trapped at a step.
Likewise, low RPM does not prove the booster pump has failed. A dirty screen or leaking swivel can reduce performance downstream. Use the booster pump diagnosis only when the observations point toward its supply or operation.
Make the model’s approved adjustment
For the cited 280, low speed checks include the filter screen, baskets, filter, hoses, connections, and swivels. Restore those before changing the flow controls. A setting chosen to compensate for debris can become excessive once the restriction is removed.
For high speed, that manual specifies its restrictor disk sequence and relief adjustment. It requires a restrictor to be installed when adjusting the relief valve. The wall fitting guide explains why relief discharge is not automatically a leak.
The 360 has its own return water arrangement and instructions. Follow those rather than assuming that every pressure cleaner has a booster or the same restrictor setup. Stop the appropriate pumps before removing fittings or changing components.
Change one approved setting at a time, then repeat the full count. Avoid assigning a universal amount of screw rotation or pump speed change to an RPM difference. The response depends on the installed system.
Save a baseline you can use later
Record the date, model, two valid counts, pump operating mode, filter condition, and any adjustment. Add the symptom you were trying to solve. A simple note is enough if it captures the conditions accurately.
For example, a stable 30 RPM result after cleaning the screen can become the comparison for a later sluggish run. A new 22 RPM result under the same setup points toward a changed condition. It still needs inspection before a parts diagnosis.
After tuning, watch ordinary travel and a backup cycle, then check the original cleaning complaint. The pressure cleaner setup guide covers the remaining commissioning checks. Seek service if the count cannot reach its range with a sound, correctly assembled system.