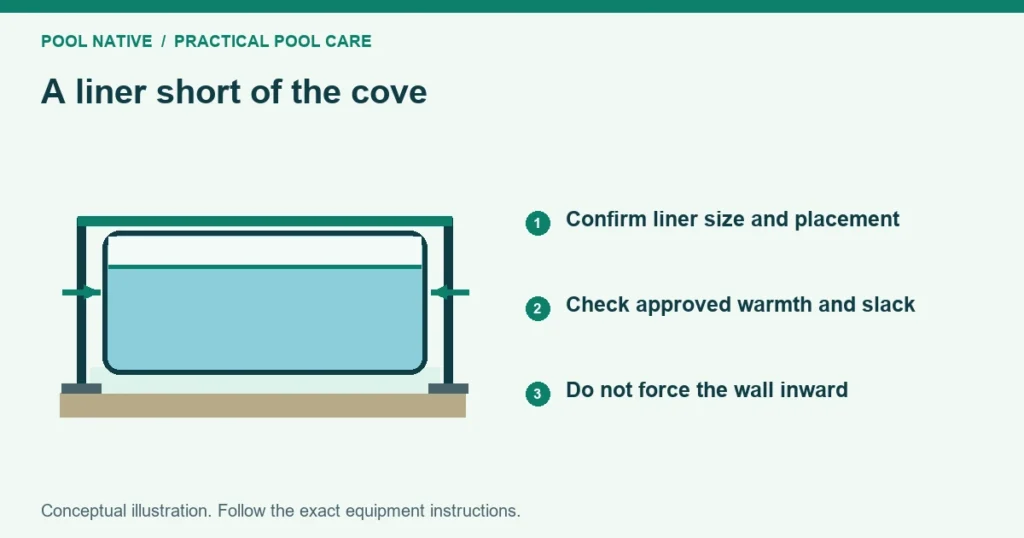
A pool liner not touching the cove needs a fit check before you continue filling. Confirm the liner size, attachment and positioning. Do not assume water weight will safely pull every gap into place.
The cove is the supported transition where the pool floor meets a rigid wall. This guide concerns that installation. A portable frame pool with an integrated liner has a different assembly and should follow its own manual.
What does the gap look like?
Look at the whole circumference before focusing on one tight spot. A liner suspended evenly above the transition suggests a different problem from a gap confined to one section. Neither pattern alone proves the liner is the wrong size.
| Pattern | Checks to prioritize |
|---|---|
| Similar tension around the whole pool | Liner dimensions, wall height, attachment and base geometry |
| One tight section with slack elsewhere | Centering and even distribution around the wall |
| Floor seam displaced from its intended position | Liner orientation and floor alignment |
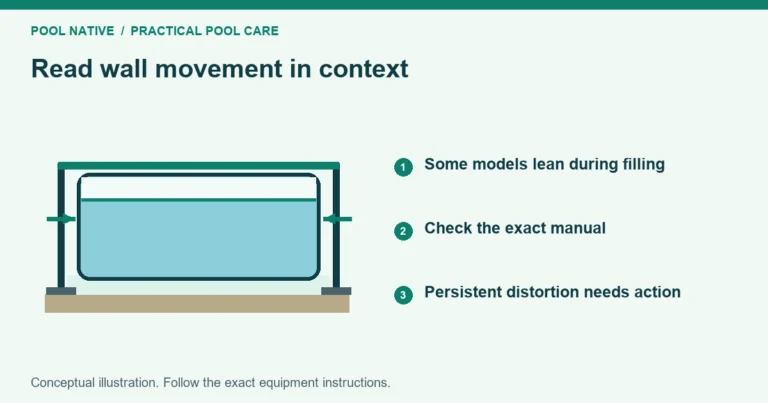
| Gap appears as a wall deforms | Stop filling and have the structure assessed |
| Older liner no longer reaches after draining | Condition, shrinkage and suitability for reuse |
Photograph the gap, attachment and full pool shape. Record the water depth and when the tension appeared. Do not stand beside a visibly moving wall to obtain a better picture.
Confirm the liner on the box
Match the replacement liner to the pool’s actual dimensions and construction. Check diameter or length and width, wall height and attachment type. A matching pattern name is not enough.
Compare the order confirmation and box label with the installation manual. An overlap liner, beaded liner and convertible attachment system may have different fitting instructions. Do not cut or modify an attachment until you have confirmed the correct method.
If the liner is incorrect, stop before further stretching or cutting. Keep its identifying labels and contact the supplier. Trying to make an incorrect liner work can complicate both the installation and replacement claim.
Check how the material is distributed
The liner should be positioned evenly rather than having excess material collected at one point. Swimline recommends distributing the initial attachment at opposing positions before filling the intervening sections. That approach helps avoid dragging all the slack around the perimeter.
Check whether the floor is centered in the actual pool shape. Compare the floor seam with the placement shown in the liner instructions. Do not use the printed pattern alone as the alignment reference.
For an overlap liner, excessive material hanging outside the wall can reduce what remains inside. For a beaded liner, uneven distribution can leave a tight section and a loose section. Correct adjustments depend on the attachment and current water load.
Do not release coping or pull an attachment from its track on a loaded pool without the prescribed procedure. Ask the installer how far the load must be reduced before repositioning. There is no universal safe depth for this work.
Inspect the floor and cove arrangement
Check the base thickness and cove shape against the pool and liner instructions. A floor built too high changes the available wall height. A missing, displaced or incorrect cove changes the transition the liner must follow.
A protective floor pad does not replace structural support at the cove. Nor should extra sand be pushed beneath a tensioned liner as an improvised fix. Review the different layers beneath an above ground pool before correcting the base.
Confirm the pool shape too. A wall or track assembled out of its intended outline changes the liner fit. If measurements do not match, the structure needs correction before the liner can be judged fairly.
Account for installation conditions
Vinyl becomes harder to work with in cold conditions. Use the liner manufacturer’s installation temperature guidance. A warm day can help handling, but it does not correct a wrong size or misaligned frame.
Do not use boiling water, a heat gun or another concentrated heat source to force the liner downward. Local heating can damage material and does not establish a sound fit. Follow only the warming or installation methods approved for the exact liner.
An old liner removed or drained for work is a separate case. Its condition may limit whether it can be refitted. Get the installer’s assessment rather than assuming a procedure for new vinyl applies unchanged.
Know when filling must stop
Stop if the wall buckles, an attachment pulls loose, or tension increases without the liner seating as instructed. Keep everyone away from an unstable structure. More water is not a diagnostic test for an unexplained fit problem.
Some liner instructions describe settling during a controlled fill. That applies to a correctly selected and installed liner within that procedure. It does not authorize continuing through wall damage.
Use the wall deformation guide if the structure is changing shape. Wrinkles without a cove fit problem are a separate repair question. Do not stretch one area simply to remove a wrinkle elsewhere.
Resume with a documented correction
Before restarting, confirm the liner identity, pool shape, attachment, base and installation conditions. Record what was corrected. Inspect for damage caused during the first attempt.
Follow the manual’s fill checkpoints and watch the attachment and wall. Continue only while the liner settles as intended. If the same tight section returns, stop and reassess its cause.
Send the supplier the box label, pool model and measurements if the fit remains uncertain. Add clear photos of the seam, cove and attachment. Those details help distinguish a product mismatch from an installation problem before more water is committed.
Return to the first setup checklist once the liner and structure are sound. Finish the equipment and water treatment checks separately before allowing swimmers in.