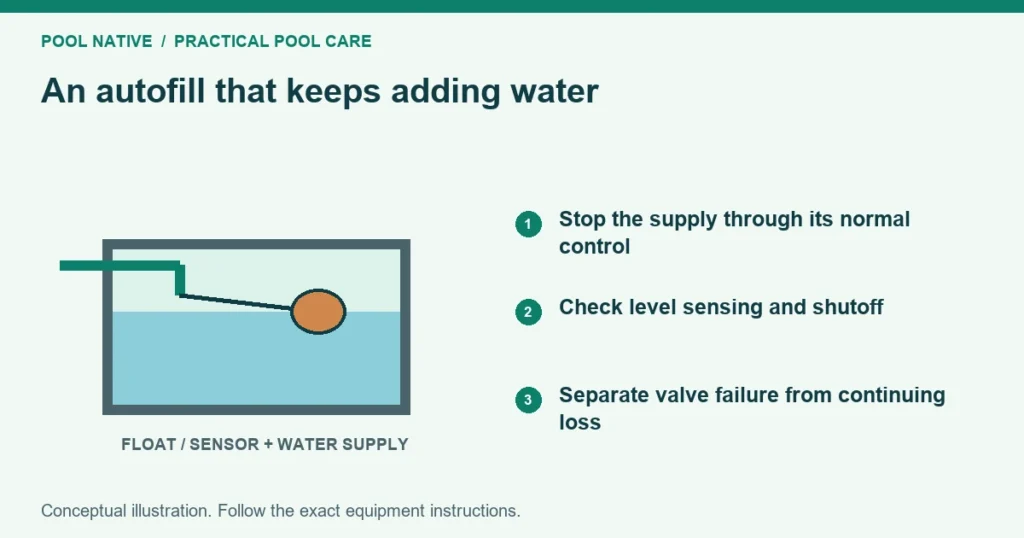
If your pool autofill keeps running, first find where the incoming water is going. It may be raising the pool, escaping through the overflow or replacing water being lost elsewhere. Those situations need different repairs.
Stop uncontrolled filling at the identified supply shutoff if the pool is too high or water is being wasted. Then monitor the pool level. Do not leave circulation running if the level becomes too low for safe operation.
Confirm that water is actually entering
A hiss or a controller light is a clue, not a complete flow measurement. Look for the fill discharge or other safe evidence that water is entering. Some systems fill intermittently, so record when you observe it.
If a dedicated fill meter is present, check its reading. A household meter includes other uses, which must be accounted for before attributing movement to the pool. Do not open backflow test ports to improvise a flow test.
Identify whether this is an automatic system or a manual fill line that someone left open. The pool autofill system guide explains the main arrangements. A manual valve will not close because the pool reaches a particular level.
Compare three levels
For a chamber style filler, compare the actual pool level, the water inside the chamber and the overflow’s effective level. Use the operating condition specified for that design. Do not assume a disturbed chamber accurately represents the settled pool.
| What you observe | Main question | Next useful check |
|---|---|---|
| Pool is high and filling continues | Is the valve failing to close or being held open? | Float response or electronic valve state |
| Pool stays steady while overflow discharges | Is the fill target above the overflow level? | Adjustment versus installation geometry |
| Pool is below target and chamber is also low | Is incoming water replacing an ongoing loss? | Supervised water loss investigation |
| Chamber and pool levels do not track correctly | Is the sensing connection working? | Equalizing route or specialized system operation |
| Controller says no demand but water still enters | Is there a valve or manual override fault? | Approved valve inspection |
A stable level can therefore be the wrong evidence to trust. It only shows that incoming and outgoing water are balancing at that moment. It does not show that either amount is reasonable.
Check a mechanical float without forcing it
Remove the accessible lid and inspect for loose debris or interference. Identify the float mechanism and its approved movement. Do not bend an arm or twist the valve body to make the water stop.
Where the manufacturer’s procedure permits a gentle lift test, raise the float as directed and observe whether incoming water stops. Paramount uses this distinction in its Paralevel troubleshooting. A valve that closes when lifted presents a different problem from one that keeps passing water.
If lifting stops the flow, check the set level and whether the float can rise normally. A damaged float, obstruction or incorrect setting may prevent closure in ordinary use. Follow the model’s inspection procedure before assuming adjustment alone is enough.
If flow does not stop, shut off the supply before any disassembly. Debris at the valve seat, damaged parts or an unsuitable supply pressure may be involved. The relevant pressure range is the manufacturer’s range for that filler, not a number borrowed from another model.
Do not set the float above an active overflow
Suppose a filler is trying to reach a level half an inch above the overflow opening. Water can escape before the float reaches its shutoff point. The pool appears steady while replacement water keeps running through it.
That example explains the mechanism; it is not a universal recommended gap. Select the proper pool level from the pool and skimmer requirements. Then verify that the overflow arrangement permits the filler to reach its shutoff level.
Use the autofill level adjustment guide if the setting is the issue. If the correct level cannot be achieved without constant overflow, have the installation evaluated. Do not block the overflow as a quick fix.
Electronic systems need a demand and valve check
Look at the sensor position and controller status before changing settings. A sensor that has fallen away from the water may continually report a low level. A calibration change cannot repair a loose or damaged installation.
Also check for a manual valve override left in the fill position. LevelSmart’s manual distinguishes automatic operation from a manually opened solenoid. Follow the exact model procedure to restore its normal state rather than turning an unfamiliar control.
Record whether the controller requests filling when the pool is already high. If it requests no filling but water continues, the valve path deserves attention. Electrical testing or component replacement should follow qualified service procedures.
Avoid repeated resets before saving the status and symptoms. A reset can erase useful evidence or change calibration. The next technician needs to know what the system was doing when the excess filling occurred.
When continuous filling points toward water loss
If the valve closes correctly at the proper level but reopens frequently, investigate the reason water falls. Weather, splash, maintenance discharge and leaks can all contribute. There is no single daily evaporation allowance that proves your pool is normal.
A supervised test with automatic filling disabled can reveal a level change that the filler usually conceals. Keep the water above the equipment’s minimum operating level and account for weather and other water use. Use the pool bucket test guide to plan a comparison with evaporation.
Do not run an unattended low water test with equipment still scheduled to start. Maintain the pool safely while collecting evidence. A water loss investigation should not create a pump supply problem.
Verify the repair through a complete cycle
After repair or adjustment, confirm actual filling when the system should call for water. Then verify actual shutoff at the intended level. Observe the overflow as well as the fill outlet.
Recheck under the same operating condition that showed the problem. For an electronic system, compare the controller’s state with the physical result. For a chamber system, verify that the chamber and pool track as designed.
Keep a short record of the corrected setting, parts replaced and observed shutoff level. Monitor use over the next comparable period. A quieter valve or a normal looking pool is not enough if water is still being wasted.