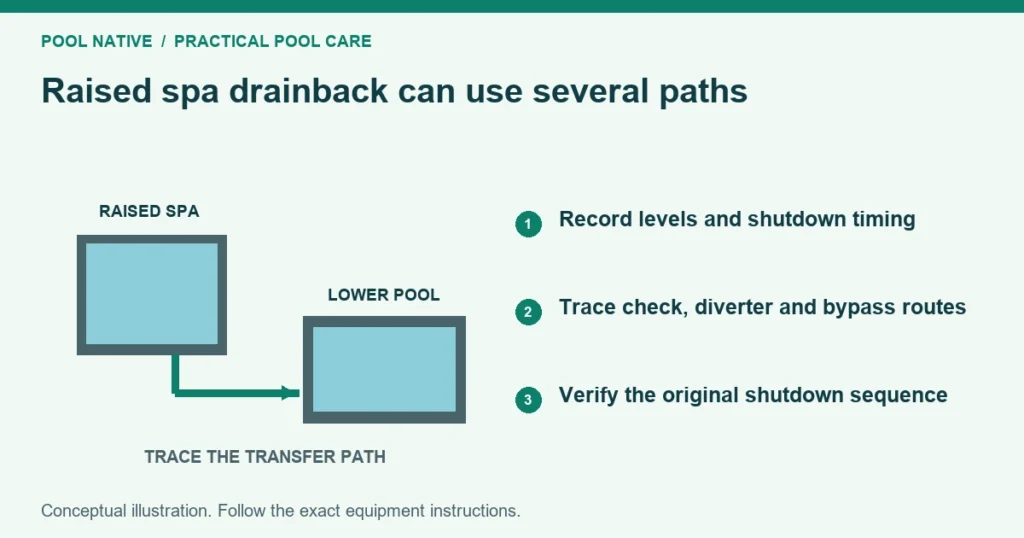
A raised spa can drain toward a lower pool through an open or leaking plumbing path after the pump stops. The height difference supplies the driving pressure. A failed check valve is one possibility, but it is not the only route.
Start by recording when the level drops and where the water appears to go. A spa that drains during a mode change presents a different problem from one that holds while running and falls overnight. Those observations should guide the next check.
Establish whether water is moving or leaving
Mark the spa level and note the pool level at the same time. Record the pump state, operating mode and elapsed time. Turn off automatic makeup through its normal control if that can be done without compromising safe operation.
If the spa falls while the pool rises, transfer between the vessels is plausible. The pool’s much larger surface area can make its rise difficult to see. Lack of an obvious rise does not rule out transfer.
If both vessels lose water, also investigate leakage outside the system and normal evaporation. A pool bucket test helps separate evaporation from unexplained loss under comparable conditions. It does not identify which valve or buried pipe is responsible.
Avoid repeatedly refilling the spa to hide the symptom. Record additions because makeup water can conceal the rate and destination of loss. Stop operating equipment if the level cannot support safe circulation.
Use the shutdown timeline
| When the spa level changes | Useful next distinction |
|---|---|
| During the switch from pool to spa mode | Check paired intake and return routing |
| Only while the pump runs | Check mismatched routing and flow distribution |
| Immediately after shutdown | Investigate a passive path toward the lower vessel |
| Slowly over several hours | Investigate smaller bypasses, imperfect seals and external leakage |
| Only after a spillover event | Record the final valve positions and that feature’s plumbing |
Timing narrows the investigation without proving a particular component failed. A slow drop can still occur through a valve. A rapid drop does not establish that the nearest visible check valve is the culprit.
Photograph accessible valve indicators before shutdown and again when the drop is evident. Some controllers reposition valves as part of an operating sequence. The position during circulation may not be the final resting position.
Sketch all connections between pool and spa
Identify the shared pump’s intake and return diverter valves. Add check valves, a spa makeup line, spillover bypasses and any separate feature plumbing. A branch that bypasses the main valve can matter even if it is small.
Use pipe labels and the installation drawing where available. Do not assume that every pipe disappears toward the vessel its nearest label suggests. Buried routing may require professional tracing.
Draw arrows for normal powered flow, then ask which paths could allow reverse flow after shutdown. The check valve must protect the relevant path in the correct direction. A new valve elsewhere cannot prevent transfer through an unprotected branch.
Inspect the check valve without assuming it failed
A check valve allows intended flow and restricts reverse flow. Internal debris, a damaged seal or a failed moving component may let water pass backward. Its outside can remain completely dry.
Through a clear cover, accessible observations may reveal debris or an unusual internal position. A clean appearance cannot establish that the valve seals under static pressure. Likewise, bubbles alone do not prove reverse leakage.
Compare the installed flow direction with the actual route and the manufacturer’s markings. Replacement can fail to solve the problem if the direction, location or selected valve type is wrong. Check valve leakage covers the component diagnosis in more detail.
Do not open a valve under pump pressure or assume shutdown removes all pressure from a raised vessel. Stored water can still push through the plumbing. Isolation and internal service need a person who understands the system’s elevation and flow paths.
Consider the diverter valve and actuator separately
An actuator can reach its expected position while the diverter inside the valve leaks across a blocked port. A damaged seal or internal part can permit transfer despite a correctly positioned handle. Motor movement is not proof of hydraulic isolation.
Alternatively, the actuator may stop at the wrong endpoint or select the wrong mode. Check the actual route against the intended pool and spa operation. An actuator turning the wrong way explains direction, mounting and stop settings.
Jandy’s valve guidance uses an OFF marking to identify the blocked port on the applicable valve. Confirm the matched model rather than inferring routing from handle direction alone. Do not force an actuator or casually change internal stops.
Include makeup and spillover bypasses
Some systems intentionally send a portion of pool circulation into the spa. That makeup path may have its own adjustment or reverse flow protection. Trace it independently from the main return diverter.
A check valve on the main branch does not automatically protect a bypass around it. Similar reasoning applies to water features or additional connections between vessels. The entire route matters, including where branches reconnect.
After a recent repair, ask what changed in the plumbing rather than immediately replacing the same part again. A technician should verify each plausible transfer path. More than one imperfect seal can coexist.
Have the fault isolated systematically
Provide a service technician with the marked levels, timing, photos, mode sequence and sketch. Ask for a test that separates the plausible routes before parts are replaced. Any temporary isolation must preserve equipment safety and avoid trapping pressure.
Do not close random valves and restart the pump as an experiment. Closing the wrong combination can block flow or create an unsafe suction condition. Do not let the spa drain until it stops to identify a presumed leak height.
If valve isolation does not explain the loss, the investigation may need a structural or plumbing leak test. Water loss with the pump off covers those alternatives. A component diagnosis should remain open until the observed water movement supports it.
Confirm the repair across the original sequence
Recreate the operating mode and shutdown sequence that previously caused the drop. Mark the levels again and compare over a similar observation period. Account for rain, evaporation and any makeup water.
Verify pool mode, spa mode and intended spillover operation as well. A valve adjustment that holds the spa overnight but restricts circulation is not a complete repair. Confirm normal flow before leaving automatic operation unattended.
Keep the final valve configuration with the equipment records. If the symptom returns, the baseline helps distinguish a changed command from a leaking component. It also prevents repeating an already disproven check valve replacement.