To clean a pool filter cartridge, isolate and depressurize the system, remove the elements correctly, and rinse debris from between the pleats. Use a compatible cleaner only when the deposits require it. Inspect and reassemble the exact filter design before a careful restart.
The fabric is only part of the job. A clean cartridge in a poorly assembled tank is not a successful service. The closure, seals, manifolds, and air relief need the manufacturer’s procedure too.
Before cleaning pool filter cartridges
Confirm the tank model and download its service instructions. Similar looking cartridge filters can use different closures and internal supports. Don’t apply another model’s torque or clamp gap.
Make sure cleaning is the right next step. Use the filter’s cleaning trigger and record pressure with the pump setting. Age or discoloration alone doesn’t establish that the elements need replacement.
Prepare a clean place for the lid, seals, and cartridges. Use a garden hose and suitable nozzle, plus any manufacturer approved cleaner needed for the deposits. Keep removed parts away from grit and chemical spills.
Pentair recommends professional filter servicing. Use qualified help if you can’t identify the safe shutdown or closure procedure. Don’t learn an unfamiliar clamp design while the tank is pressurized.
Isolate, depressurize, and open the tank
- Shut down the pump and associated equipment as directed.
- Prevent timers and automation from restarting the system, and disconnect power according to the instructions.
- Open the designated air relief and wait for pressure to release completely.
- Confirm zero pressure without relying solely on a possibly faulty gauge.
- Drain the filter and remove its closure using the exact model procedure.
Never loosen the clamp to vent pressure. Don’t lift the lid by its air relief valve or pry against sealing surfaces. Stop if the tank, closure, or hardware is damaged.
Below water level installations can need additional isolation. Follow the actual plumbing and manual rather than closing unfamiliar valves. Record what must be restored for startup.
Remove the elements without losing the assembly order
Photograph the exposed assembly. Some filters have a manifold, spring, or support components above the elements. Place parts in order on a clean surface.
Lift cartridges as instructed rather than pulling against a connected manifold. Inspect the tank interior and drain route. Keep track of seals and small parts so nothing remains loose inside.
If one element looks different from the others, check the model’s parts list. A previous replacement may have been incorrect. Our cartridge identification guide explains the checks.
Rinse between the pleats, working from the top down
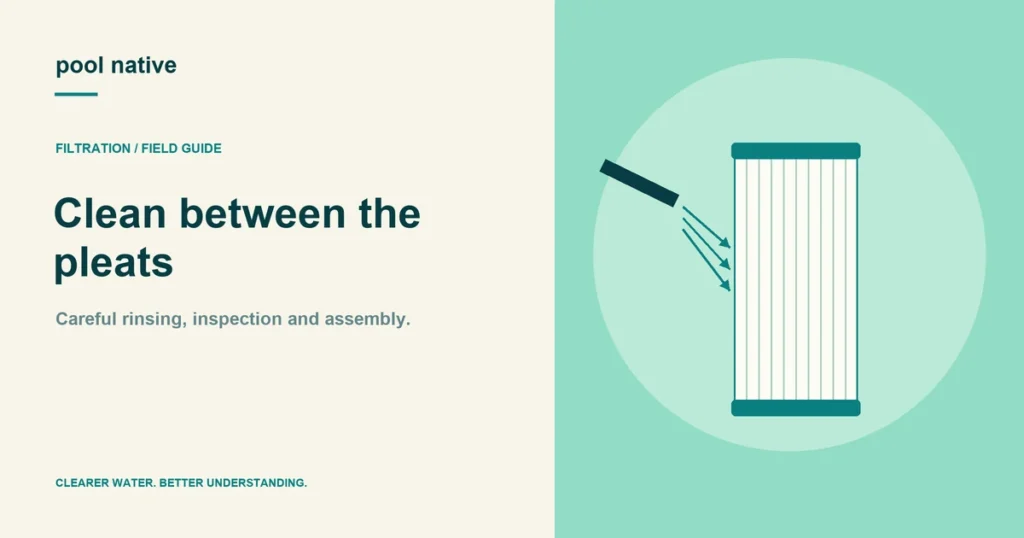
Use a controlled hose stream that reaches the spaces between pleats. Work around the entire cartridge rather than cleaning only the visible face. Direct loosened debris downward and away.
Manufacturer guidance for the referenced cartridge systems uses a hose at roughly a 45 degree angle. Avoid a pressure washer or a forceful jet that damages the fabric. More pressure isn’t a substitute for reaching each pleat.
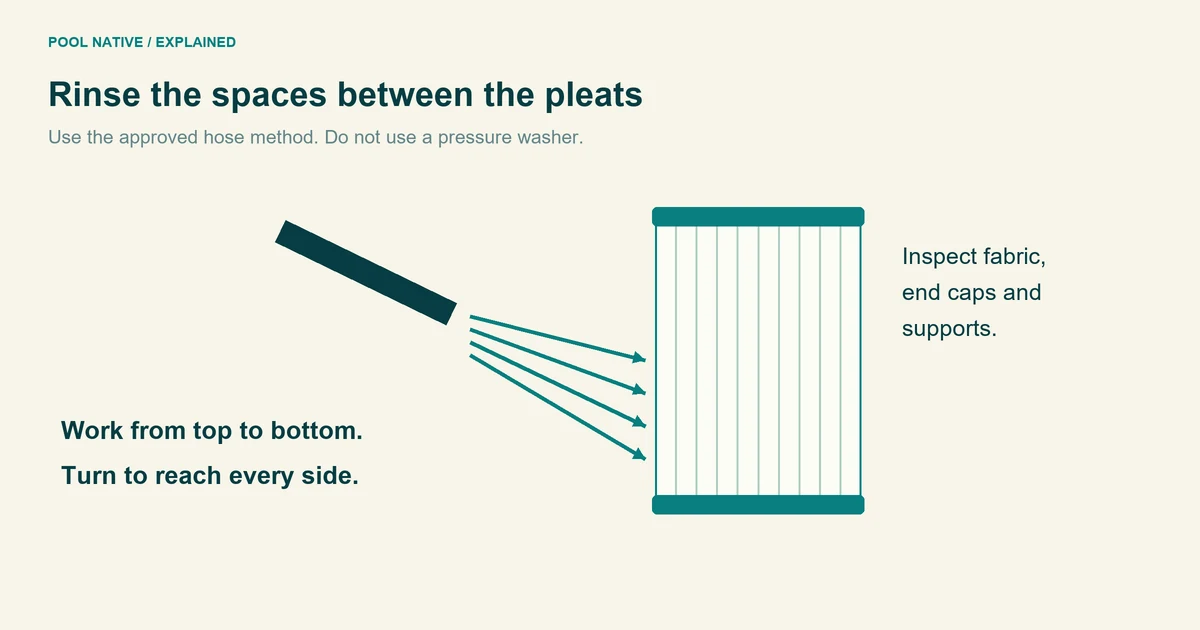
Pay attention to packed material near the end caps and between tightly spaced folds. Rinse until debris stops washing out. Inspect the surface again after the loose material is removed.
Distinguish loose dirt, oils, and mineral deposits
| Condition | Approach | What to avoid |
|---|---|---|
| Loose debris between pleats | Careful hose rinsing | Damaging the fabric to make it look white |
| Oily deposits | A cleaner compatible with the element and sanitizer system | Assuming water alone removes every deposit |
| Suspected mineral buildup | Identify the deposit and follow an approved treatment after oil removal | Starting with an improvised acid soak |
| Torn fabric or cracked structure | Assess replacement | Trying to wash physical damage away |
Unicel warns that acid treatment before proper oil removal can permanently restrict the media. That doesn’t mean every cartridge needs acid. Use the least aggressive approved treatment that addresses the actual deposit.
Follow the cleaner label for dilution, soak time, rinsing, protective equipment, and disposal. Never mix products. Special sanitizer systems can require a different cleaning sequence.
For acid or other hazardous chemical work, use the product’s current safety data sheet and qualified help where needed. A dust mask does not protect against acid vapor. This guide does not prescribe an improvised chemical recipe.
Inspect what cleaning revealed
Look for holes, tears, separated fabric, cracked end caps, and damaged support structure. Check the seating surfaces and any required bands. Residual color alone is not proof of failure.
Don’t repair torn media with glue or tape. Don’t cut support bands to make washing easier. Use the cartridge replacement checks if condition is uncertain.
Reassemble the exact design
Clean the tank and seating surfaces as directed. Install the elements in their correct positions and refit manifolds, springs, and supports. The lid should not be used to force incorrectly seated parts into place.
Inspect and position the seals. Use lubricant only where approved for the component. Follow the model’s closure tightening and final inspection requirements exactly.
If the lid won’t seat normally, stop and identify the cause. Possible issues include the wrong cartridge, a displaced manifold, or a seal out of position. Extra clamp force isn’t a compatibility check.
Restart and verify the cleaning result
Restore the required flow paths and follow the manual’s air release and startup sequence. Stand clear of the tank. Shut down for leakage, abnormal pressure, or air relief behavior that doesn’t match the instructions.
Never tighten a leaking clamp with the pump running. Recheck assembly only after full isolation and pressure release. Get professional help if the cause isn’t clear.
Record pressure at the same pump setting and mode as the previous clean reference. If it stays elevated, use the pressure troubleshooting sequence. A freshly rinsed element doesn’t rule out oil, mineral deposits, or a restriction elsewhere.