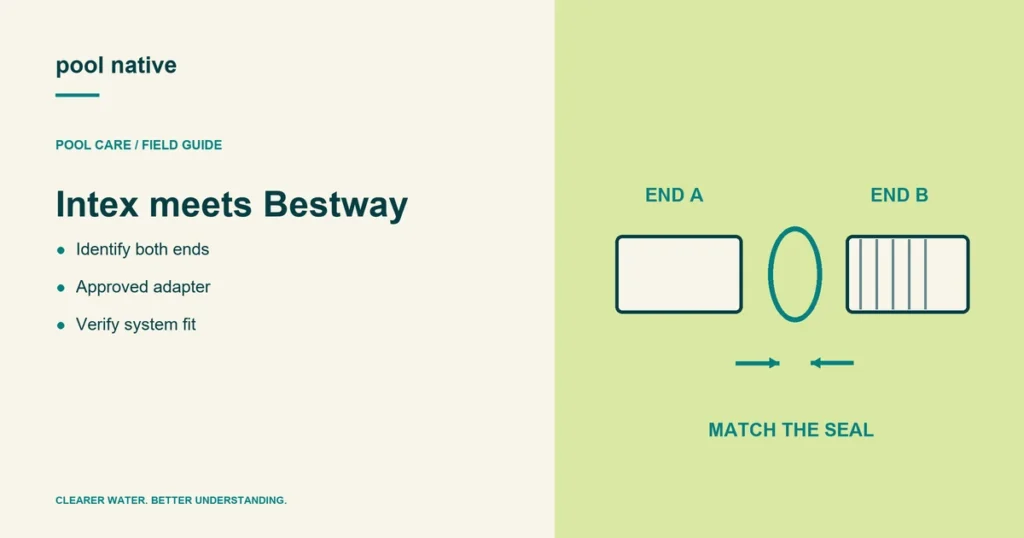
An Intex pump on a Bestway pool may need more than an adapter. The exact pool, pump, hoses, seals, and suction arrangement must work together. Neither matching brand names in a listing nor matching nominal diameters proves compatibility.
There is no single verified adapter combination for every Intex and Bestway model. This guide helps you establish the required evidence before buying or connecting parts. Keep the original protective fittings and documented water paths intact.
Identify both products, not just their sizes
Record the Bestway pool’s product number and its connection diagram. Record the Intex pump model and the fittings included with that exact package. Year and regional variants can matter when replacement parts look similar.
Photograph the pool wall fittings, the existing hoses, and both pump connections. Include gaskets and collars if they can be inspected safely. Use the hose identification guide to separate the hose bore from its nut diameter.
Do not remove fittings while the system is running. Use the approved shutdown and water isolation procedure first. If you cannot isolate the connection safely, have a pool professional identify it in place.
Trace suction and return separately
Draw the water route from the pool’s suction fittings to the pump, through the filter, and back to the return. Label each endpoint in words. Do not assume one manufacturer’s port lettering maps directly to another’s.
Some Bestway arrangements use two B connections joined through a tee and one A return. The manufacturer’s setup preserves that two branch suction path. Do not cap one branch to make a larger single hose easier to attach.
Keep the specified screens and protective fittings in place. An adapter that requires removing a safety component is not an acceptable shortcut. Have the completed arrangement checked when it departs from the original manufacturer’s documented setup.
Build a record of the proposed connection
| Check | Evidence you need |
|---|---|
| Mechanical fit | Identified mating parts, connection style, and compatible threads or clamp arrangement. |
| Seal | The correct gasket, sealing surface, and seating method for each joint. |
| Water path | Both suction branches where specified, the correct return, and no blocked protective fitting. |
| Operating suitability | Pool, filter, hose, and accessory limits compatible with the replacement system. |
| Installation | Required equipment location, electrical protection, service access, and manufacturer instructions. |
Ask the supplier to confirm the complete pairing using these details. A photograph of another owner’s installation is useful context, but not proof of your part numbers. Save the confirmation with the pool records.
What an Intex Adapter B listing establishes
Intex describes Adapter B 29061E as a conversion from its 1.25 inch clamp fittings to 1.5 inch screw fittings. That is an Intex application statement. It is not blanket manufacturer approval for an unidentified Bestway connection.
Likewise, a larger collar measurement does not establish a standard pipe thread. Avoid forcing parts together or adding layers of seal tape to compensate for a mismatch. If the sealing geometry is wrong, stop and identify the proper parts.
Check flow suitability before the first startup
Read the replacement’s system flow rating and permitted pool range. Check limits for the existing filter and accessories if you are retaining them. See the pump upgrade planning checks for that decision.
Do not assume a pump is suitable merely because it is more powerful. Required installation height, hose routing, and electrical supply also matter. Use a qualified installer for electrical changes or a configuration the manufacturers have not documented.
Verify the completed connection
Follow the applicable filling, air removal, and startup instructions after fit has been confirmed. Open the intended water paths and inspect every joint for leakage. Check for hose deformation, air entry, and sideways load on wall fittings.
Stop if the pump fails to establish normal circulation or a joint leaks. Use the hose leak guide to locate the fault. Tightening harder is not a substitute for compatible parts.