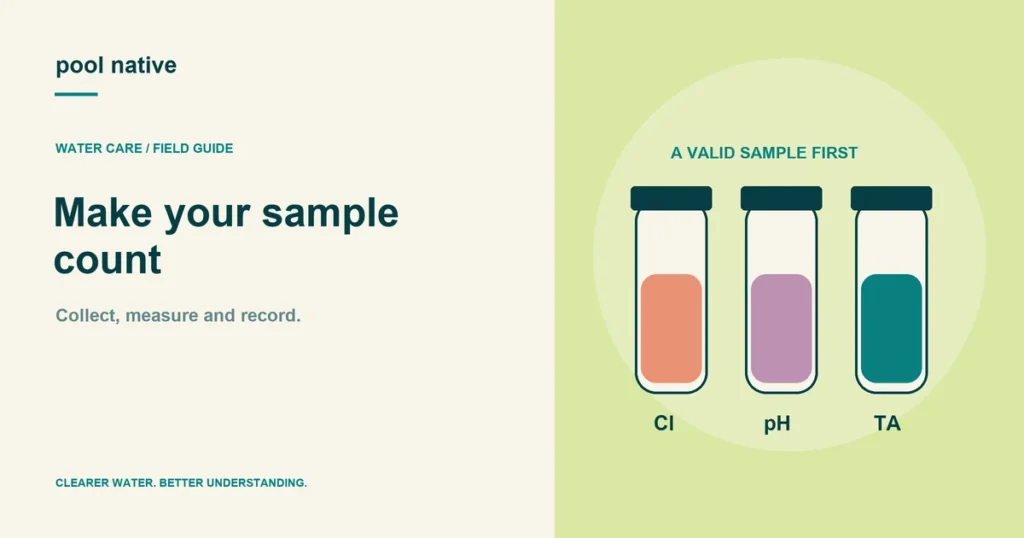
To test pool water reliably, take a representative sample, use the exact sample volume, and follow the timing for your test. Small shortcuts can change the result enough to send treatment in the wrong direction. Start with clean equipment and a kit suited to the measurement you need.
This is the operating workflow for a test you’ve already chosen. If you need to compare strips, titration kits, and digital instruments, start with pool testing methods. Each method has its own reading procedure.
Prepare before collecting water
Check the reagent labels, condition, and storage history. Find the instructions for this exact kit, including its ranges and interferences. Lay out only the bottles needed for the test so caps and droppers don’t get mixed up.
Record recent chemical additions and whether the required mixing period has elapsed. Don’t test a concentrated plume near a return and treat it as the whole pool. If water is visibly uneven or circulation has just resumed, follow the treatment and sampling instructions before relying on the result.
Take the sample as instructed
Use the kit’s specified location and depth, away from return jets, skimmers, and recent additions. Rinse the cell as directed and avoid contaminating the sample with fingers, sunscreen, or cleaning residue. Collect enough water to perform the intended tests promptly.
Read the fill line at eye level on a level surface when the kit requires a measured volume. A rounded guess changes the ratio between water and reagent. Don’t use the same reacted sample for another test unless the procedure explicitly says to.
Follow the sequence for your method
- For strips, use the instructed dip, removal, holding position, and reading time.
- For color tests, add the specified drops and compare in the recommended light.
- For titrations, count drops using the correct sample factor and endpoint.
- For photometers, clean the vial exterior and follow blanking and reagent instructions.
Keep dropper bottles in the orientation specified by the maker. Wipe or clean a tip only as instructed. Don’t assume a drop that clings or spurts has the same volume as a properly formed drop.
Record the result the method can actually report
Write an out of range result as out of range. Don’t invent a number beyond the printed scale. Similarly, a CYA test below its lower limit is not an exact zero.
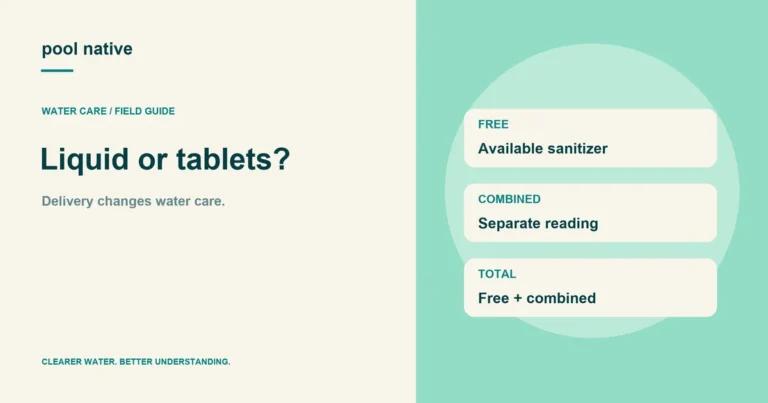
Distinguish free chlorine, total chlorine, and combined chlorine. Record units and method for unusual readings. The chlorine measurement comparison explains how those values relate.
Very high sanitizer can interfere with some chlorine and pH tests. A clear chlorine sample after a large addition may need bleaching checks. A purple pH sample needs interference checks before an acid dose.
Repeat suspicious readings before treating
Use a fresh sample and check the procedure first. If the result remains questionable, use the manufacturer’s interference procedure or an appropriate independent method. Don’t average a suspect result with a trustworthy one.
Record the accepted result in the maintenance log, then calculate any justified correction. After treatment, retest at the specified interval. That sequence connects your action to an observed response instead of a guess.
Rinse and store the kit after testing. Keep reagents out of a hot equipment box or sunny poolside shelf. A careful five minute test is only useful if the supplies remain fit for the next one.