An Intex cartridge to sand filter upgrade changes the filtration equipment, not just the material inside a housing. Choose a compatible pump and filter system, then match its hoses and fittings to the pool. Don’t fill the old cartridge housing with sand or assume a larger motor is automatically suitable.
The useful goal is reliable circulation with manageable maintenance. Sand filtration still requires cleaning, correct media, and proper water chemistry. It won’t compensate for inadequate chlorine or an equipment combination outside the pool’s limits.
Decide what problem the upgrade should solve
Frequent cartridge cleaning may reflect a small filter, heavy debris, algae, or a neglected cartridge. Establish which problem you have before buying equipment. An active algae problem can clog a new sand filter too.
A sand system may offer convenient backwashing, but it uses water and needs a suitable discharge route. Cartridge systems have different maintenance and water use tradeoffs. Choose based on the pool and your routine, not a blanket claim that one medium is always better.
If the main problem is weak flow, inspect the existing hoses, strainers, and pump first. A blocked intake can make either filter perform poorly. Use above ground pump upgrade planning for the whole system decision.
Compare system flow rather than motor power alone
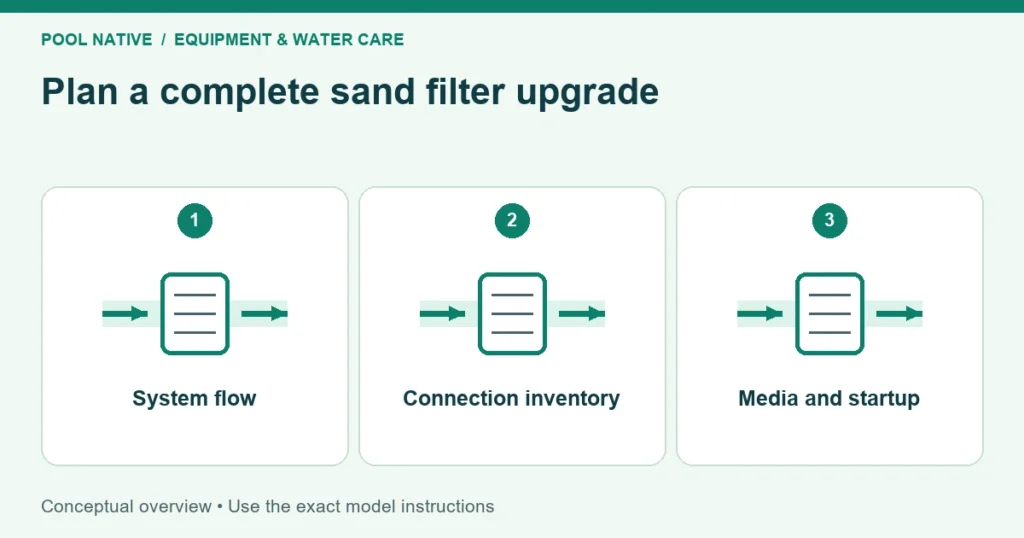
Intex distinguishes pump flow from system flow on its product information. For example, the SX2100 listing gives 2,100 gallons per hour for pump flow and 1,600 for system flow. The larger number isn’t the amount guaranteed through your installed pool circuit.
Use the complete model’s supported pool range and instructions. Additional hoses, fittings, and accessories can affect actual circulation. Horsepower or the product name alone doesn’t establish a suitable match.
For a hypothetical 8,000 gallon pool, dividing volume by 1,600 gallons per hour gives five hours of theoretical turnover. That calculation isn’t a guarantee that every part of the pool is clean or sanitized. Follow the manufacturer’s operating guidance and evaluate actual water conditions.
Don’t oversize a pump beyond the pool’s suction fittings or filter capacity. A stronger pump can create new hose and circulation problems. The pool, pump, filter, and accessories must be compatible as a system.
Inventory the connections before ordering
| Item | Record before buying |
|---|---|
| Pool | Exact model, year, and normal water volume |
| Wall ports | Number, hose diameter, and connection type |
| Intake assembly | Strainers, split connections, and required adapters |
| New filter system | Model, supported range, and included hoses |
| Valves and seals | What is included versus purchased separately |
| Added equipment | Salt system, heater, cleaner, and flow requirements |
| Waste outlet | Hose size and suitable discharge route |
Intex commonly uses 32 mm and 38 mm hose systems. Their threaded collars are not identified by the hose’s inner diameter alone. Use hose and fitting identification if the dimensions seem contradictory.
Check the actual package contents. A product image may show valves or fittings that aren’t included. The SX2100 listing, for example, separately identifies some pool connection components as not supplied.
Choose adapters for the direction of the conversion
Connecting a 38 mm filter hose to a smaller pool port is a different task from attaching a small hose to a larger threaded fitting. Intex’s support chart distinguishes Adapter A and Adapter B arrangements. Match the entire pool and filtration combination.
The regional support chart also lists complete connection kits for certain combinations. Don’t assume two loose adapters replace every strainer, return fitting, or split suction component in a required kit. Verify the applicable model and local package before ordering.
Preserve the pool’s intended intake arrangement and protective strainers. Never remove safety components to make a hose fit. If using equipment from another brand, obtain documented compatibility rather than building a chain of improvised reducers.
Plan the equipment location and power supply
Use the manufacturer’s placement requirements and a stable base. Keep the equipment accessible for the valve, basket, gauge, and drain. Avoid positioning it where children can use it to climb into the pool.
Follow the electrical instructions for the exact model and region, including GFCI protection where specified. Don’t use an extension cord or external timer when the manual prohibits it. A larger filter purchase doesn’t resolve an unsuitable outlet location.
Route hoses without kinks or strain on the pool wall. Support the assembly as directed and leave access for isolation and service. If a hose flattens during startup, stop and use suction hose collapse diagnosis.
Load only the specified filter media
Check the tank’s required media type, grade, and quantity. Don’t use play sand or a generic material simply because it looks similar. The correct grain size and loading depth are part of the filter design.
Different approved media can require different weights. The current SX2100 listing specifies 50 pounds of silica sand or 35 pounds of glass media. Those values are model specific and should not be transferred to another tank size.
Follow the assembly sequence that protects the internal collection components and keeps media out of the wrong openings. Inspect seals and the clamp arrangement before operation. Don’t guess the fill level from another owner’s photograph.
Backwash and rinse before normal filtration
New media can contain fines that should be removed through the prescribed startup process. Connect the waste outlet to the planned discharge route. Make sure water loss won’t uncover the pool intake or run the pump dry.
Stop the pump before every multiport valve change. Follow the manual’s backwash and rinse sequence, then return to Filter with the pump stopped. Running against a closed or incorrectly positioned valve can damage equipment and create hazardous pressure.
Prime and vent the system as directed. Check all connections during startup and record the clean filter pressure once flow is stable. That baseline helps determine when maintenance is needed later.
Set the schedule and verify the upgrade
Use the operating table for the actual pump and pool as the starting point. Account for any separate salt system that needs circulation throughout its operation. Our Intex timer guide explains duration, daily start timing, and power interruption differences.
Watch for steady return flow, air leaks, hose deformation, and media entering the pool. Recheck the water level and fittings after the first operating period. Correct a problem before leaving the new system unattended on its normal schedule.
Continue testing and maintaining sanitizer independently. A clearer pool after filtration doesn’t establish adequate chlorine. Judge the upgrade by reliable operation and manageable maintenance, then keep the model numbers, adapter list, and clean pressure record for future service.