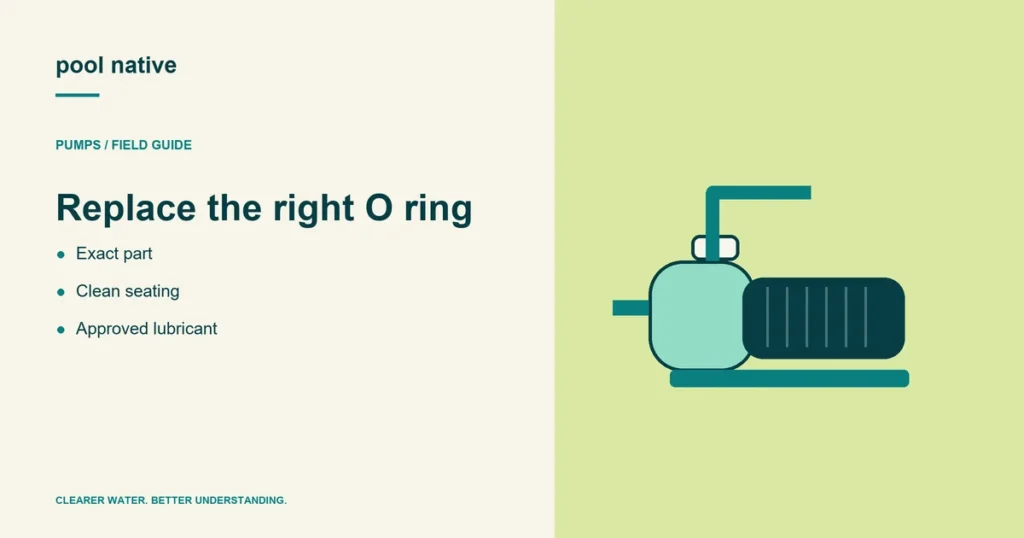
Pool pump lid O ring replacement requires the exact seal for the lid assembly. Match the pump model and parts diagram, clean the seating surfaces, and follow the specified lubricant instructions. A ring that looks close can still fail to seal.
Replace a damaged or distorted ring rather than trying to fix it with more grease or tighter closure. Also inspect the lid and housing, because a new ring won’t repair cracked mating parts.
Identify the pool pump lid O ring replacement
Record the complete pump model and any production information required by its parts list. Confirm that the listed seal belongs between the lid assembly and strainer pot. Some covers contain another seal between their own components.
Don’t order from the motor label alone. The motor can serve more than one pump arrangement. Use the pump’s component diagram and a documented part cross reference.
| Check | Reason |
|---|---|
| Exact part number | Confirms intended size, shape, and application. |
| Lid assembly revision | Similar pumps can use different covers or seals. |
| Groove and mating surface | Grit, cracks, or damage can prevent sealing. |
| Lubricant instruction | Seal and equipment compatibility govern the product. |
Clean and inspect before installation
Isolate power, prevent automatic startup, and follow the pressure relief and safe opening procedure. Don’t open a hot pump after dry operation. Use the stuck lid guide if normal release fails.
Remove debris from the groove and mating surface without scratching them. Inspect the old ring for cuts, flattening, swelling, or loss of shape. Check the lid itself for damage.
A stretched old ring is a poor measuring standard. Don’t cut it shorter or force it back into a groove. Fit the confirmed replacement without twisting or pinching it.
Use the lubricant the equipment allows
Follow the manual for the particular lid seal. Where lubricant is specified, use a compatible product and the directed amount. Don’t substitute petroleum jelly, household oil, or an unknown spray.
Lubricant helps an appropriate seal work as intended; it isn’t a repair material. Excess product can collect grit and conceal damage. A persistent leak still needs inspection.
Keep mechanical shaft seals separate from lid rings. Their precision faces have different handling requirements. Advice about greasing a lid must not be applied to every pump seal.
Seat, restart, and verify
Restore the basket and close the lid using its documented final position. Don’t use extra leverage to compensate for poor fit. Follow the complete basket and restart sequence.
Check for water leakage after startup and shutdown. Watch for persistent air entry while running. A dry exterior during operation doesn’t rule out a suction leak.
If symptoms remain, inspect the lid, housing, and other suction connections rather than adding more lubricant. Record the confirmed replacement number and service date for the next repair.