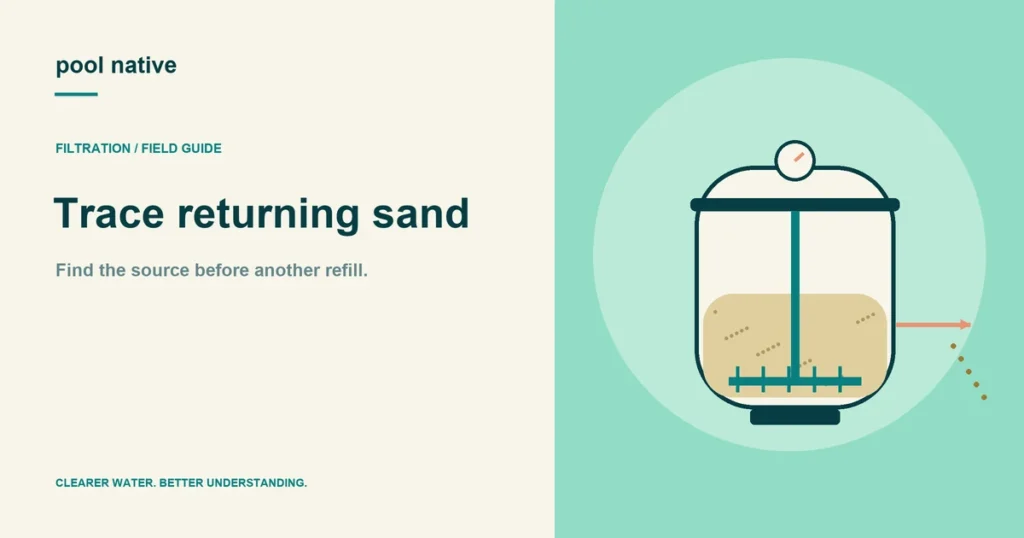
Sand coming out of a pool filter needs investigation, especially when it keeps arriving through the returns. Damaged laterals, incorrect media, assembly problems, or excessive backwash flow can be involved. A little residue after recent work and a persistent stream are different situations.
Before opening the tank, establish where the material is entering and what it is. Dust, dead algae, and sand tracked into the pool can look similar from the deck. That first distinction can save an unnecessary teardown.
Confirm that the sand is coming from the pool filter
Observe the return area from a safe position. Note whether new material appears when the circulation system operates. Don’t block fittings or put your hand over a suction outlet to test the system.
Use a suitable collection tool to save a small sample. Let it settle in a clear container. Photograph the sample and the location where it collects.
Compare visible grains with the media used during the last refill, if you have a sample or bag information. Material that disperses into a cloud isn’t automatically algae; appearance alone isn’t a laboratory identification. The aim is to improve the evidence before choosing a repair.
| Observation | What it suggests checking |
|---|---|
| A pile repeatedly forms near a return | The filtration and return route |
| Debris appears mostly near steps after use | Material carried into the pool |
| New deposits follow a storm | External debris as well as filtration performance |
| Discharge began immediately after a refill | Media specification, startup cleaning, and disturbed internals |
| Discharge began after backwashing an established system | Valve operation, flow, and internal retention components |
Use the service history to narrow the cause
Write down the last normal day and the work that followed it. Include sand replacement, valve repairs, pump changes, and unusual backwash settings. “It started after servicing” is useful even if you don’t yet know why.
Some residual material may remain in piping after work or improper startup. That possibility isn’t a reason to ignore continuing discharge. Follow the specified startup cleaning and stop if the problem persists.
Don’t use a universal number of minutes as a guarantee that the internals are sound. Observe whether the discharge actually stops after the proper procedure. Record the result rather than assuming.
Check the exact media and loading record
Confirm the grade and amount of the installed media. Ordinary sand and approved filter sand aren’t interchangeable. Another media type needs explicit compatibility and its own loading instructions.
Look at the bag label or invoice, not just the seller’s description. Verify the tank model and any suffix. The sand loading reference explains how to avoid mixed specifications.
Wrong media can pass through retention openings or otherwise perform poorly. An incorrect fill level can also interfere with operation. A new bed doesn’t rule out those problems.
Inspect the internal collection path when needed
Laterals collect water near the bottom of a sand filter while retaining the specified media. A crack or damaged opening can create a path for sand. The connecting pipe and assembly need checking too.
The exact parts vary by model. Use the exploded drawing to identify the relevant components. Don’t buy a lateral solely because its thread or general shape looks familiar.
Internal inspection may require removing media. The filter must be isolated, depressurized, and opened using its exact instructions. Arrange qualified service if you cannot verify that procedure.
During inspection, record damage before replacing parts. Check connections, seals, and any air strainer specified for the design. A single visible crack may not be the only disturbed component.
Review flow and valve operation
Excessive backwash flow is another manufacturer identified cause of sand reaching the pool. Check whether a new pump or a changed program preceded the problem. Don’t assume maximum pump speed is the correct cleaning setting.
Use the correct backwash sequence for the installed valve. Stop the pump before changing positions. A slide valve and a multiport valve don’t have identical controls.
If the valve has been serviced, confirm its internal parts and connections match the application. Filter, return, and waste routes must be correct. Uncertain valve behavior needs diagnosis before normal operation resumes.
Clean up without feeding the same material around again
Fix the source before treating repeated floor piles as a cleaning problem. Otherwise you’re removing debris while the equipment keeps adding more. Avoid repeatedly vacuuming it through a known faulty filter.
Use a removal method approved for your system and the material. If vacuuming to waste is available and appropriate, monitor water level and follow local discharge requirements. Don’t let the pump run dry.
After repair, complete the specified refill and startup procedure. Check that discharge has stopped, return flow is normal, and no leaks appear. Record the pressure with its pump setting.
What to send a service technician
- Tank and valve model labels, including suffixes.
- Pictures of the deposits and a saved sample if practical.
- The media bag or invoice from the last refill.
- When the problem occurs and what work preceded it.
- Pump programs and any recent flow changes.
- Pressure readings with their operating modes.
For the mechanism behind those checks, see how the bed and laterals work together. If removal and refilling are required, the sand replacement guide covers the preparation and verification stages.