To store an above ground pool for winter, clean and completely dry the liner and separate components before packing. Check folds, sleeves and fittings for trapped moisture. Choose a storage location within the temperature range specified for the model.
This guide starts with a drained portable pool that is meant to be dismantled. If it still holds water, begin with the controlled draining plan. A pool remaining assembled needs different winter care.
Plan the drying space before teardown
The liner needs room to open without dragging over sharp objects. Prepare a clean surface large enough to expose wet areas. Have a sheltered backup if rain interrupts the work.
Check both the weather and the available time. The outside can feel dry while folds and underside areas remain wet. A rushed evening pack can trap water for months.
Keep the work area secure. A partly collapsed liner can collect rainwater. Do not leave accessible pockets of water while waiting for the material to dry.
Separate the frame without pulling the liner
Follow the assembly instructions in reverse where the manufacturer specifies that method. Photograph unfamiliar joints before separating them. Release the correct pins or connectors rather than levering against a sleeve.
If a frame tube sticks inside the liner sleeve, stop pulling harder. Check for unreleased connectors and consult the model’s removal guidance. Tearing the sleeve creates a new repair problem at the end of the season.
Keep hardware in labeled containers. Separate pool frame parts from ladder parts and equipment fittings. Mark corresponding pieces with a removable system that does not damage the liner or protective coating.
Inspect tubes, feet and connectors as they come off. Set damaged parts aside with their part numbers. Do not pack a bent support and assume it can be forced straight next spring.
Clean with the permitted products
Intex’s storage guidance recommends mild soap and water. Use the cleaner allowed by your own pool instructions. Rinse away residue and remove debris before drying.
Avoid abrasive tools and concentrated chemicals on the liner. Do not use a household solvent because it removes a mark quickly. Compatibility matters more than how easily a stain disappears.
Clean the underside as well as the swimming surface. Grass, grit and small stones can cling to damp material. They can become trapped against the liner when it is folded.
For contamination from feces or vomiting, ordinary seasonal cleaning is not the whole procedure. Follow the applicable pool contamination response. Small kiddie pools have their own cleaning and disinfection instructions.
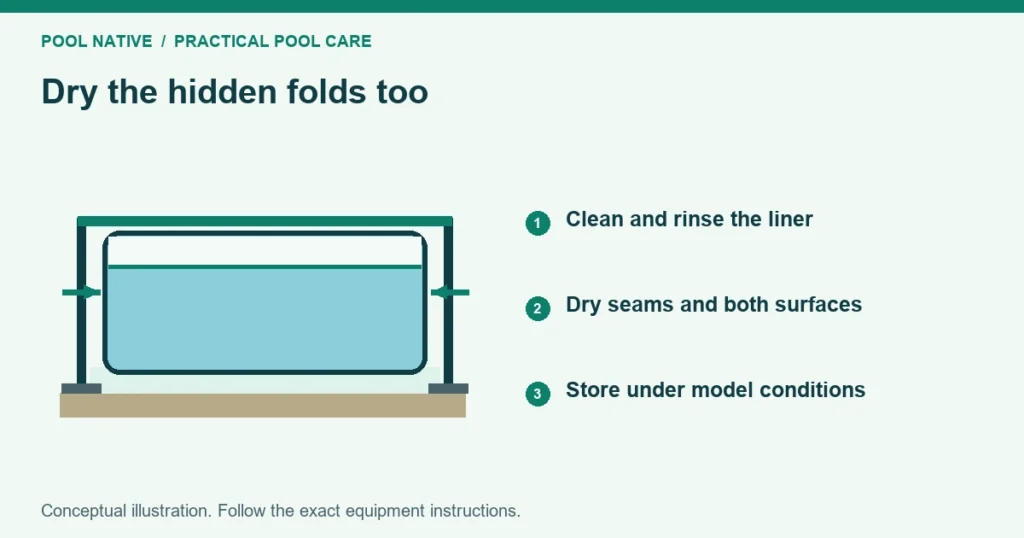
Dry the places that hold water
| Area | What to inspect before packing |
|---|---|
| Floor folds | Separate overlapping material and check both surfaces |
| Frame sleeves | Look for droplets and damp fabric around openings |
| Drain fittings | Check recesses and the area beneath caps |
| Inflatable ring folds | Expose wet contact surfaces before final folding |
| Underside | Remove remaining soil and moisture |
| Hoses and accessories | Drain internal cavities according to their manuals |
Use clean towels to remove standing droplets where practical. Then allow the material to air dry. Turn or reposition it as needed without dragging it across debris.
Drying takes as long as the conditions require. Intex notes that it can take days. Bestway cautions against leaving a dry liner exposed unnecessarily and against using heated tools to speed drying.
Do not use a heat gun or hair dryer to force the process. Warm moving air and direct concentrated heat are not equivalent. Follow the manufacturer’s drying guidance for the material.
Powder cannot replace drying
Some manuals recommend a suitable powder to reduce sticking during storage. Apply it only as directed to already dry material. It is not a way to make a wet liner ready to pack.
Do not substitute a household powder based on a forum suggestion. The pool’s material and the manufacturer’s instructions control the choice. If you cannot confirm suitability, ask before applying it.
Fold without trapping hardware or grit
Check the surface again as each fold closes. Remove anything that could press against the liner. Keep loose fittings and sharp hardware outside the folded bundle.
Use the folding pattern supplied for the model. Avoid unnecessarily sharp creases and do not force the liner into a container that is too small. Work with material that is dry and pliable within its handling instructions.
Do not stack heavy frame parts on top of the folded liner. Pack them separately so their ends cannot puncture it. Keep the liner protected from tools and stored chemicals.
Choose storage by conditions, not container size alone
A garage or shed is suitable only if it meets the product’s storage requirements. Check likely winter lows, summer highs and dampness. A waterproof box outdoors may still experience temperatures the manual excludes.
Use the exact temperature range in your model manual. Different Intex and Bestway documents specify different limits. Do not transfer a spa storage temperature to a pool merely because the brands match.
Protect the packed liner from pests, water intrusion and sharp objects. Inspect the container and storage area before loading. A label should identify the pool model, size and packing date.
Pack a next season checklist with it
Record damaged or missing parts and the correct replacement numbers. Add the manuals, photographs and notes about any ground settlement. Store paperwork where it will remain readable.
Drain and store the pump, filter and hoses according to their own instructions. Do not assume a dry outside means the equipment has no trapped water. Filter media care also depends on the specific filter.
Before the next season, inspect the unpacked liner and frame before filling. Replace damaged parts and check the site again. The setup checklist helps turn the stored inventory back into a complete, checked installation.