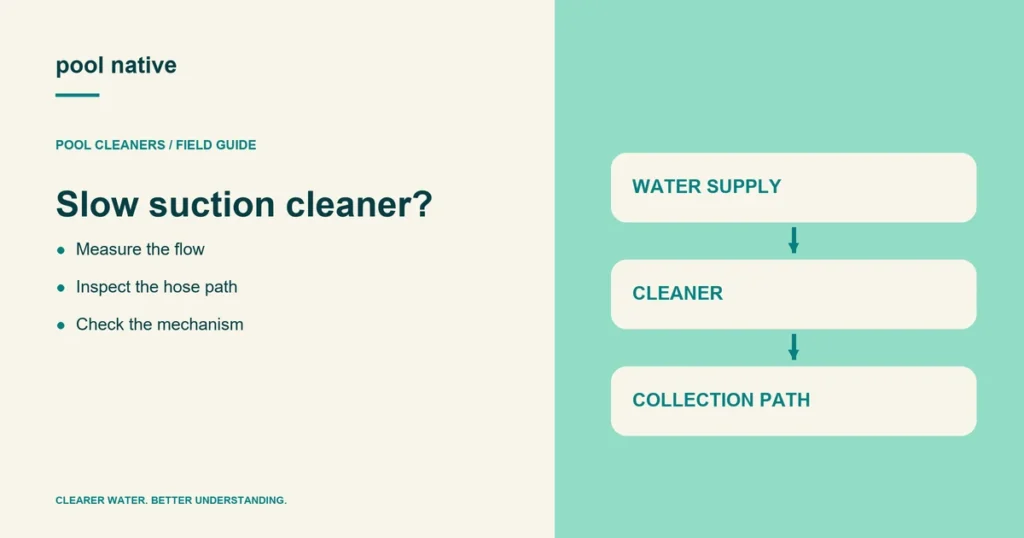
A suction cleaner can stop because it receives too little flow, too much flow, or an obstruction in the cleaner or hose. Start with the manufacturer’s flow test. Turning the pump up to its highest speed is not a reliable diagnosis.
If the pump loses prime or draws persistent air, stop the cleaner and address that supply problem first. Do not keep running an unfilled pump while adjusting the cleaner.
Confirm the cleaner’s required supply
Find the exact model and its connection instructions. Some cleaners use a dedicated flow gauge; others specify a movement test. Use the gauge and regulator intended for that model.
Pentair’s E-Z Vac instructions explain both extremes. Too little flow can leave the cleaner sluggish, while excessive flow can make it stick or climb far enough to draw air. Its gauge is calibrated for the supplied regulator, so an unrelated gauge or valve may mislead you.
Check the water path before the mechanism
Stop the pump and prevent an automatic restart before disconnecting the hose or opening equipment. Empty baskets and service the pool filter when indicated. Follow the relevant pressure release procedure before opening a filter or pump pot.
Inspect the cleaner hose for visible cracks, loose joints, kinks, and blockages. Confirm that the vacuum connection stays submerged. A hose that admits air can reduce cleaning performance and disrupt pump prime.
Use pool vacuum suction checks for a weak connection. If the pump itself will not remain primed, follow pump priming troubleshooting. Those faults must be corrected before the cleaner’s movement can be assessed fairly.
Measure and adjust within the specified range
Follow the model procedure to install its flow gauge, including pump shutdown for connection changes. Keep the hose filled with water. Restore the intended valve arrangement and use the approved regulator adjustment.
Record the starting setting before changing it. Do not close every other suction path by guesswork or leave an exposed suction opening in use. An unfamiliar valve layout needs identification before adjustment.
| Observation | What to check next |
|---|---|
| Below the specified flow range | Basket or filter loading, hose leaks, connection, and supply setting |
| Above the specified flow range | Correct regulator and approved adjustment |
| Correct flow but little movement | Cleaner obstruction, wear parts, and hose balance |
| Movement stops at one location | Obstacle, hose reach, or local pool geometry |
Inspect only the accessible cleaner parts
With the supply stopped, check the intake and the user serviceable moving mechanism for trapped debris. Different cleaners use different mechanisms, so do not assume each contains the same flapper or diaphragm. Follow the exact disassembly instructions if access requires it.
Inspect the foot, seal, or other wear parts identified in the manual. A warped or worn part may affect movement even when supply is adequate. Confirm the part number before buying a replacement.
Check whether the hose steers the cleaner
A hose can deliver water and still interfere with travel. Look for a section pulling the cleaner away from one area or a loop catching an obstacle. Compare its length and weight positions with the exact installation instructions.
If the hose was stored tightly coiled, follow the manufacturer’s method for restoring its intended shape. Do not heat, stretch, or cut sections by guesswork. Replace a damaged section with the specified type rather than a piece of ordinary vacuum hose.
Make hose changes with the supply stopped, refill the hose as instructed, and repeat the flow test afterward. Altering the connection or hose arrangement can change the operating conditions. A previous acceptable reading does not automatically carry over.
Repeat the flow check at the setting used for cleaning
Suppose the cleaner moves correctly during a daytime test but stalls during its scheduled evening run. Check which pump setting and valve arrangement are active then. Use the cleaner’s test under those actual conditions.
A filter pressure reading is not a substitute for that test. Pressure at the filter does not directly report the supply at the end of the cleaner hose. Keep both observations if useful, but do not treat them as the same measurement.
If flow is within the specified range and the hose is correctly arranged, return to the permitted mechanism and wear checks. Do not bypass the regulator to force movement. Continued poor travel with verified setup is useful evidence for a targeted service inspection.
Restore and observe
Reconnect the water filled hose, restore the approved supply, and watch the cleaner over several passes. Check the specified hose length, weight placement, and return direction if travel remains uneven. Avoid adding extra hose merely because the cleaner favors one area.
If correct flow and routine maintenance do not restore movement, document the readings and model for service. Return to the cleaner diagnostic guide if the symptom changes. If you are considering a replacement, compare robotic and suction systems after identifying why the current setup struggles.