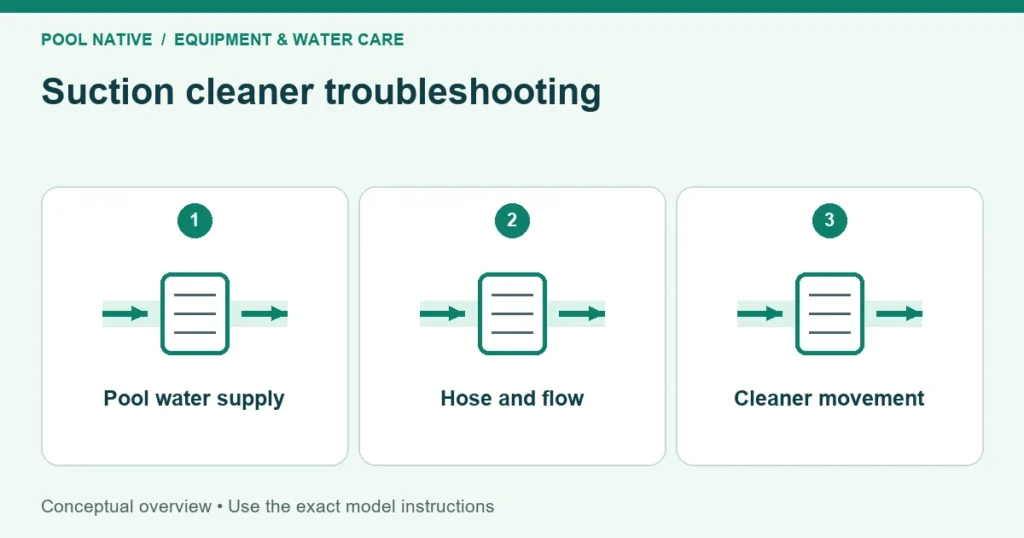
A suction pool cleaner uses the pool pump to pull water and debris through its hose. Reliable cleaning depends on the whole path: cleaner, hose, connection, pump, and filter. A new cleaner cannot compensate for a blocked basket or an unsuitable connection.
Start with the model’s installation diagram and identify where it connects. Then set the hose length, remove trapped air, and measure operating flow. Those steps provide a useful baseline for later troubleshooting.
Know what each part does
Most suction cleaners connect at a skimmer or a dedicated suction port. Debris generally travels toward the pool’s filtration system, although an approved leaf canister may intercept larger material. The hose is therefore part of both the drive system and the debris route.
| Part | Its job | What a problem can look like |
|---|---|---|
| Cleaner head and drive | Convert water flow into movement | Stops, moves unevenly, or stays in one area |
| Seal, shoes, tracks, or tires | Match the surface and provide contact | Poor traction, excessive sticking, or surface wear |
| Hose and swivel | Carry water while allowing travel | Air entry, restricted reach, twisting, or collapse |
| Regulator or flow control | Keep operation within the model’s range | Excessive climbing or inadequate movement |
| Baskets and filter | Collect debris downstream | Performance worsens as debris accumulates |
Different drive designs need different checks. A disc cleaner with a moving flapper is not serviced like a tracked MX8. Match parts using the complete model and revision, rather than the shape of a replacement pictured online.
Prepare the pool and connection
Remove large branches or objects that could obstruct the cleaner. Clean the pump and skimmer baskets, and service the filter when its instructions indicate cleaning is due. Check the water level and confirm normal circulation before adding another variable.
Switch the pump off before connecting or disconnecting equipment. Use the manufacturer’s fittings for the chosen suction point. A fitting that happens to push into a pipe is not necessarily a safe or correctly regulated installation.
Keep swimmers out while the cleaner operates or its suction connection is being handled. Never test suction by covering an opening with a hand or other body part. A dedicated vacuum port needs its approved protective cover when it is unused.
The regulator’s location is model specific. The cited Kreepy Krauly manual still places its automatic regulator at the skimmer during its dedicated suction installation. Do not move every valve to the cleaner end because another brand uses that layout.
Zodiac’s cited MX8 instructions require a FlowKeeper valve for a single skimmer installation. They also show a regulator at the leader hose. Follow the complete arrangement for your connection, rather than choosing one component from each diagram.
Size the hose for working reach
Assemble the specified hose sections and weights before judging coverage. The cited Kreepy Krauly and MX8 instructions both include extra hose beyond the farthest point. Their component placement and measurement details still differ.
For the Kreepy Krauly, check working length with the pump running because suction contracts the hose. It should reach the farthest point plus one section. Stop the pump before adding or removing sections, and preserve the specified weight positions.
Too little hose limits coverage, while excess hose can create loops and repeated traps. Do not keep adding sections to solve every missed corner. First confirm the cleaner can physically reach the area with the correct working arrangement.
Fill the hose with water as the installation instructions describe. Submerge the cleaner and expel trapped air before starting. Starting with an air filled hose makes it harder to distinguish a setup problem from a genuine suction leak.
Measure flow using the cleaner’s method
Pump speed alone does not tell you the flow through a cleaner. Filter condition, valve positions, pipe layout, and other equipment all influence it. Use a supplied flow gauge or the movement test specified for your model.
For the cited Kreepy Krauly, the target movement is 8 to 12 feet per minute. Its balance check is separate: with the pump off, the seal lies flat and the drive tube sits around 45 degrees. Do not confuse that static check with operating speed.
For the cited MX8, time ten revolutions of the marked wheel while the cleaner remains submerged. The specified interval is 20 to 25 seconds. If it reverses during the measurement, start again after the direction change.
Those are seconds for ten revolutions, not a target of 20 to 25 revolutions per minute. A faster count indicates more wheel speed; a slower count indicates less. Adjust only the approved control, then repeat the measurement.
Record a useful first run
Watch the cleaner through changes of direction, slopes, and wall approaches. Record the pump schedule, normal valve positions, filter condition, and measured cleaner speed. These details make a later loss of performance much easier to investigate.
For example, suppose an MX8 completes ten revolutions in 23 seconds after filter cleaning. A later 39 second measurement identifies a changed operating condition. Check the water path before buying tracks simply because the cleaner now seems sluggish.
One observation does not establish full coverage. Note repeated missed areas over complete cycles and distinguish unreachable geometry from a developing hose trap. A route that varies is different from returning to the same obstruction every few minutes.
Match the symptom to the next check
| What you see | Useful next step |
|---|---|
| Hose loops or winds progressively | Compare stored curvature with actual twisting in the hose tangling guide |
| Cleaner stays attached to the floor | Separate flow, drive blockage, and surface contact using the sticking checks |
| Cleaner reaches air at the waterline | Stop it and follow the excessive climbing guide |
| Cleaner slows as the session continues | Inspect accessible baskets and filter condition before changing the setup |
| Coverage stops at a consistent distance | Verify working hose reach and the route around obstacles |
Keep the baseline from drifting
Empty debris collectors before they severely restrict flow. Disconnect the cleaner before backwashing, and follow the specified flushing period before reconnecting it. Zodiac’s cited MX8 instructions call for five minutes of flushing after cleaning or backwashing.
Inspect accessible wear parts with the pump off. Replace a worn footpad, seal, or track with the correct part instead of compensating indefinitely with more suction. Surface compatibility matters, particularly for seals intended only for concrete.
Store hoses as their manual directs so they do not develop persistent coils. Recheck operation after changing pump speed, replacing a filter, or altering plumbing. Have a professional resolve unsuitable suction fittings, repeated loss of prime, or problems requiring equipment disassembly.