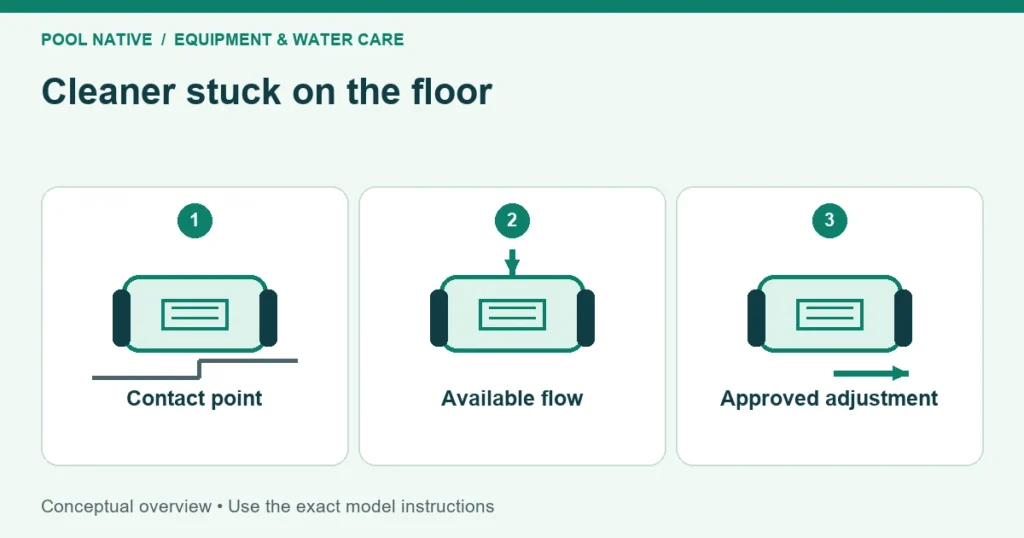
A suction cleaner stuck to the pool floor does not automatically have too much suction. It may be moving too slowly, have a blocked drive, or meet the surface with the wrong seal. First establish whether it stops everywhere or only at one feature.
Switch the pump off before retrieving it or inspecting moving parts. Never reach into a suction opening to test its strength. Restart only after the cleaner and hose are correctly reassembled and submerged.
Describe what stopped
Watch from the deck before changing settings. Does the drive continue moving while the cleaner stays in place, or does movement stop completely? Does the cleaner recover after a direction change, or remain attached until circulation stops?
| Observation | What it helps distinguish |
|---|---|
| Stops at the same drain, crease, or transition | Local geometry or contact problem |
| Stops in several ordinary floor areas | Flow, obstruction, or wear affecting the cleaner |
| Tracks or wheels move without useful travel | Traction, contact, or an obstacle |
| Drive movement stops abruptly | Debris or a drive problem, alongside a flow check |
| Started after replacing a seal or hose | Compatibility, assembly, or changed balance |
| Gradually worsens during each run | Collecting debris or changing flow conditions |
Do not remove or alter a drain cover to help a cleaner cross it. Pool suction fittings have a safety function independent of cleaner coverage. An incompatible obstacle needs an approved solution or a different cleaning method.
Measure flow before reducing it
Check the cleaner’s specified operating range using its gauge or movement test. A pump setting that worked last month may produce different cleaner flow today. Filter condition, baskets, and valve positions all affect the result.
For the cited Zodiac MX8, time ten revolutions of the marked wheel while it remains submerged. The specified interval is 20 to 25 seconds. Restart the count if the cleaner reverses during the measurement.
Consider two hypothetical results. Ten revolutions in 15 seconds indicate a faster wheel speed than the specified range. Ten revolutions in 40 seconds indicate a slower speed, so reducing flow would move the second cleaner farther from its target.
Use only the adjustment method shown for the installed connection. That may involve its approved regulator or a specified equipment valve. Do not close every other suction route or remove a regulator simply to make the cleaner move.
The cited Kreepy Krauly uses a different check: travel of 8 to 12 feet per minute. Do not apply an MX8 wheel count to a disc cleaner. The suction cleaner setup guide explains the broader commissioning sequence.
Clear the accessible debris path
Stop the pump and inspect the cleaner’s intake, hose, and any leaf canister within the owner’s maintenance instructions. Remove visible leaves or twigs without forcing tools into the drive. A small obstruction can matter even when water still passes through.
Clean pump and skimmer baskets using the equipment’s shutdown procedure. Check whether the filter needs service according to its pressure guidance. A restriction downstream can reduce the water available to drive the cleaner.
Open only the parts the cleaner manual identifies for owner access. A flapper cleaner and a geared tracked cleaner have different internal arrangements. Follow the exact cover and reassembly instructions rather than dismantling the transmission to search for a blockage.
After clearing debris, recheck flow before judging the repair. A formerly restricted system may now deliver a different speed. Returning to the measured baseline avoids leaving an adjustment that was compensating for the blockage.
Check the seal or contact parts
A disc cleaner needs the correct seal for both the model and surface. The cited Kreepy Krauly manual distinguishes its universal pleated seal from a flat seal intended for concrete. Similar appearance does not establish interchangeability.
Check orientation, seating, tears, distortion, and trapped debris. On that Kreepy Krauly, the seal must sit in its groove and rotate freely as specified. Do not trim its edge or drill relief holes to make the head release.
Inspect the footpad or other replaceable contact surfaces for the wear described in the manual. A worn contact part can alter how the cleaner sits and moves. Extra suction cannot restore missing material or correct a wrongly installed seal.
For a tracked or wheeled cleaner, inspect accessible tires, tracks, and wheels. Confirm they are correctly seated and free of wrapped debris. If they move but slip, consider surface condition and compatibility before assuming the drive has failed.
Separate balance from hose pull
A hose can hold the head at an unfavorable angle or pull it back into the same depression. Check the specified leader, float, weights, and working reach. Avoid moving weights randomly until the cleaner happens to release once.
The cited Kreepy Krauly balance check is performed with the pump off. Its seal should rest flat with the drive tube at roughly 45 degrees. The prescribed weight arrangement depends on depth, so copy the correct diagram rather than a universal spacing tip.
If loops or twists form before the cleaner stops, follow the hose tangling checks. If the hose collapses during operation, treat that as a restriction or compatibility issue requiring its own diagnosis. A collapsing hose is not a normal way to limit flow.
Inspect the place where it sticks
Mark the location mentally or on a simple pool sketch. Compare an ordinary flat area with the troublesome slope, fitting, or surface transition. A cleaner that moves normally elsewhere may have a coverage limitation rather than a general mechanical failure.
Look for a liner wrinkle, raised fitting, abrupt corner, or material caught underneath. Do not scrape or modify the pool surface with the cleaner as a test. Have surface damage or an unsafe fitting assessed by the appropriate professional.
Surface deposits can affect traction, but the visual symptom alone does not identify water chemistry. Brush and maintain the pool according to its surface and treatment requirements. Do not add chemicals merely because a cleaner slips in one spot.
Verify the correction over a full run
Return the cleaner to the approved operating range and observe the original problem area. Check several approaches, since one successful crossing can be accidental. Confirm that improved release has not created excessive climbing or inadequate movement elsewhere.
Record the successful flow measurement and the part or setting changed. If it still stops on an ordinary floor, provide those details and a video to the manufacturer or service technician. Internal drive repairs, persistent loss of prime, and damaged suction fittings are reasons to stop owner troubleshooting.