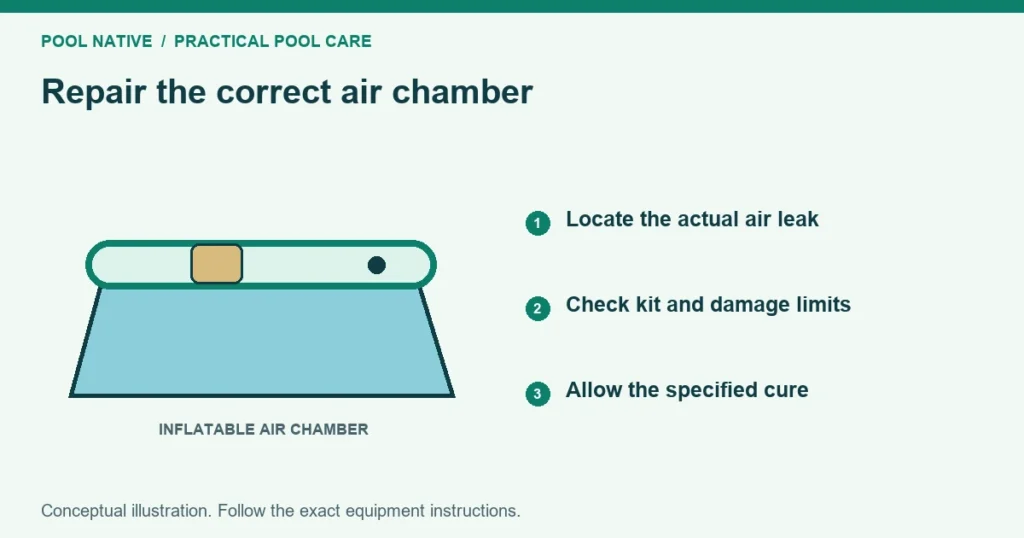
To patch an inflatable pool ring, first confirm that the damage is a repairable puncture in the material. Use a patch system compatible with that air chamber. Prepare and cure it according to the exact product instructions before testing.
This is an air chamber repair, not an underwater liner patch. A support ring may require the pool to be drained before safe deflation and repair. Do not release its air while it supports a filled pool unless the manufacturer directs that procedure.
Confirm the leak and the repair category
Locate the leak before opening the repair kit. Use the ring air loss diagnosis if the hole is not obvious. Temperature related softening does not need a patch.
Inspect the material around the damage. A clean puncture in sound material differs from a split seam, torn valve base or a field of small cracks. Do not assume a bigger patch makes every defect repairable.
Intex’s Easy Set guidance permits its described patch approach for material tears smaller than 1 cm, about 0.4 inch. It treats seam tears and inflatable valve leaks as liner replacement cases. Confirm the instructions for your own pool before proceeding.
If the product may be under warranty, contact the seller before modifying it. Save photographs and identifying labels. An attempted repair can obscure the original defect.
Choose a compatible repair system
Check the chamber material and the patch manufacturer’s compatibility list. Flexible PVC repair materials are different from rigid plastic adhesives. A product labeled waterproof is not automatically suitable for this bond.
Use the pool’s supplied kit or another system approved for the actual material and damage. Follow one complete repair procedure. Do not combine a patch from one system with another adhesive’s cure time.
Self adhesive patches and adhesive bonded patches have different instructions. Some adhesives cure through a chemical process; others need specific light exposure or other conditions. A surface that feels dry may not be ready for pressure.
Avoid improvised superglue, rigid epoxy or household tape unless explicitly approved for the application. The ring flexes in service. A bond must remain suitable as the material moves.
Prepare a dry, unloaded work area
Follow the pool’s draining and deflation sequence so the chamber can lie in a stable position. Use controlled draining guidance if dismantling is needed. Keep the area clean and protected from windblown grit.
Clean the repair area with the method permitted by both the pool and repair kit. Remove soap left from leak testing. Use only a compatible cleaner or solvent, then allow the area to dry as instructed.
Do not sand thin liner material or use a strong solvent simply because another kit mentions it. Preparation instructions belong to a specific adhesive and surface. If they conflict with the pool instructions, resolve compatibility before applying anything.
Apply the patch without guessing the overlap
Size and shape the patch according to its instructions. The required overlap beyond the damage depends on the system. Do not copy dimensions from an underwater tear repair or a different material.
Keep the chamber surface smooth and supported during application. Avoid folds, trapped dirt and air channels at the edges. Apply the specified pressure or weighting without damaging the thin material beneath.
Leave the repair undisturbed for the required cure period and conditions. Keep it out of water and unpressurized until permitted. Do not shorten the wait because the patch looks firmly attached.
Test before returning the pool to service
Inflate only as the pool and repair instructions allow after curing. Check the repair for edge lifting and escaping air. Follow the approved leak detection method if needed.
Observe air retention under reasonably comparable temperatures. A quick squeeze is not a meaningful retention test. If the repair leaks, stop and reassess preparation, compatibility and damage extent.
Do not add more glue over an unexplained failed patch unless that repair system directs it. Contact the manufacturer if the surrounding material is weak or the leak is at a seam. Repeated patch failure may indicate the wrong repair category.
Refill only after the unloaded test passes and the setup is ready. Watch the repaired area and ring shape through the fill. Stop if the patch moves, air escapes or the ring cannot maintain its intended support.
Reduce the chance of another puncture
Remove sharp objects from the setup and storage areas. Keep people from sitting or climbing on the ring. Follow the inflation limits rather than topping it up aggressively whenever the weather cools.
When the pool is taken down, use careful drying and storage. Keep hardware away from the folded chamber. Record the repair location so you can inspect it before the next season.