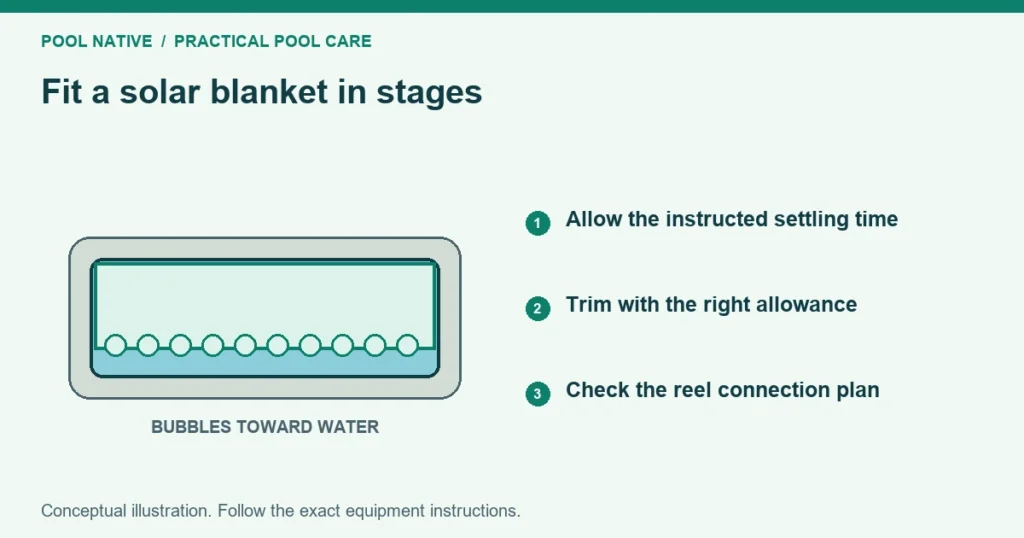
Cut a solar pool cover in stages, with its correct side facing the water and its final reel position already planned. Leave the first cut generous according to the product instructions. Make the final trim only after the required settling period.
The easiest expensive mistake is pulling the sheet away from the opposite wall while cutting. What looks like surplus material may be part of the width you need. A helper holding the far side can prevent that drift.
Confirm the cover can be trimmed
Read the product instructions before opening scissors. Ordinary unfinished bubble sheets are often intended for fitting on site. Reinforced edges, welded sections or custom finished covers may have different limits.
Check the actual pool dimensions against the supplied sheet. Include steps, curves and projections. Stop if the material is already short before fitting.
Keep the order details and photograph the uncut sheet if the shape seems wrong. Cutting may change return eligibility. Resolve a supplier sizing error before modifying the product.
Establish orientation and reel geometry
Place a conventional bubble blanket bubble side down. Check every asymmetric feature in that orientation. Do not trace the pool with the sheet reversed.
Decide where the reel will stand and how the cover attaches. A reel across the middle or widest section can fold two portions together. Its instructions may require extra length for that fold.
Confirm that handles, supports and the rolled blanket have room. Use reel placement checks before the final cut. A beautifully fitted sheet is still difficult to use if its removal path catches on rocks or rails.
Choose the approved edge style
Some manufacturers offer a waterline fit, while others also permit a modest upturn around the wall. These are different choices with different handling effects. Do not apply one universal overlap to every blanket.
| Edge arrangement | Main consideration |
|---|---|
| Waterline fit | Easier travel with less material rubbing along the wall |
| Approved upturned edge | May collect more debris but needs correct height and wind consideration |
| Excess material above coping | Can catch wind or obstruct handling |
| Large gap from overtrimming | Leaves more water uncovered and cannot be corrected by stretching |
ABGAL’s current fitting guide discusses both waterline and upturned options. For its blankets, it recommends leaving two to three weeks before the final trim so packing folds can settle. Follow the instructions supplied for your specific blanket if its timing or allowances differ.
A reel can impose a tighter clearance requirement than a free floating blanket. Reconcile the two instructions with the suppliers before cutting. Do not choose an upturn that the reel will drag against the pool wall.
Prepare for a controlled first cut
Work in calm conditions with stable footing and enough help. Keep everyone out of the pool during handling. Use sharp scissors suited to the material and keep the blades away from the liner.
Unfold the blanket carefully and smooth large packing folds while it rests on the water as instructed. Do not leave it spread on hot paving or folded in sunlight. Keep the sheet in its intended position.
Start with the product’s initial allowance. Cut small sections and repeatedly check the opposite edge. Stop whenever the blanket shifts rather than continuing along a line that is no longer valid.
Collect offcuts as you go. Small plastic pieces are harder to retrieve after wind carries them into the pool or garden. Keep them out of drains.
Work around steps and fixed obstacles
Follow the shape gradually instead of cutting a deep notch in one pass. Check how the section will move during removal. A narrow tongue that fits at rest can still snag when rolled.
Use rounded internal corners where the manufacturer specifies them. Plastipack advises curved cuts around ladders rather than sharp right angle notches. A sharp internal corner can concentrate tearing.
Do not cut around a removable ladder before deciding whether it should be taken out for cover use. Follow the pool’s safety arrangement and cover instructions. Avoid creating a loose flap that obstructs the skimmer.
Skimmer details are product specific. Some manufacturers include a shaped flap; that is not permission to block every skimmer opening. Confirm the intended fit and circulation before adding one.
Pause before the final trim
Let the cover relax for the period stated by its manufacturer. Recheck alignment, folds and any initial shrinkage. Different materials and revisions specify different allowances, so a fixed overnight wait is not universal.
When ready, smooth it again and confirm the reel attachment position. Make small finishing cuts. Leave the required clearance without trimming away a whole strip merely for visual neatness.
Do not keep cutting until every small ripple disappears. Water movement can change the appearance temporarily. Judge the fit under the conditions in the instructions.
Check the finished handling cycle
Remove and replace the blanket slowly by its approved method. Watch for rubbing, catching and bunching. Stop to correct an identified fit problem rather than pulling harder on the reel.
Confirm that the full blanket comes off before swimming. Secure the stored roll and apply its protective cover immediately. Do not leave the freshly fitted blanket in a sunny pile.
If you cut it too small, ask the supplier whether a designed repair is appropriate. Do not stretch or weight the remaining sheet into place. Keep the dimensions and photos for that discussion.
Check local disposal requirements for the offcuts. A material recycling code does not guarantee local collection accepts pool covers. Once fitted, follow the use and care routine to protect the work you have done.