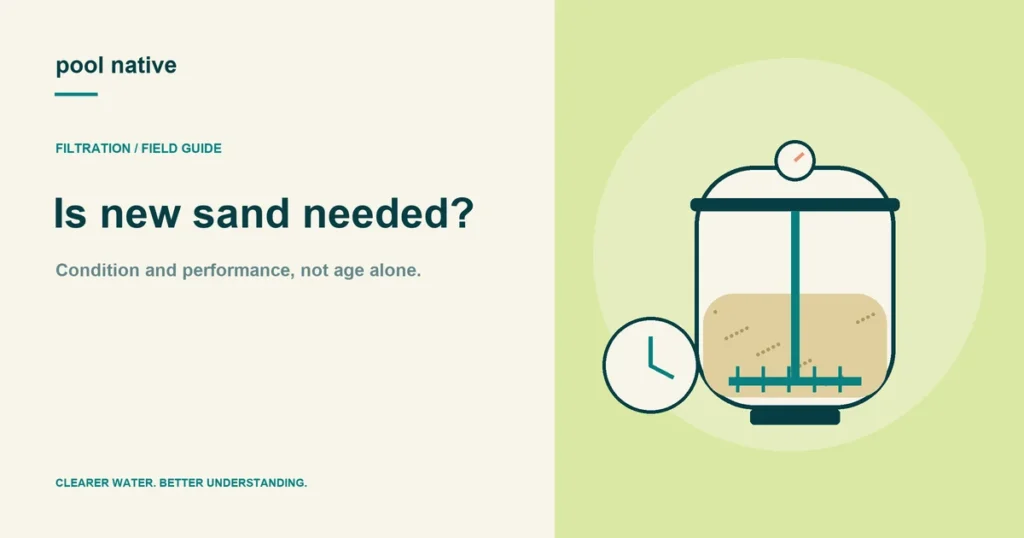
When deciding how often to change sand in a pool filter, use the equipment guidance and actual performance. A fixed anniversary doesn’t prove the bed needs replacement. First rule out poor backwashing, excessive debris, incorrect media, and faults elsewhere in the system.
New sand can help when the existing media is unsuitable or no longer performs properly. It won’t repair a damaged lateral, correct a valve fault, or solve inadequate sanitation. Identify the reason for replacement before opening the tank.
How often to change sand in a pool filter: start with the manual
Some guidance gives a planning interval. Other manuals focus on condition and troubleshooting. Treat a stated interval as part of the instructions for that equipment, not a rule for every sand filter.
The current Triton troubleshooting guide identifies several causes of short filter cycles. They include incorrect backwashing, water conditions, deposits, excessive flow, and eroded media. Replacement is one possible response, not the first response to every symptom.
If your manual specifies a replacement schedule, follow it or ask the manufacturer about your situation. If it doesn’t, don’t invent one. Keep a condition and service history instead.
Separate these four situations
| What you observe | What it may mean | Useful next check |
|---|---|---|
| Pressure rises as debris is collected, then returns to the clean reference | The bed is loading and cleaning normally | Continue monitoring against the model’s trigger |
| Pressure remains high immediately after correct cleaning | Residual restriction, deposits, changed settings, or a downstream issue | Match settings and investigate before replacing media |
| Pressure improves, then rises again quickly | Continuing debris load or an unresolved cleaning or water problem | Record the time, water condition, and material collected |
| Sand continually enters through the returns | Media retention or operating fault | Inspect the return path and exact media specification |
These are diagnostic routes, not definitive diagnoses. A single symptom can have several causes. The distinction between “never improved” and “improved briefly” is especially useful.
Check whether the last backwash was effective
Confirm the correct valve sequence and waste route. Check whether the system supplied the cleaning flow the manufacturer requires. A low circulation setting isn’t automatically a suitable backwash setting.
Consider the conditions during the job. A restricted discharge hose or an interrupted cycle can leave the bed inadequately cleaned. Don’t diagnose worn sand from the outcome of an incomplete procedure.
Review backwashing for your valve type before repeating the work. Stop the pump between valve changes. Never keep increasing speed beyond equipment limits to force a result.
Compare pressure under the same conditions
Use the same pump setting and operating mode as the clean reference. If the system has changed, note what changed. Pressure at a faster setting isn’t evidence that the sand suddenly deteriorated.
If pressure is still elevated after a valid comparison, check the rest of the flow path. Return restrictions and valve problems can remain after the bed is cleaned. Our high pressure guide works through that sequence.
Don’t overwrite the old clean reference with the new high reading. That can make an unresolved fault disappear from the record. Keep both readings and their conditions.
Decide whether deposits can be treated
Oil and mineral deposits may require an approved cleaning method beyond ordinary backwashing. The appropriate treatment depends on the media and the filter. Use the manufacturer’s procedure and the cleaner’s actual label.
Don’t pour an improvised acid mixture into the equipment. Don’t mix cleaning products or transfer a cartridge cleaning recipe to a sand filter. A qualified service provider can assess whether cleaning is appropriate and worth doing.
Replacement becomes more reasonable when the bed is confirmed unsuitable, significantly deteriorated, or not recoverable by approved service. The conclusion should follow inspection and operating evidence. Age can add context without being the diagnosis.
Wrong media is a separate reason to replace it
Check the last installation record or bag label. Incorrect grain size, an unapproved substitute, or a mismatched configuration can explain poor results from relatively new media. Waiting for an arbitrary age won’t fix that.
Use the model quantity and media guide to verify the specification. Include freeboard and any approved layering. Don’t add more sand simply because the tank isn’t full.
When the tank is already open for a repair
A lateral repair may require removing the sand to reach the damaged part. Ask whether the recovered media can be reused under the manufacturer’s guidance. Contamination, condition, and the handling work all affect that decision.
Don’t let a refill hide an uncorrected defect. Inspect and replace required internal parts first. If sand was reaching the pool, use the sand discharge checks to preserve the clues.
Once replacement is justified, follow the sand change preparation and restart sequence. Record why the work was done and whether it resolved the original symptom. That outcome is more valuable than a reminder to repeat the job on the same date.