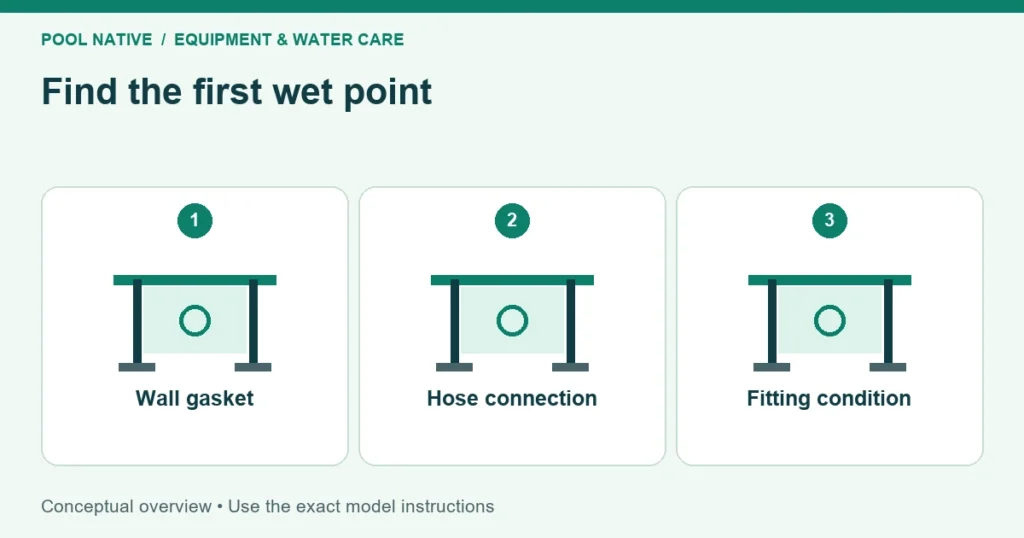
An above ground pool return fitting can leak at the wall gasket, the outer hose connection, or a separate part of the return assembly. Water often runs along the fitting before dripping, which can hide the true source. Dry the area and identify the first wet point before tightening anything.
A continuing wall leak deserves prompt attention because water can reach material behind the liner. A new gasket won’t repair a cracked fitting or weakened pool wall. Inspect the condition as well as the seal.
Separate the possible leak locations
| First wet area | Likely inspection path |
|---|---|
| Where the fitting meets the pool wall | Gasket arrangement, liner, flange, and wall condition |
| Hose end or threaded connector | Seal, clamp, fitting compatibility, and hose strain |
| Small aeration connection | Model specific air valve and its seal |
| Crack in the fitting body | Replacement assessment |
| Water tracking from above | Another leak or splash source |
Check with the pump off first, then during a safe observed operating period if the assembly is intact. A wall seal can leak under the pool’s standing water pressure. A connection may leak more noticeably when the pump increases pressure.
That comparison narrows the search but doesn’t prove the exact failed part. Dry each accessible surface and watch where moisture first appears. Don’t assume the lowest drip is the source.
Check the hose connection before disturbing the wall
Look for a missing or displaced seal, damaged hose end, loose compatible clamp, or cross threaded fitting. Support the hose so its weight doesn’t pull the return assembly sideways. A wall gasket can be disturbed by a heavy unsupported hose.
Use pool hose leak diagnosis if the moisture begins at that connection. Don’t disassemble the wall fitting merely because water collects beneath it. Correcting a hose seal can be much simpler than disturbing the liner opening.
For Intex aerated returns, identify the air jet components separately. The manual provides specific checks for an air connector or valve leak. Don’t seal an intentional air path with tape because it is near the water fitting.
Identify the return assembly and gasket design
Find the exact model and parts diagram before ordering seals. Some wall fittings use separate inner and outer gaskets; others have a different integrated design. A generic online drawing may show the wrong arrangement.
Record the flange shape, thread type, wall opening, and all existing washers or gaskets. Photograph the assembly before removal when possible. The old order is useful evidence, but it may itself be the installation error.
Don’t assume a 1.5 inch hose description identifies the wall gasket or locknut. Hose bore, threaded collar, and wall fitting dimensions are different measurements. Use hose and fitting identification to avoid buying a superficially similar part.
One documented gasket arrangement
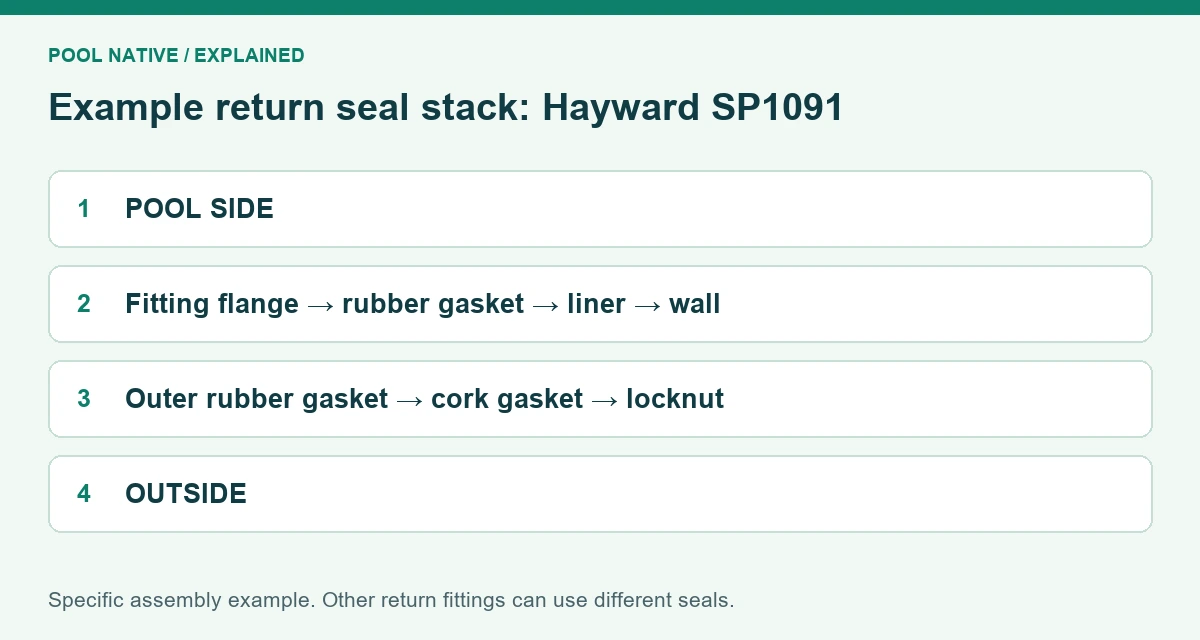
The Hayward SP1091 series guide describes a return assembly with rubber at the inside flange. On the outside, it specifies another rubber gasket, then a cork gasket, followed by the locknut. That order belongs to the assembly in that guide.
The cork piece should not be moved to the wet side merely because it looks like another gasket. Nor should the second rubber gasket be discarded without checking the diagram. Different materials can have different roles in the assembly.
Use your own manufacturer’s instructions if the fitting differs. Don’t combine parts from two diagrams or add extra washers to compensate for a damaged surface. The goal is the designed seal, not the largest stack that fits under the nut.
Plan the repair without losing liner alignment
Shut down the pump, prevent automatic restart, and follow the pool’s water isolation or lowering instructions. The water level may need to be below the fitting, but don’t drain more than the pool design permits. If the limits are unclear, arrange service.
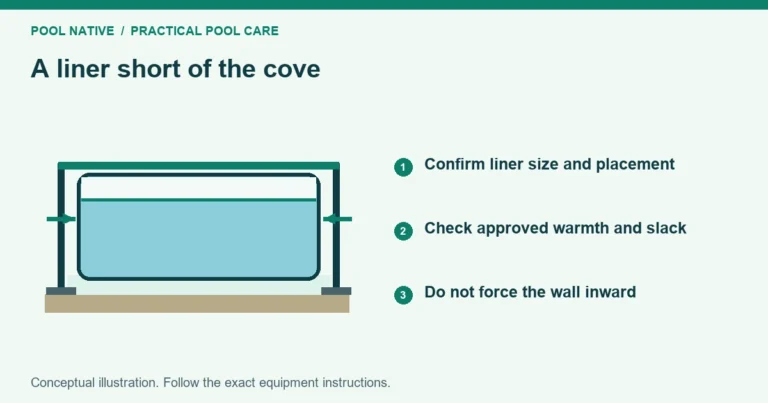
The liner opening must remain correctly positioned. Removing a fitting can allow an older or tensioned liner to shift. Don’t pull, heat, or enlarge the cutout to force it back around the part.
If the liner no longer aligns, stop and have the situation assessed. A gasket cannot bridge every tear or oversized hole. Continuing to tighten can hide the problem briefly while leaving water a route behind the liner.
Inspect each sealing surface
Check the flange and body for cracks, distortion, and damaged threads. Examine the gasket for cuts, hardening, folding, or permanent flattening. Clean the sealing surfaces through the manufacturer’s approved method.
Look at the wall around the opening for rust, softness, deformation, or an enlarged cutout. Structural damage changes the repair decision. Don’t cover a weakened area with sealant and treat it as a successful gasket replacement.
Also check whether the fitting was pulled out of alignment by hose strain. Correct the support and routing before reassembly. Otherwise a new gasket may begin leaking in the same place.
Reassemble with the specified parts and force
Use the correct gasket set and assembly order. Keep the liner and seals flat and aligned while fitting the locknut. Tighten according to the exact instructions rather than applying a generic torque value.
Overtightening can deform plastic or displace a gasket. If a leak persists after the specified tightening, reassess alignment and component condition. More force isn’t a reliable diagnostic method.
Thread tape is not a repair for a flange gasket. Some joints seal on an O ring or flat gasket rather than on the threads. Apply sealant only where the fitting manufacturer calls for it and approves the material.
Avoid using household caulk as the primary repair for an unknown leak. It can conceal the source and complicate later disassembly. A sound fitting should seal through its intended components.
Test the wall seal before declaring the repair complete
Restore the water level as directed and check the fitting with the pump off. Dry the outside and watch for fresh moisture. Then restore the proper valve positions and prime the pump according to its instructions.
Observe the return during operation and inspect again after shutdown. Check both the wall interface and hose connection. A leak free running test alone can miss a slow standing water leak.
Mark the water level or keep a short observation record if the loss was subtle. Recheck after the first normal operating cycle. Don’t assume damp ground left from the old leak means the new seal is still leaking without finding fresh moisture.
When a gasket repair isn’t enough
Get help for a cracked body, damaged liner opening, corroded wall, or fitting that won’t stay aligned. Use skimmer faceplate leak diagnosis if the water actually starts at the nearby skimmer. Those assemblies require different parts and sealing checks.
Save the replacement part number and a photograph of the final arrangement. That makes future maintenance easier. The repair is complete when the assembly remains dry under standing water and normal operation, with the surrounding structure sound.