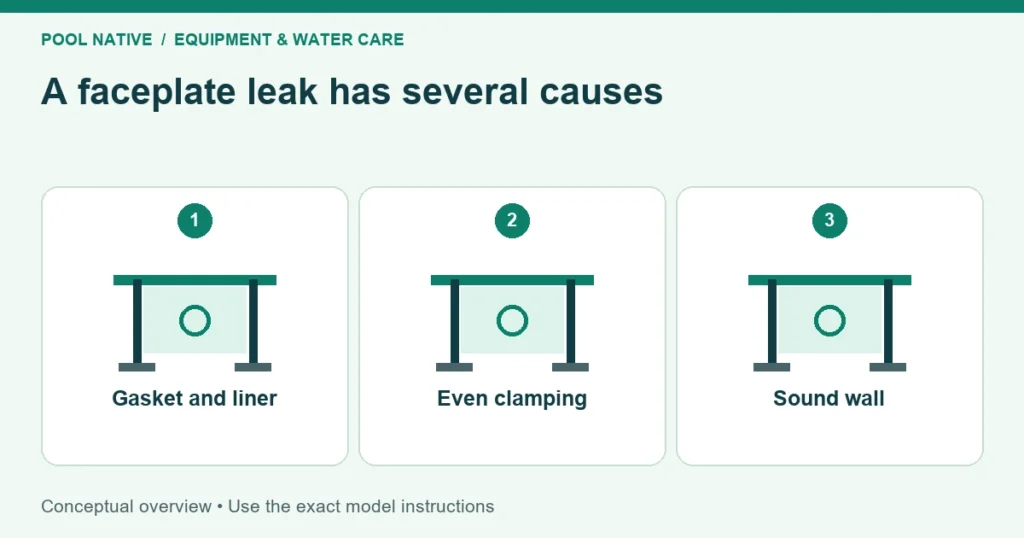
An above ground pool skimmer leaking at the faceplate may have a displaced gasket, uneven clamping, damaged plastic, or a liner problem. Water can also arrive from a hose or crack elsewhere on the skimmer. Confirm the leak boundary before replacing the gasket.
Don’t keep tightening every screw until the drip stops. Excess force can distort the faceplate or strip the skimmer body. A damaged wall or liner also needs a different repair from an ordinary worn seal.
Find where the water first appears
Dry the outside of the skimmer and nearby wall, then watch for fresh moisture. Compare the faceplate perimeter, the skimmer body, and the hose connection below. Water can travel along a surface before falling from its lowest edge.
Observe with the pump off first. If the skimmer is intact and the system can run safely, compare during normal operation. A faceplate seal can leak under standing pool water even when the pump is stopped.
| First wet point | Check next |
|---|---|
| Along the wall opening | Gasket, liner, faceplate, and wall condition |
| At one screw position | Alignment, plastic thread condition, and local distortion |
| At the hose fitting | Hose seal, threads, and support |
| Along a molded seam or crack | Skimmer body damage |
| Behind the liner or wall | Professional assessment of the hidden water path |
If the leak is actually at a return fitting, use return wall seal diagnosis. If it begins at the hose, use hose connection leak checks. Disturbing an otherwise sound faceplate can create an unnecessary second problem.
Identify the exact skimmer and gasket
Find the model and match its faceplate dimensions, screw pattern, and throat arrangement. Standard and wide mouth versions can use different parts. A wide mouth extension can also add another sealing interface.
Record the complete parts diagram before ordering. The gasket listed for one part of an extended skimmer may not seal the other joint. Don’t choose only by the outside width of the faceplate.
Some designs use a butterfly gasket that wraps the wall opening. Others use separate gaskets arranged according to the manufacturer. Those systems should not be assembled from the same generic instructions.
Understand the butterfly gasket arrangement
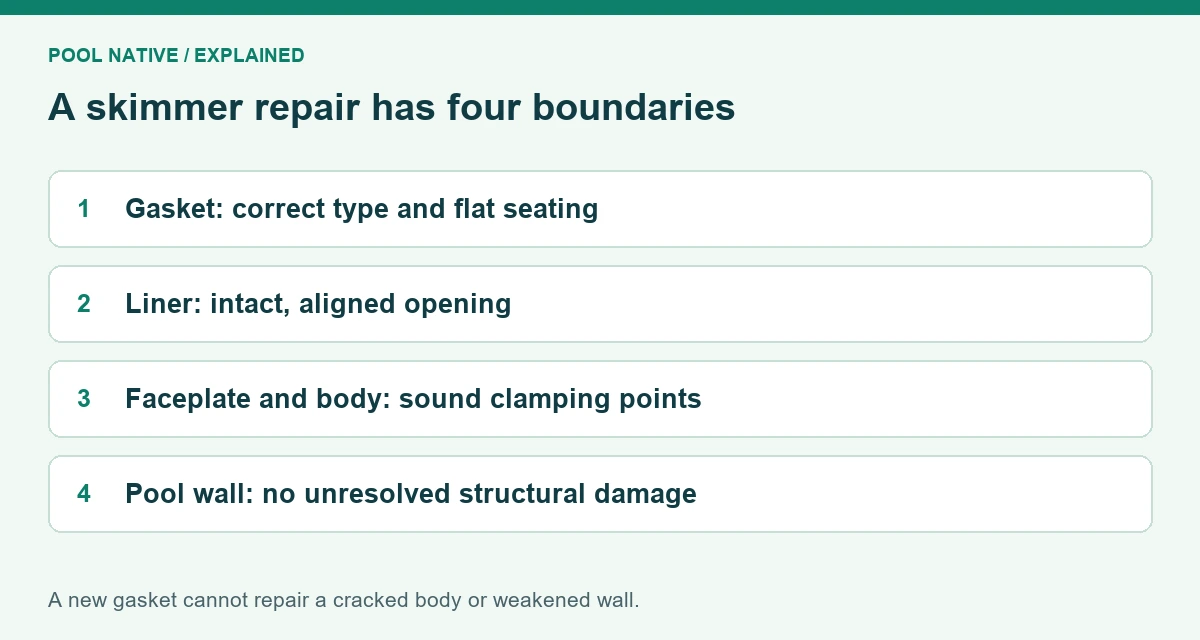
In the Hayward SP1091 series guide, the double gasket sits around the wall cutout, with material on both sides. The faceplate, liner, gasket, wall, and skimmer body must align as the instructions show. The gasket isn’t simply two loose pieces to place wherever they fit.
Don’t cut a butterfly gasket apart to imitate another assembly. Also avoid adding an extra gasket to compensate for an incorrect fit. Added thickness can reduce proper engagement or change clamping without fixing the source.
The model’s drawing is the reference. If the installed parts differ from it, identify whether the wrong gasket, extension, or faceplate was used. Resolve that mismatch before tightening.
Check screw condition without forcing the assembly
Inspect accessible screws and the faceplate for obvious unevenness or distortion. A missing screw or damaged plastic can prevent even clamping. Use only the specified replacement hardware and tightening method.
The Hayward guide calls for even tightening while alternating across the faceplate. That avoids concentrating all clamping force in one corner first. It does not provide permission to drive every screw harder with a power tool.
If a screw spins without tightening, the body threads may be stripped. A longer or larger screw is not automatically an approved repair. It may crack the body or fail to provide the intended clamping.
Stop if the plate is cracked, bowed, or no longer seats flat. Gasket replacement cannot reliably compensate for distorted hardware. Check the required replacement assembly rather than burying the gap in sealant.
Plan disassembly around the liner
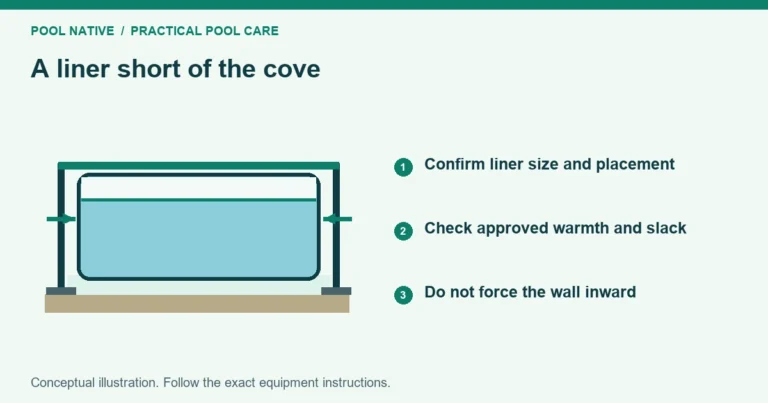
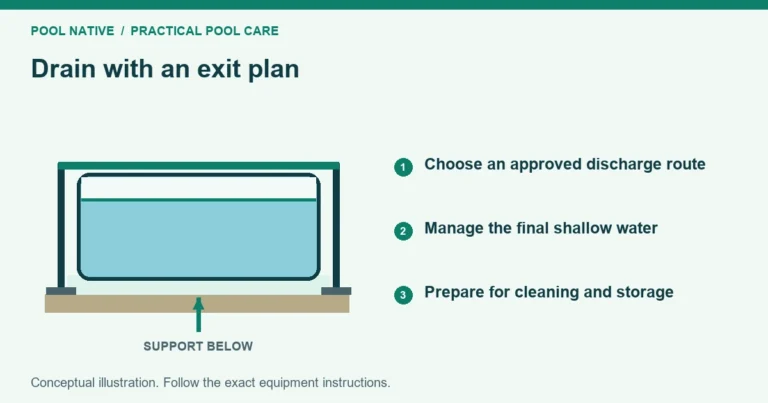
Shut down the circulation system and prevent automatic starts. Follow the pool’s permitted water lowering or isolation method. Don’t remove a submerged skimmer assembly or drain the whole pool without a suitable plan.
An existing liner can move when the faceplate is removed. Its holes must align again without stretching, heating, or cutting them larger. Photograph the position and have the correct replacement parts ready before disturbing it.
If the liner is brittle, torn, or under unusual tension, use professional help. A small gasket job can become a larger liner problem if the opening shifts. New installation instructions that describe cutting a fresh opening aren’t instructions to recut an existing liner.
Inspect the wall as well as the seal
Once safely accessible, check the wall around the opening for corrosion, deformation, or missing material. Continued leaks can damage this area and eventually weaken the structure. Don’t assume that stopping the drip restores the wall’s strength.
Inspect the liner opening for tears and the sealing surfaces for deposits or old adhesive. Clean only by a method compatible with the materials. Scraping aggressively can damage a surface the new gasket needs to seal.
A reinforcement plate or structural patch needs a design appropriate to the actual pool. It isn’t a universal accessory for every rusty opening. Have weakened walls assessed before returning the pool to service.
Reassemble without using sealant to hide a mismatch
Install the correct gasket and hardware according to the diagram. Keep the liner and gasket flat and align the holes before tightening. Support the skimmer and hose so their weight doesn’t twist the joint.
Tighten in the specified alternating sequence and to the manufacturer’s guidance. Don’t invent a torque value for an older plastic body. If the assembly won’t seat correctly, stop and identify why.
Use sealant only when the manufacturer specifies a compatible product and location. Household caulk or pool putty should not replace a missing gasket or repair stripped threads by assumption. Covering the outside can also conceal continued leakage behind the wall.
Verify under standing water and circulation
Restore the proper water level and inspect with the pump off. Dry the outside so old moisture doesn’t confuse the test. Then prime and operate the system through its normal startup procedure.
Watch the faceplate perimeter, body, and lower hose fitting during operation and after shutdown. Check that the skimmer receives water normally and doesn’t draw air from an inadequate level. Keep swimmers away during the service check.
Reinspect after a complete operating cycle and again when the surrounding area has dried. A successful repair leaves no fresh leakage and no unresolved structural concern. If water still appears, return to the source check rather than adding more tightening force.
Keep the model, gasket number, and repair photographs with your pool records. Use above ground pool maintenance to include routine leak inspections. Catching a new drip early is much easier than repairing long term damage around a wall opening.