A winter pool cover needs an operating plan for the months it stays in place. Match installation, drainage and inspections to the actual cover. A tarp, anchored safety cover and automatic cover do not share one tightening or water level rule.
Complete the pool’s closing procedure separately. Use the pool winterization guide for equipment and water care. The cover is one part of that plan, not a replacement for it.
Identify the winter pool cover and its water path
| Cover type | Where precipitation goes | What must stay under observation |
|---|---|---|
| Mesh safety cover | Through the fabric into the pool | Clear mesh, hardware and pool water level |
| Solid safety cover with drain panel | Through the panel | Clear panel and specified tension |
| All solid safety cover | Removed by the required pump | Pump operation and water above and below |
| Ordinary winter tarp | Managed under its own instructions | Edge retention, drape, top water and supporting pool water |
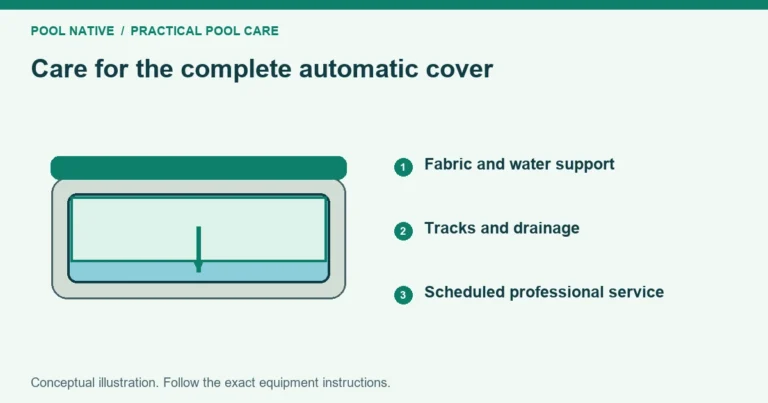
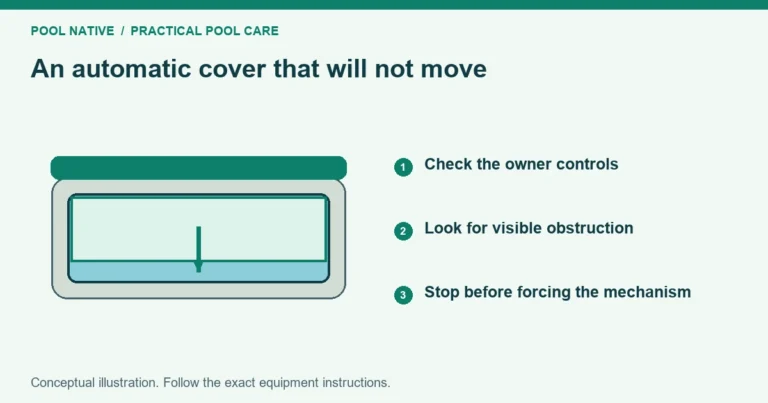
| Automatic cover | Managed by its operating and winter instructions | Water support, drainage and mechanism condition |
Confirm the cover’s safety function from its documentation. Safety covers and winter tarps are different categories. Keep people and pets off every cover.
Inspect before installation
Unfold the cover on a clean surface. Check fabric, seams, webbing and attachment points. Look closely at areas that touched rough coping during the previous season.
Check springs, cables, clips, waterbags or other specified hardware. Replace unsuitable components through the approved parts route. Do not compensate for a missing attachment by tightening neighboring ones.
Confirm that the cover still fits the pool. Deck changes, new rails and added features can affect fit. Use the cover measurement checks if the old arrangement no longer matches.
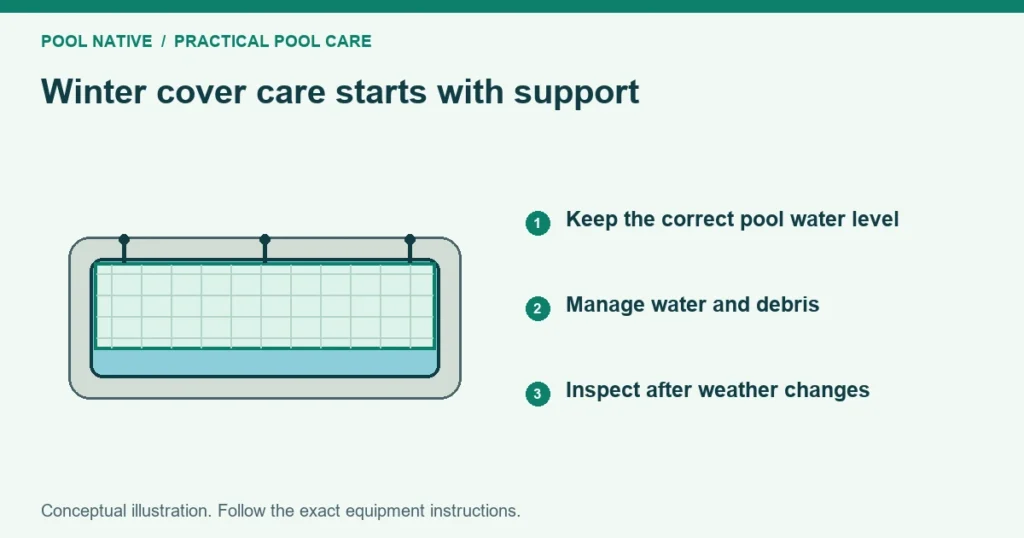
Check for a pool leak before closing. A cover that relies on water support can become overstressed as the water beneath falls. Record the starting water level for later comparison.
Reconcile the pool and cover water levels
The pool closing plan may call for lowering water around fittings. The cover may require a particular supporting level beneath it. Resolve both requirements before installation.
Do not borrow a water level from another cover brand or material. Loop Loc, for example, specifies different ranges for some mesh and solid covers. A tarp’s requirements can differ again.
If the instructions conflict, ask the installer how the plumbing protection and cover support are meant to work together. Do not solve the conflict by emptying the pool further. Low water can change the load on fabric and hardware.
Install using the complete attachment method
Use the supplied drawing and approved tools. For anchored covers, follow the spring tension and attachment sequence specified for the product. For tarps, preserve the required drape rather than stretching the material across open space.
Above ground cable covers need the correct route through their grommets and around the pool. Follow above ground winter cover compatibility when choosing accessories. Clips or an air pillow are additions only where the system permits them.
Protect the cover from sharp and abrasive contact points using the manufacturer’s method. Keep loose hardware from dragging across the fabric. Maintain access control throughout installation.
Establish drainage before leaving the cover
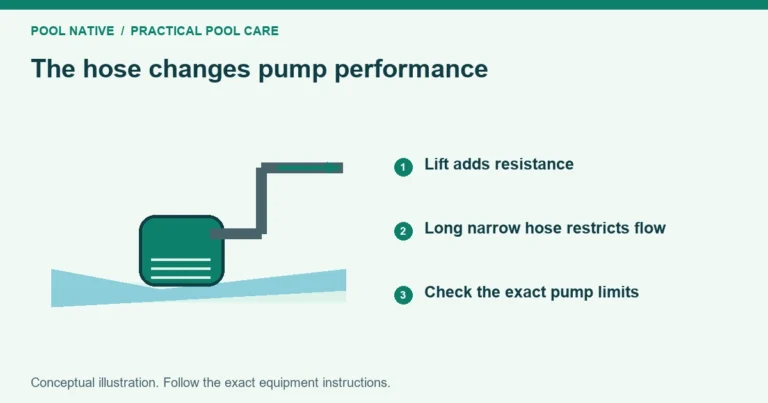
For an all solid safety cover, install and test the required pump and hose. Observe actual discharge at the destination. A running motor does not prove water is leaving the cover.
Keep drain panels clear of leaves and debris. Check whether water reaches the panel as intended. Unexplained ponding needs investigation, not a hole cut into the fabric.
Watch the pool water level while pumping. Water can sometimes pass through seams or damage from the pool beneath. The pump may then lower the water that supports the cover.
Inspect through the season
Check after heavy rain, wind and thawing conditions, as well as on the manufacturer’s routine schedule. Look for new gaps, loose attachments, debris dams and changing pool water level. Arrange someone to inspect if you will be away.
Use leaf removal methods before debris forms a heavy mat. If the cover changes shape, follow the sagging diagnosis. Do not treat every low area by tightening it.
Follow the cover and pump instructions for freezing weather. Do not walk on ice, chop it off the cover or pull frozen fabric. Restore required drainage promptly when thawing conditions return.
Remove it without dumping the winter load
Clear top water and debris by the approved method before releasing attachments. Plan enough help to handle the cover without dragging it. Keep dirty surfaces contained as it folds.
Inspect the uncovered pool and complete the opening process before swimming. Clean and pack the cover using the storage guide. Record any repairs needed while the damaged areas are easy to identify.